OP
JB4310
Super Member
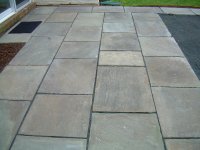
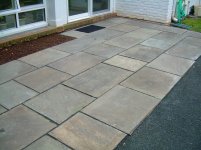
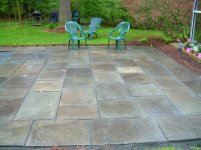
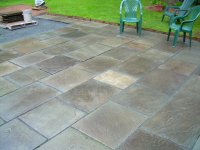
sand is used a lot of places as a base.
I've also seen folks use agrilime or crusher run as a base, as it tamps well and sets up hard.
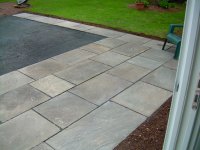
If you set your stones fairly close together (1/4" or less) you can use dry mortar mix to help hold them in place. just dump it on the stones when you're done and use a stiff bristle shop broom to swwep it into the cracks and level it. Rain will set it in place. (you can do the same thing with sand or agrilime as well - it just won't harden with time and moisture -- and will allow weeds to grow in the cracks)
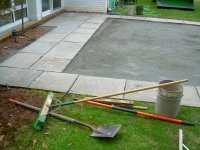
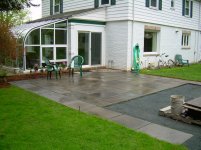
Don't think I'll have weeds for a while, no organic material
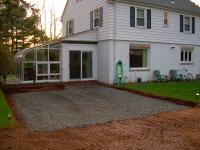
 got carried away digging!
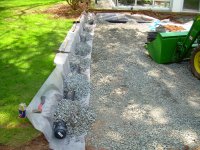
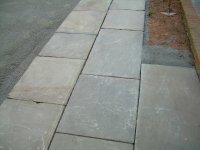
There's different names for the material depending on location, around here we call it process, which is larger stone mixed with smaller, down to dust.
It's also called road base, compacts like a son of a gun. I'll put that down first, about 4-6 inches. Then top that with stone dust which is more like little pcs of grated cheese, it's a little easier to add a little or scrape away a little as your bedding the stone.
JB.