JB4310
Super Member
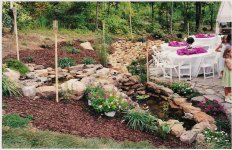
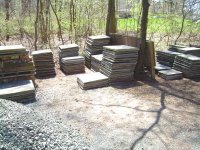
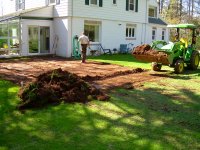
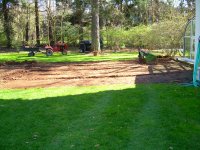
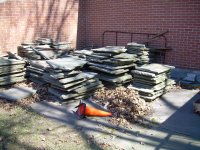
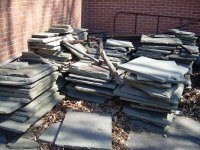
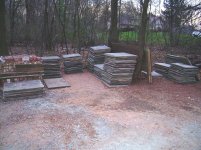
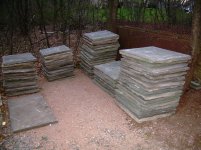
SWMBO (love that one) wants a patio, I've got the time as contracting business is slow, got the stone for barter, beautiful heavy blue stone, was at a convent and they had to remove it to install a play yard for the daycare that's there now. It's been piled up for 20 years, had my eye on it, when they asked me to do some minor work I asked for the stone, they were more than happy with the deal as they were tired of looking at it. only cost me about $300. to do the work.
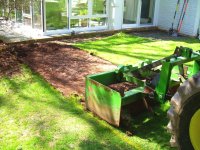
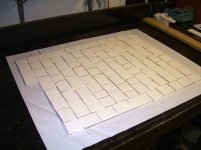
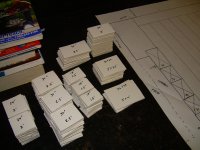
So the question is, is there a simple program to lay out the stone within the dimensions I want the patio, tried cutting little pcs of graph paper, but that's not working. This stone is 1.5-2.5 inches thick, to heavy to place down just to see if it works and move again and again. I've got to have a plan as to where each stone will go, already handled them 4 times just to get them home. Will use tractor for all prep work and use forks to move them to work area.
There are many sizes but all are 24" wide, and all come out to an exact sq ft dimension, so there must be a formula to lay out randomly, I know it would be easy to lay them all in straight lines, and wouldn't really need a blue print, but then there would be straight lines every 2 feet all the way across the patio, would like to break it up more.
The sizes and quantities are:
24"x18" = 30 pcs.
24x24 ----23 pcs
24x30 ----43 pcs
24x36 ----15 pcs
24x42 ----10 pcs
This all comes to ~550 SQ FT I want to build a 20'x24' patio which is 480 SQ FT so I should have enough to do what I want even with the random pattern.
I also have 200 SQ FT of 18" wide stone if needed, and some monsters 3'x4'
Any ideas on a simple to use program that I might already have or free to download? I have the deluxe office edition of MS word, never used much of it though. never done any CAD work.
Thanks, JB.
 . I discovered that the easiest way to do it was to lay the biggest pieces so they were never beside or corner to corner, then fill in randomly with the smaller pieces never creating a straight line longer than the biggest tile. I dry laid them and then took a digital picture of them so I could get them the same after mortaring. I thought there should be an easier engineered way to do it but when I asked an old tile layer I know he said he did it the same way