OP
dieselcrawler
Elite Member
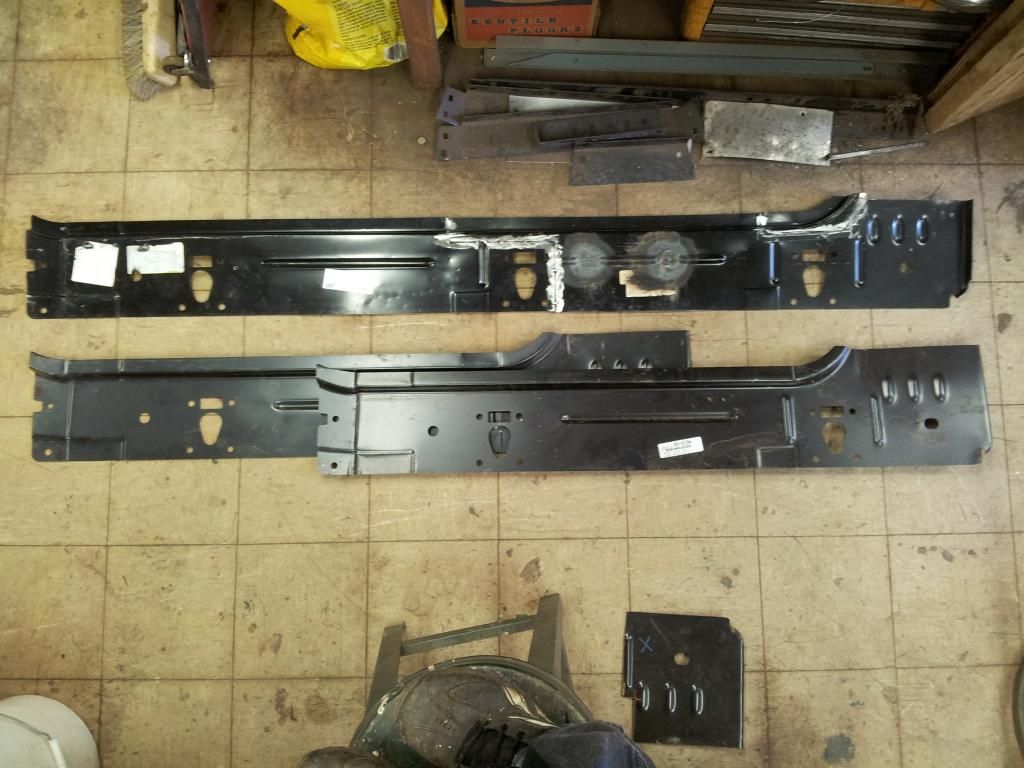
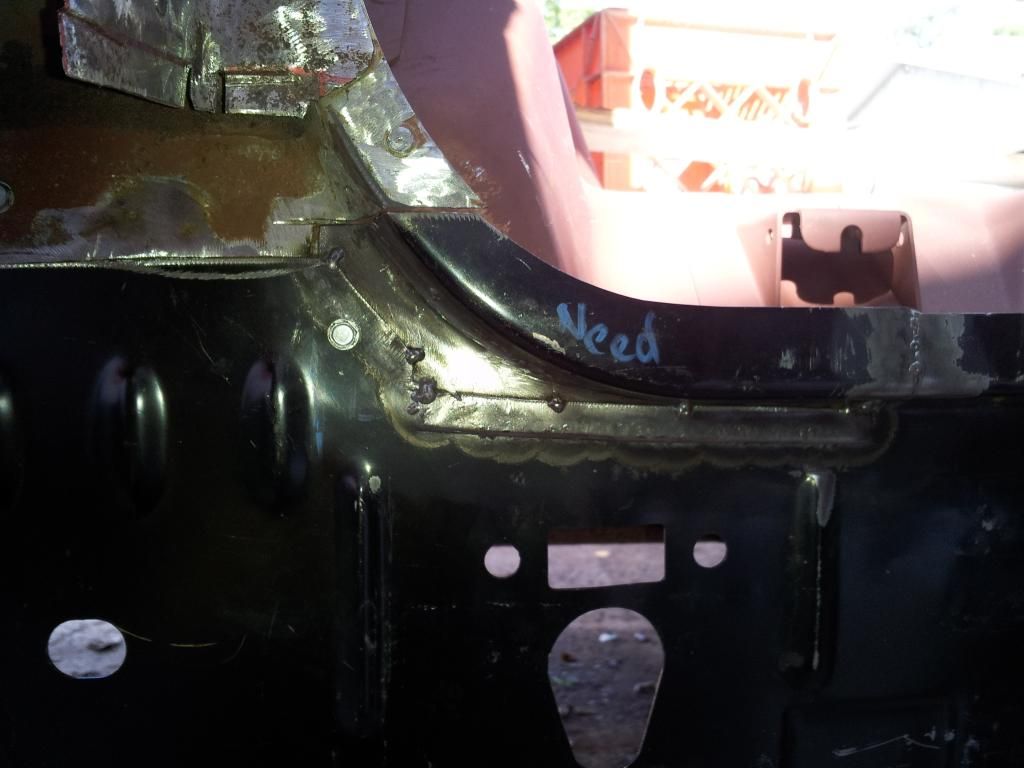
Today's efforts were focused on modifing 2 inner rocker panels for a standard cab truck to fit our ext cab. I over lapped them about 1/4 of the lenth, and cut in such a manner as to be able to use the door curve from the scrap piece of the front part on the rear section, as it needed moved back about 1.25".
Fitting them together in place, then tacking on the welding bench to keep them straight, then checking fit in place, then back to the bench to weld in solid and grind smooth the maiting surfaces. Result is a reasonable fit, and straight as I could expect.
Inner rocker panels.
Rear door curve
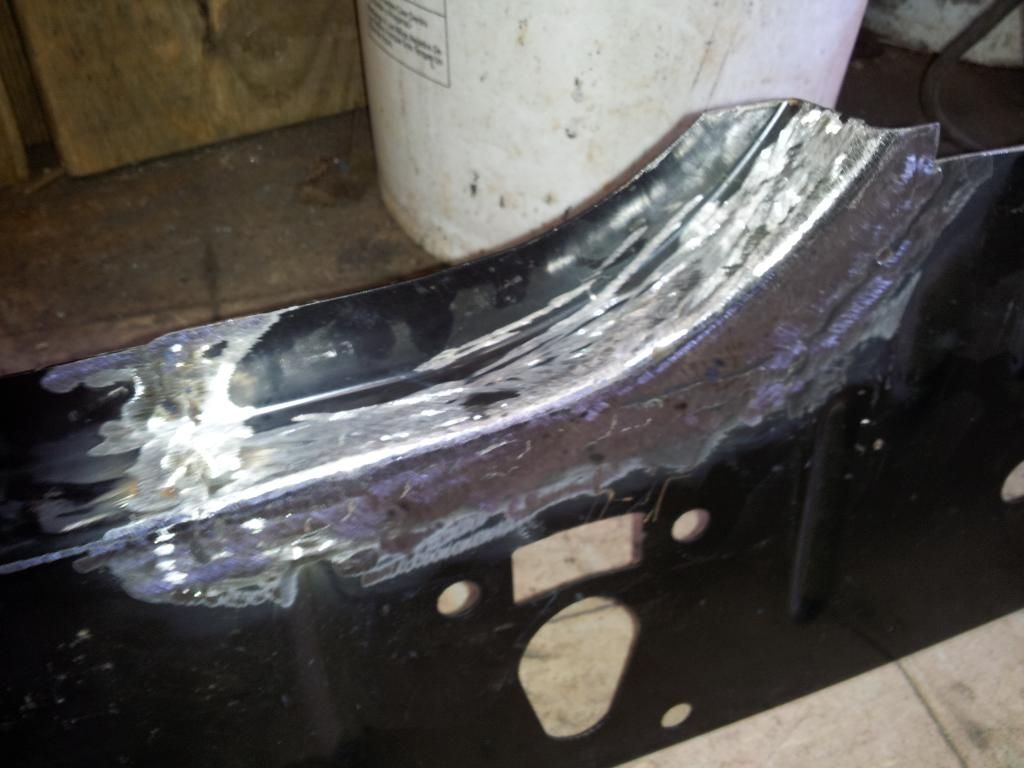
Mid panel splice
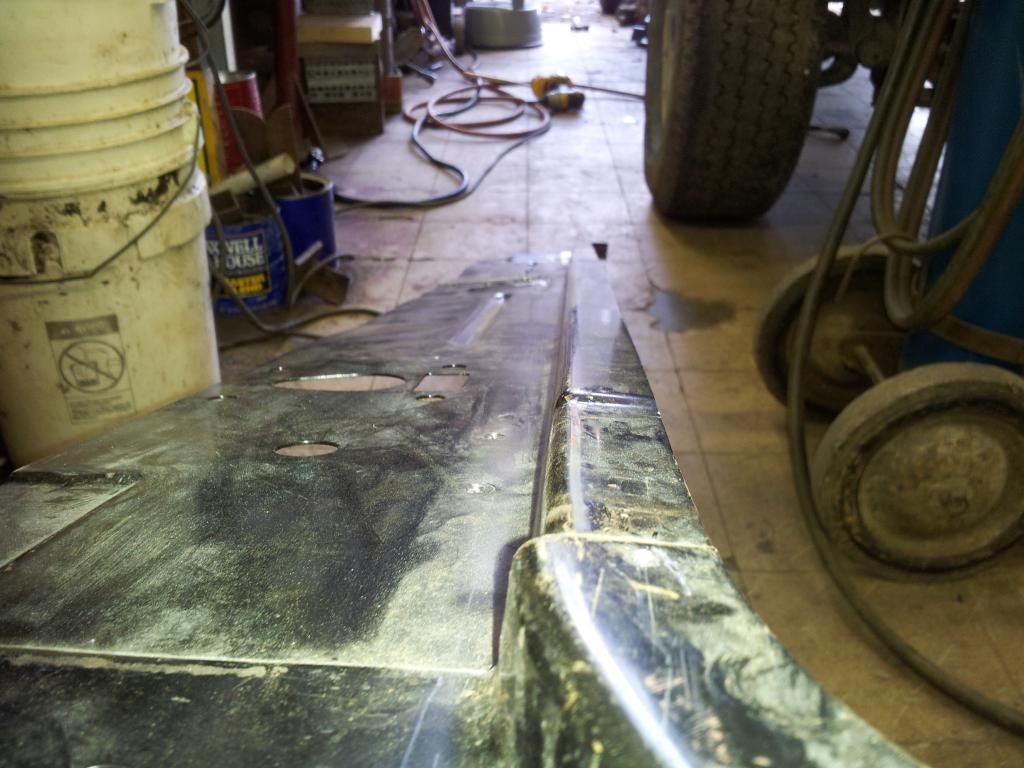
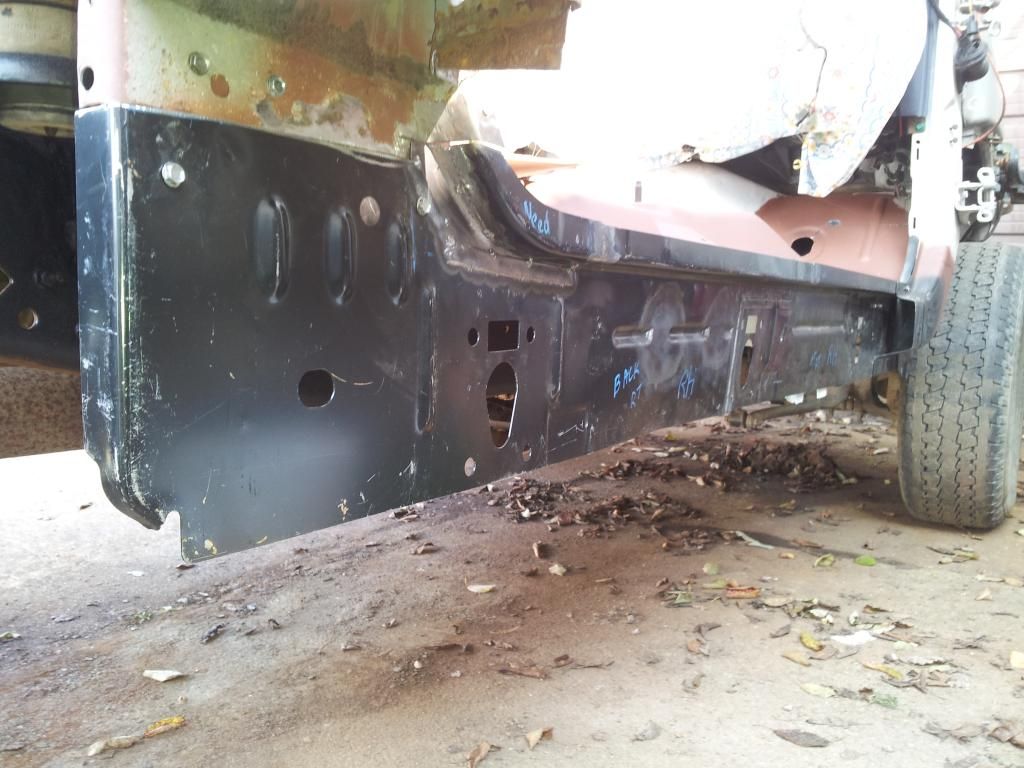
Nice and straight (or close enough to it!)
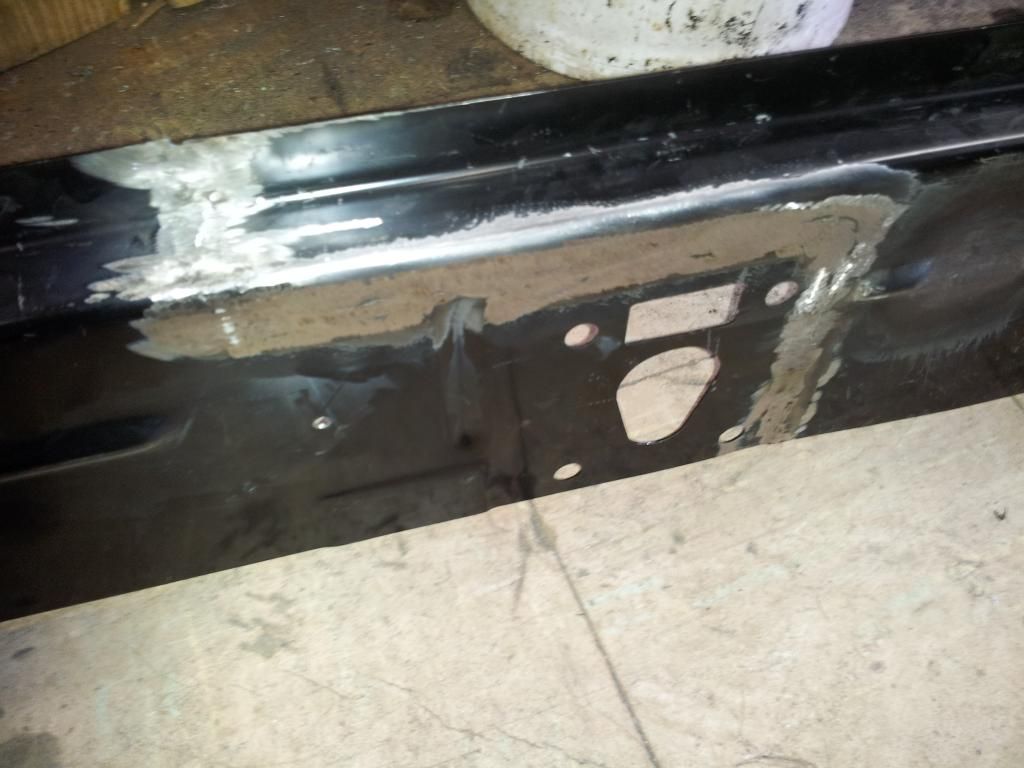
Rear door curve modification
End result in place
Fitting them together in place, then tacking on the welding bench to keep them straight, then checking fit in place, then back to the bench to weld in solid and grind smooth the maiting surfaces. Result is a reasonable fit, and straight as I could expect.
Inner rocker panels.

Rear door curve

Mid panel splice

Nice and straight (or close enough to it!)

Rear door curve modification

End result in place


