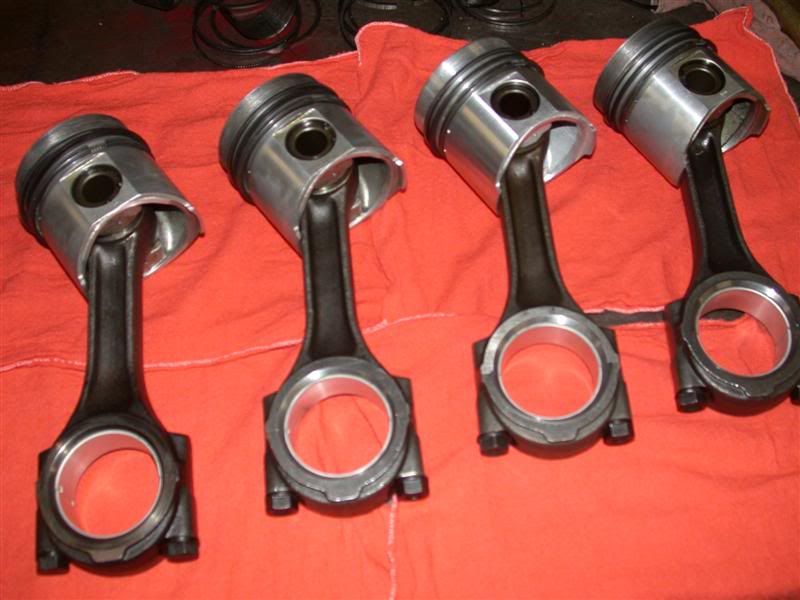
OP
3RRL
Super Member
- Joined
- Oct 20, 2005
- Messages
- 6,931
- Tractor
- 55HP 4WD KAMA 554 and 4 x 4 Jinma 284
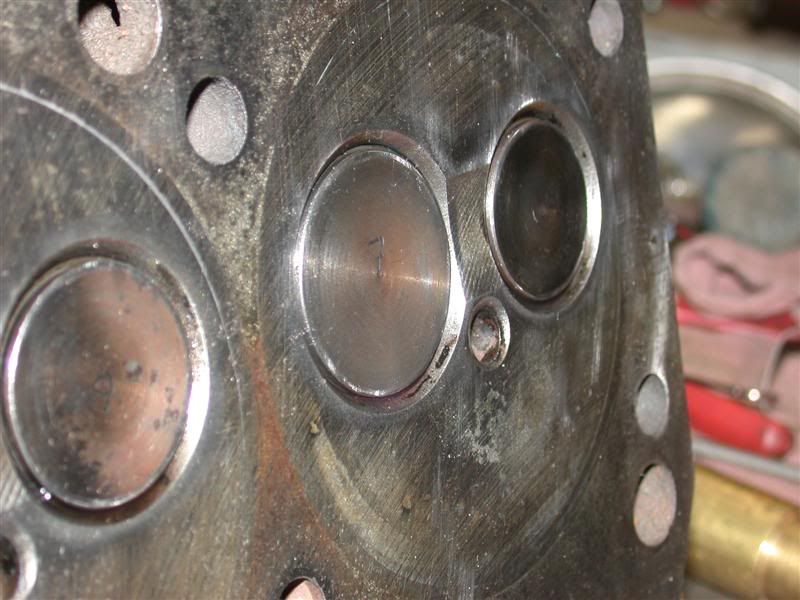
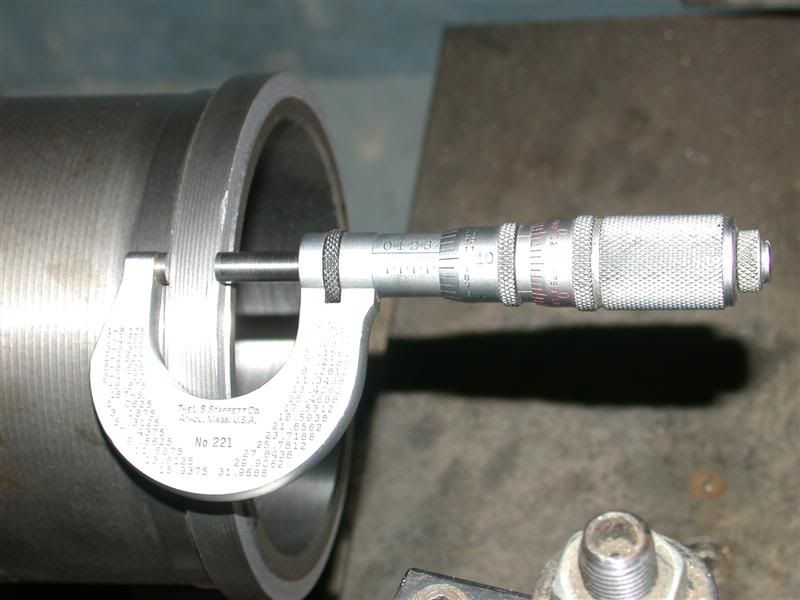
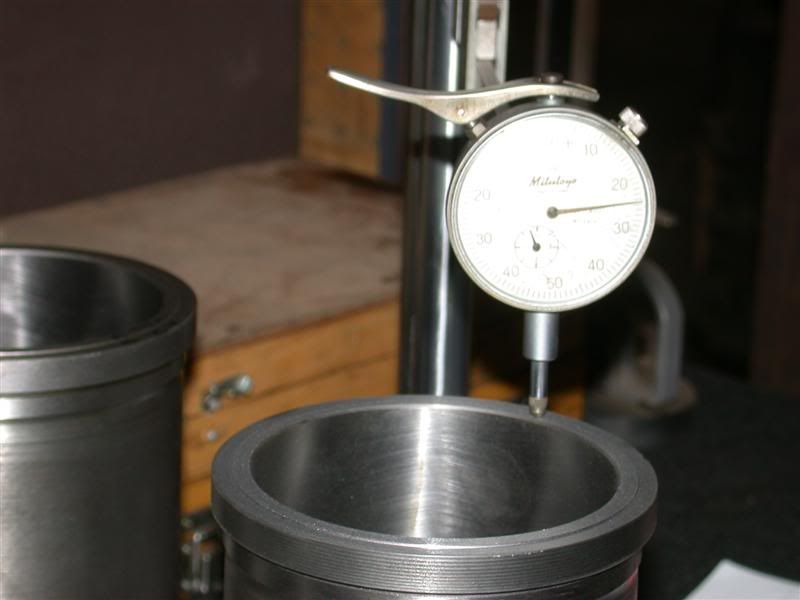
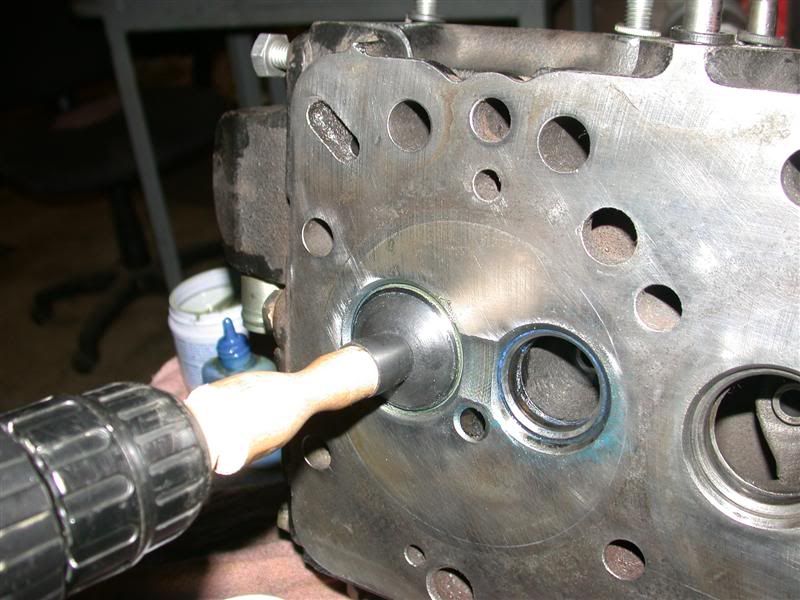
Then I started to lap the new valves in.
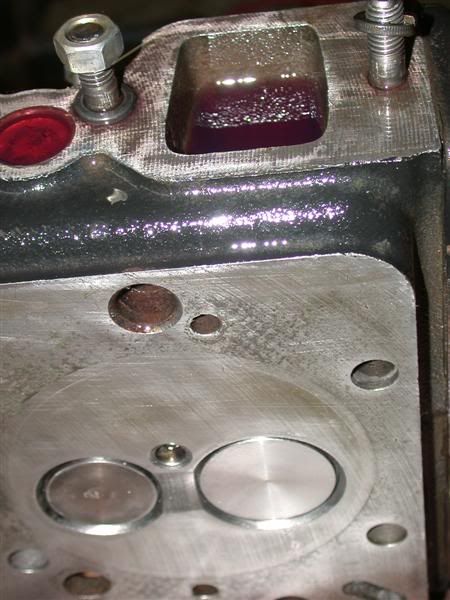
That went pretty well after I cut my lapping tool in half and turned a shank that would fit my drill motor. I got the new valves lapped in with a nice finish. I checked after lapping with blue and the band around the shut off was nice and even. I pushed the valve home by hand then tapped it a little with a nylon hammer. (less pressure than the valve springs I believe). Even without tapping, I could see a witness all around the valve seat bead, so I'm confident they were lapped properly.


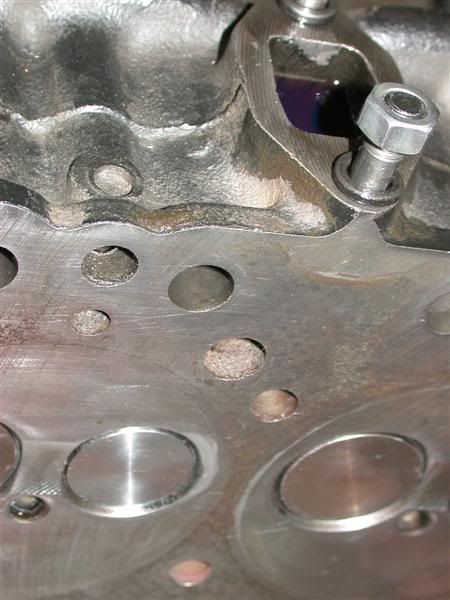
I also lapped the old valves to be certain they were seated and fit properly.
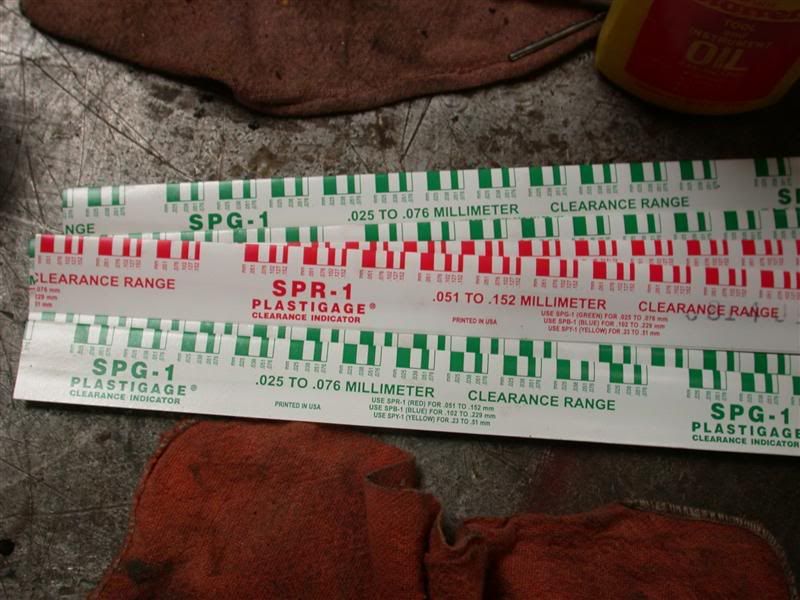
After thoroughly cleaning everything off, all lapping grit and blue, I re-assembled the valve springs. Tomorrow I'll do that kerosene test as described in the manual. That means pouring kerosene into the intake and exhaust ports to see if any leaks out through the valve seating bead.


That went pretty well after I cut my lapping tool in half and turned a shank that would fit my drill motor. I got the new valves lapped in with a nice finish. I checked after lapping with blue and the band around the shut off was nice and even. I pushed the valve home by hand then tapped it a little with a nylon hammer. (less pressure than the valve springs I believe). Even without tapping, I could see a witness all around the valve seat bead, so I'm confident they were lapped properly.

I also lapped the old valves to be certain they were seated and fit properly.
After thoroughly cleaning everything off, all lapping grit and blue, I re-assembled the valve springs. Tomorrow I'll do that kerosene test as described in the manual. That means pouring kerosene into the intake and exhaust ports to see if any leaks out through the valve seating bead.