Chasing My Tail Grading Gravel

/ Chasing My Tail Grading Gravel #1  

wfcjr

New member
Joined
Jul 17, 2010
Messages
4
Tractor
John Deere 5095M
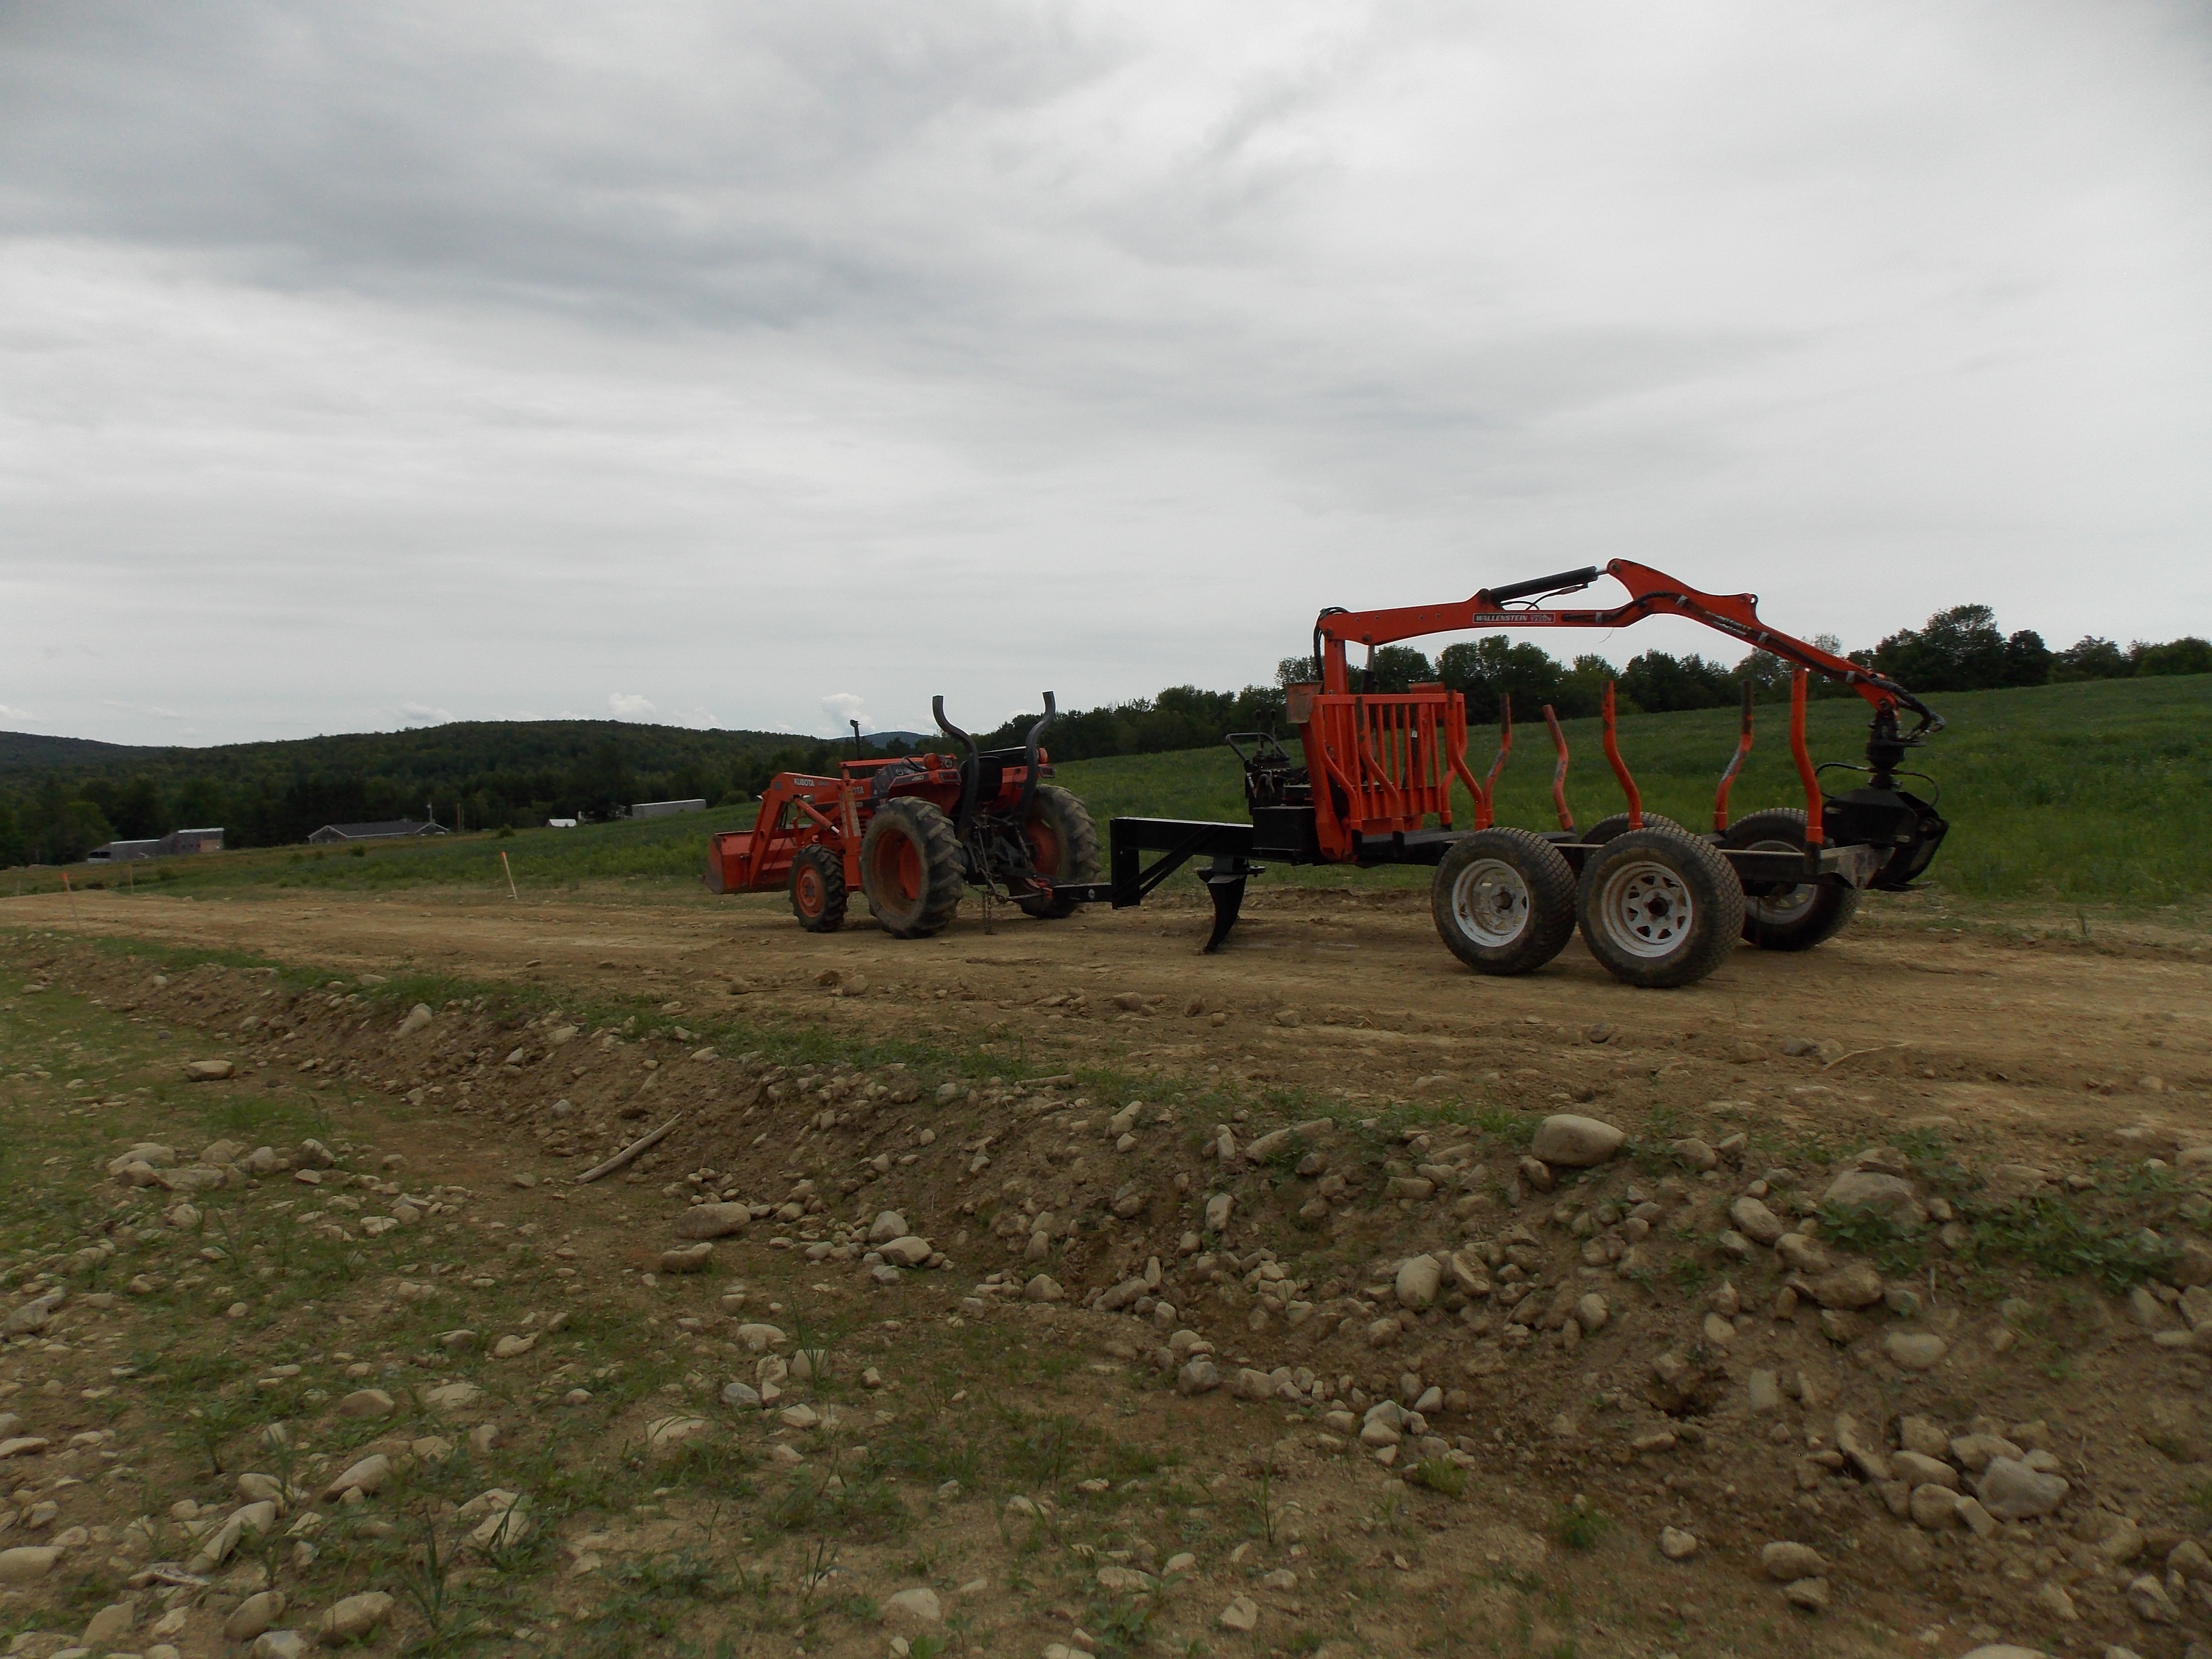
Redoing our road & driveway. Total 0.65 mi. Up in the Mtns in VT. Probably 200 of vertical gain over length of drive.

Two stepper. 3 of 1 1/2 clean stone then 3 of 3/4 crusher run/stay mat/ plant mix/ crushed ledge or whatever they call it in your area.

Have always maintained the road with tractor & box blade with very good results. This week, not so much.
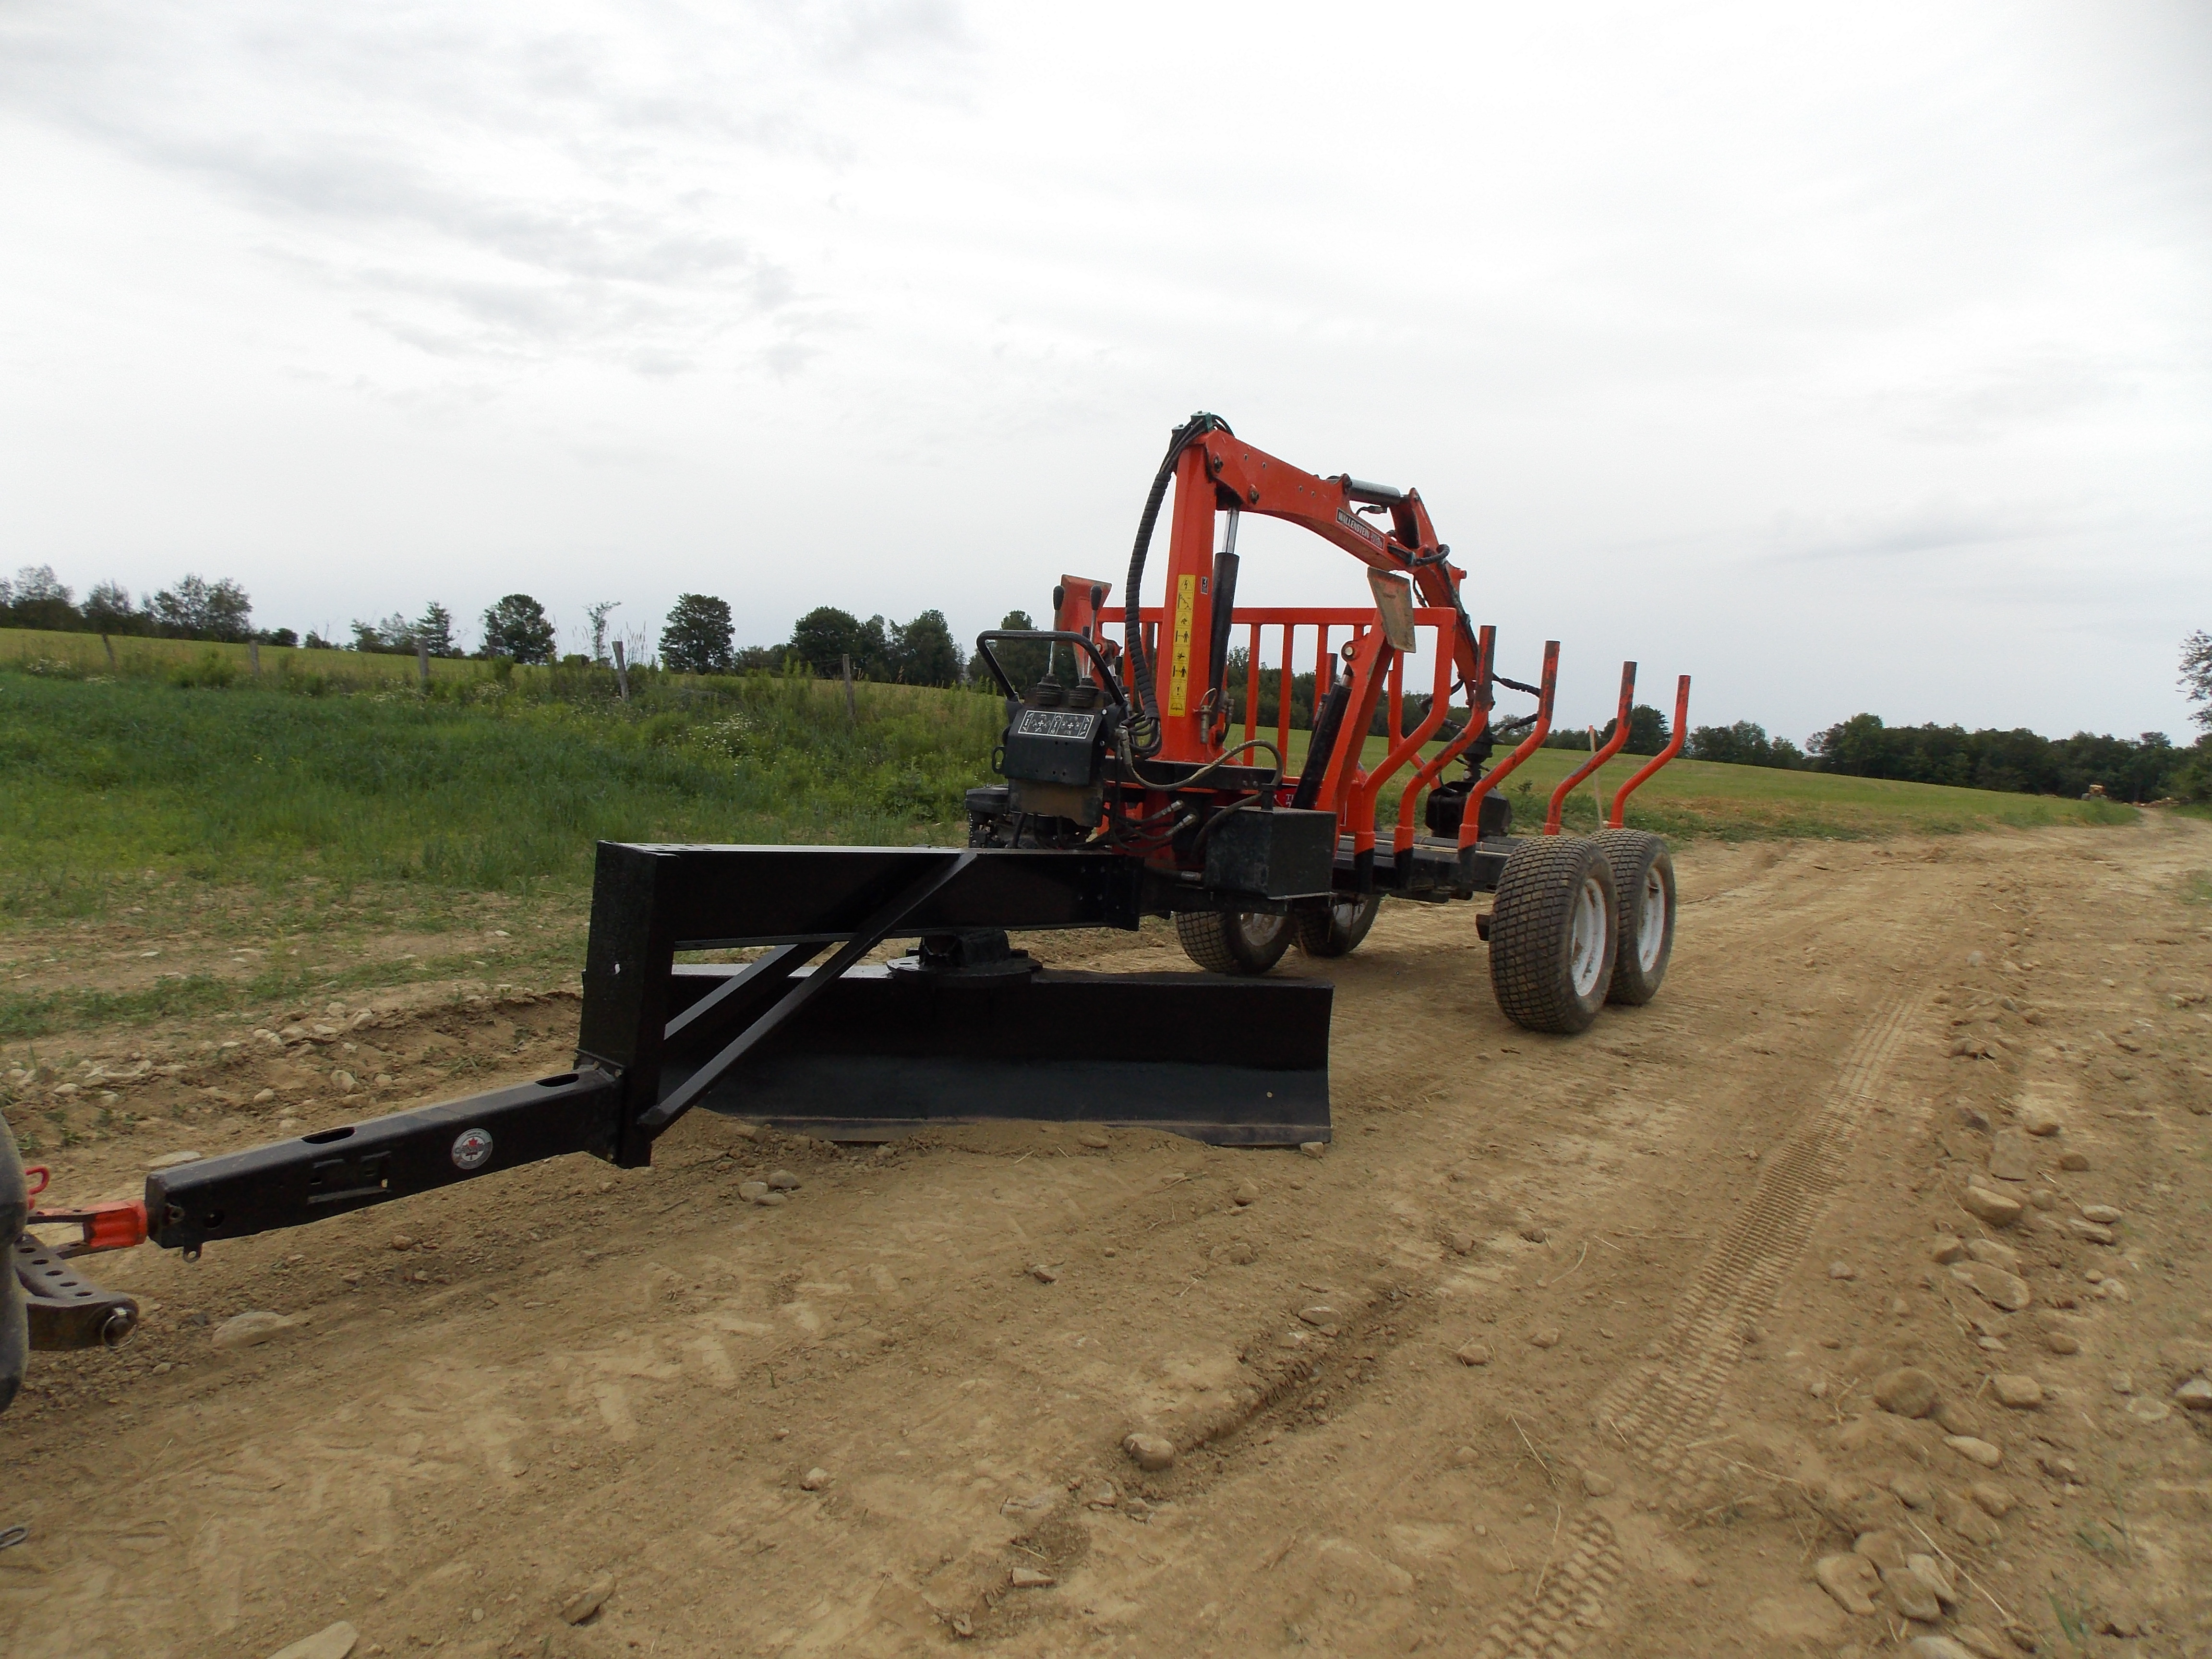
Have tried the box blade. Have tried a rear blade with 3 way hydraulics. Both heavy duty. Box blade is a Frontier 8 heavy fury with scarifies. Blade also Frontier 8 HD. Has been miserable. No matter what I try regarding draft control & depth control, am getting terrible wash boarding and scalloping. Beginning to think that these are just the wrong tools for the job.

Have been able to fix things with excavator bucket work, but a long slog.

Are three the wrong tools and should I just blade in the material with a dozer, or am I doing something wrong or is the 1 1/2 stone just tough to work with?
 
/ Chasing My Tail Grading Gravel #2  
Land plane to the rescue. Check the Tube vids, lots of them, absorb the info and start shopping.
 
/ Chasing My Tail Grading Gravel #3  
If 3 point draft doesn't work well it can make the blade do what you describe. When my draft got worn I did a simple mod to the box blade rather than investing in a plane. A 3"x4"x 1/4tr" angle iron bolted to ends of box to form "slides". Slides are about two and half long as box ends. Cut a vee in leading and trailing ends of slide,turn ends up to close vees then weld them. I first made slides same leingyh as sides and that didn't really help. Slides have to be long enough to bridge hills and valleys in surface.
 
/ Chasing My Tail Grading Gravel #4  
Try turning your grader blade at an angle and going slow. Pull the gravel to the center some then set the blade back straight and go down the middle.
 
/ Chasing My Tail Grading Gravel #5  
You are using the wrong tool for the job. I had this same problem when building a road and fixed the problem pretty easily.

As you are finding out, with a three point hitch everything is exaggerated because it is cantilevered off the back of the tractor. When you go into a hole with your rear tire, the rear blade is driven deeper in even further back, so now instead of having one hole, you have two. And when the rear tire goes over a hummock, the three point hitch blade goes even higher, adding a second hump that was not there before.

Tons of passes, using draft-control, and float position helps, but it is just not really good enough.

You need a pull behind grader blade. The longer the better. That is because the exact opposite happens with these devices. Because the blade is located half way between the rear wheel of the tractor, and the rear wheels of the tow-behind grader, when the rear tire of the tractor goes into a hole, the blade moves only HALF the distance. The same thing happens when going over a hummock, the blade only raises half the distance. This means you get a very flat surface.

For even better surfacing, you want a walking beam suspension on the tow behind grader. That is because, with a single axle, if the wheels hit a depression, or hits a rock, it will move the blade. It is only half the distance, but still moves the blade. With a walking beam suspension, the wheels pivot over the obstruction without causing blade movement.

All the reasons I listed you see on a modern grader. They are LONG to get a nice level surface front to back, and they have walking beam rear suspensions.

With my grader blade it takes only two passes to get an absolutely flat road. The first takes out the major dips and lumps, and the second pass irons it out perfectly flat. Fortunately they are quick and cheap to build homemade, and they are an absolute dream for plowing slow on long drives. Kick the tractor in 6 gear and GO! Getting double duty out of them makes them a worthwhile investment.


/ Chasing My Tail Grading Gravel #6  
Hello wfcjr, if your box blade and 3 way blade don't have a tail wheel(swiviling wheel behind the blade) then washboard is all you will get. If you get a tail wheel fitted make sure you can flip the wheel up to allow the blade to be reversed.
 
/ Chasing My Tail Grading Gravel #7  
as Jaxs said draft control not working right or set right will do this.
Tractorguy is very correct on using the rear blade. Rotating the blade allows it to be on more than one ridge or over more than one washboard and also cuts better. Having it straight for me is for very light spreading.
Brokentrack, just sold a 10 foot pull box blade, only box blade I could level with. Works soooo much better.
redman 135, inserting design. I have never seen one like that, but sure it could be handy.

wfcjr, it may not be that hard to install wheels on your current blades and moving the blade further from the tractor. Two wheels with one being adjustable to give it tilt.
 
/ Chasing My Tail Grading Gravel #8  
Also agree with TractorGuy than turn blade 180 degrees to put smooth finishing touch.
 
/ Chasing My Tail Grading Gravel #9  
We can't all afford an expensive grader.

I got the washboard out of our road by making a bunch of diagonal pulls with a landscape rake then pulling straight lines. In hindsight I should have tried my own advice and pitched the rake at an angle which should produce the same result.

After getting the washboard out and packing with traffic ours has remained smooth.

Another option we have is hiring the county to grade. They are slow to respond but they will grade private roads with a REAL road grader for just under a hundred per hour. You could try calling your county to see if they will grade it.
 
/ Chasing My Tail Grading Gravel #10  
"Filling in the washboard" and "getting out the washboard" are two different things but I agree that angling any attachment will help accomplish either one. Filling in the washboard with loose material will only last a short time where breaking the washboard with some type of ripper teeth will last longer.
For those without a nice grader as seen above, a boxblade with gauge wheels on the back will do an amazing job of leveling especially when combined with hydraulic top link. Hydraulic gauge wheels work well also in lieu of hydraulic top link.
box blade with gauge wheels images - Google Search

I've not seen this one previously. Interesting.
Easy Grade Depth Gauge Attachment Kit
 
/ Chasing My Tail Grading Gravel #11  
A tail wheel will do wonders for your rear blade.

 
/ Chasing My Tail Grading Gravel #12  
On my 1/2 mile road, every spring, I use the scarifiers on my box blade to chew up the gravel around the potholes that developed during the spring thaw.

Then I use my horse grader to restore the crown and do any contouring/ditching. The long wheelbase gets rid of any hoops and hollows. This is my most useful driveway tool.


Pony Grader.jpg


The rest of the summer, I use my homemade road drag. It takes out the washboards and the guide wheel maintains the crown.

 
/ Chasing My Tail Grading Gravel #13  
I was fortunate to observe municipal gravel road maintenance in my youth.
I duplicated their rig when we built our 3 mile cottage access road.

The rig consisted of 3 blades set up as an 8 ft square rig.
Commonly referred to as a 'drag'.
3 'blades' did all the work.
Our first rig was made from 6" X 6" timbers with 3/8" steed flats lag bolted as cutting edges.
Front and rear blades were perpendicular to the road bed while the center was at an angle.
Front blade would chop the high spots, 2 nd (angled blade) would move material sideways and fill in the dips and the rear blade smooth the roadbed.
2 chains from front 'drag' corners went to the outside ends of an old Willis Jeep.

2 passes would leave our road bed looking like a freshly paved road bed.
Later the city did the grading with a huge grader but it never did a better job than we did with our DIY drag.

The drag would ride up and over big imbedded rocks while the big grader would catch and snag on them occasionally tearing them out.
If it simply 'snagged' it would then leave a blade width hump while our drag spread the material nicely.

U need 3 blades for it to work.
2 serve as a reference 'base' while the third provides the cutting action.
Sort of averaging it out.

LOL, while posting this AIRBISKIT was also posting.
His 3rd photo is very similar to the drag I was describing.
But as U see a simple 'drag' really works wonders.
Last drag I made I added a flat surface to mount additional weigh for more aggressive action.
If a road surface was very compact U could even add teeth to the front blade.
 
Last edited:
/ Chasing My Tail Grading Gravel #14  
I had similar issues, box blade worked ok but I have great results using my LAND PRIDE LAND PLANE. Mine is the heavy one with adjustable blade height. Use the scarifiers twice per year to break things up a bit . then drag it out both directions. Once finished I do a touch up often enough to keep things smooth holding off the woop de do's made by the UPS truck, 2 wheel drive cars and rain.
 
/ Chasing My Tail Grading Gravel #15  
Then I use my horse grader to restore the crown and do any contouring/ditching. The long wheelbase gets rid of any hoops and hollows. This is my most useful driveway tool.


View attachment 667779

Nice grader!

I think my next tractor purchase will be a grader, but the kind the highway departments use. I can see a lot of use with one. Kind of out of the scope of this conversation, but I also like yours as well.
 
/ Chasing My Tail Grading Gravel #16  
A tail wheel will do wonders for your rear blade.


Always thought the tail wheel concept to be a plus and one could let top link (chain?) just be slack enough to allow blade to just follow, but short enough to be lifted when necessary.... Also concept of "edge tamers" for FEL and snow use may be a option for rear blade as it would turn blade into semi bucket scraper.....

EdgeTamer3_1024x1024.jpg


Picture for concept, adapt as necessary...

Dale
 
/ Chasing My Tail Grading Gravel #17  
I do similar maintenance every other year, (for the past 20+ years) to 800' of gravel driveway with a 6' box scraper and 8' rake with grade wheels. About half the time I don't bother with the rake.

I've found speed is not your friend, slow down and I bet those washboards smooth out.


Top