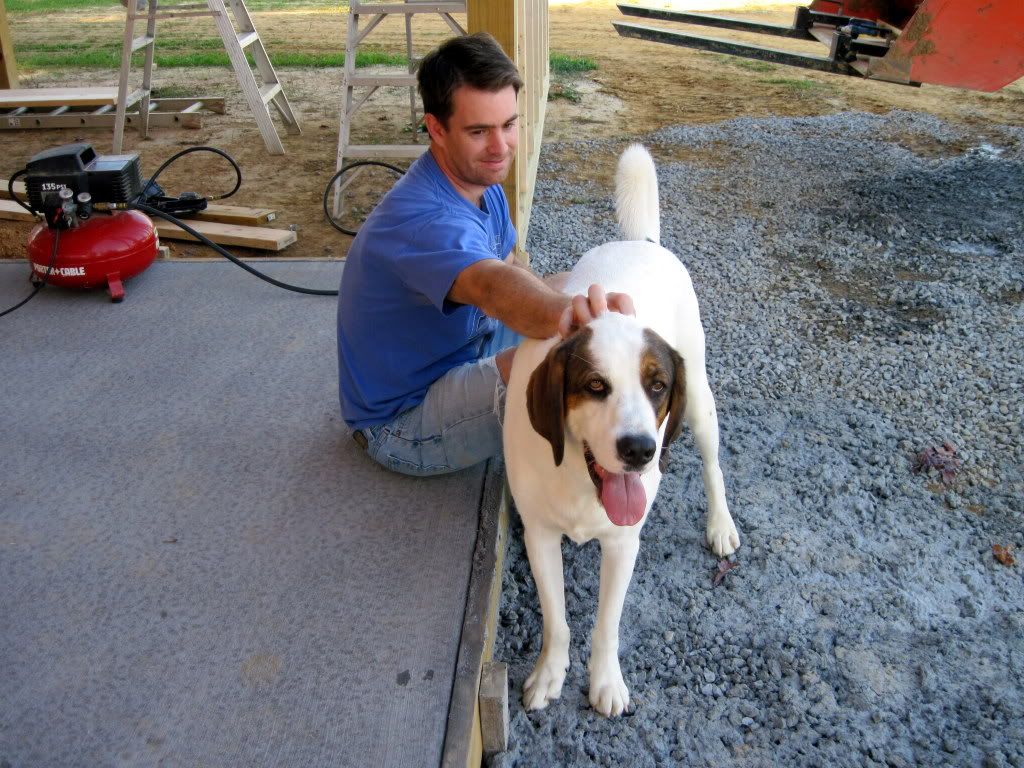
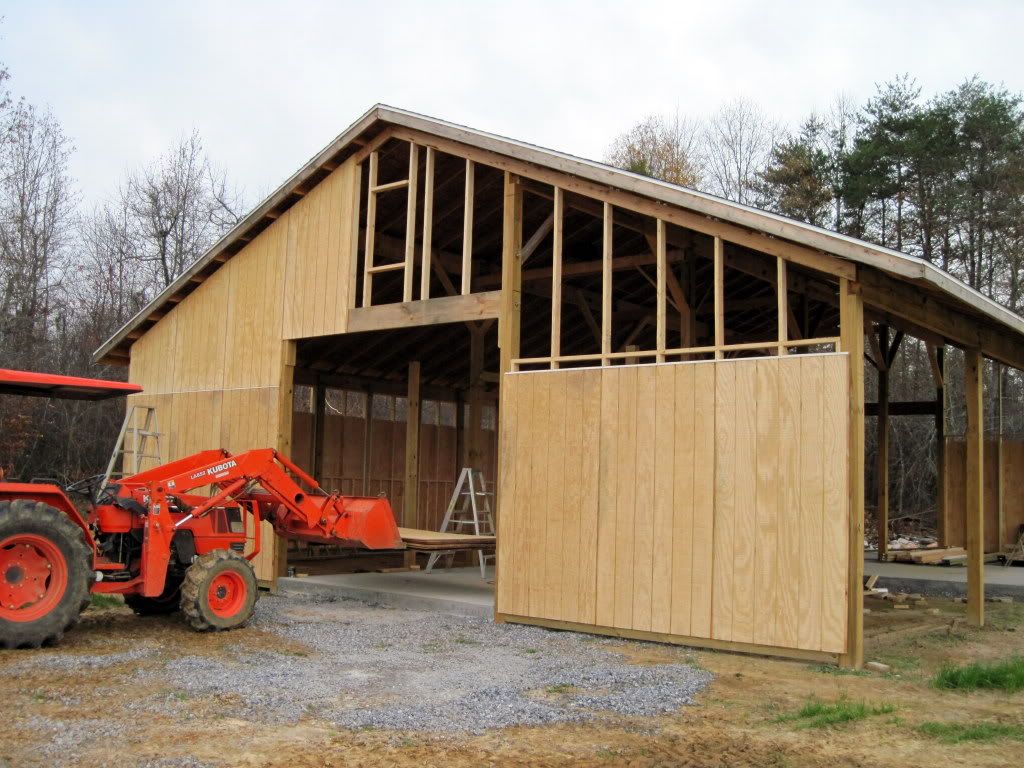
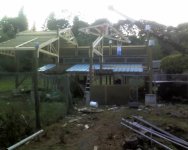
I can certainly appreciate how much work you've done, Cyril! I don't know if having an old barn to start with makes things better or worse.
As far as the electrical entrance goes, common sense tells me I should be fine if I just treat it like new service and ground it at the barn with a couple of rods and tie the ground and neutral busses together, as you said. However, I've had three different electricians I know tell me that according to the most recent NEC (2008 I think), ground and neutral have to be tied together in one place and one place ONLY - the main service entrance to the house. ALL outbuildings have to maintain a separate ground and neutral if they are tied into the main panel at the house. Additionally, for any outbuilding, you have to install ground rods at the outbuilding location and tie them to the ground in the sub-panel out there (but NOT to the neutral). I think the rationale is that if a whole bunch of things went wrong all at once, you could possibly be sending return current through the ground (literally - through the soil). Apparently according to the 2008 code, the (separate) ground from the house even has to be oversized as much as the rest of the wires for long runs! The rationale there is that if there's a fault where return current flows through the ground wire (as it's supposed to do), the higher inductance of the small wire means that it will take a few extra milliseconds for the current to build to a point that it trips a breaker or other protective device.
As far as I'm concerned, most of my life has been spent before 2008, and if a shared ground/neutral was good enough then, it's good enough for me now.
By the way, the rules may be different in your state depending on whether or not they've adopted the most recent NEC/IEC. Or if I've got it wrong, along with my three electrician friends, let me know!
Josh
We haven't adopted the 2008 NEC yet. The data I'm giving you is per previous versions of the NEC. The basic rule here is if you have a ground from the main panel to subpanel (4 wire) the ground and neutral
MUST be seperated. If you have no ground between the main panel and subpanel (3 wire) the ground and neutral in the subpanel must be bonded.
The purpose of ground rods is to remove transient voltages. Transient voltages are induced into the structure or wiring system from outside the power system to the structure. Examples could be a lightning strike near the structure or induced voltages from nearby high power lines. You can think of them as being similar to the static charge you build up when you rub your feet across a carpet. Although transient voltages can be much greater than what you get from a carpet.
The purpose of bonding the ground and neutral together is to create short circuit fault protection within the system. Ground rods cannot create short circuit fault protection. (It's fun with new apprentices to tie a 20 amp breaker directly to a ground rod with #8 wire and make the apprentice explain why the breaker is not tripping! Simple Ohms law on a 25 ohm ground rod shows that current flow does not exceed 20 amps) To put it simply, bonding the neutral and ground is what keep you from getting electricuted when something shorts.
The purpose behind not bonding the neutral and ground in a 4 wire feeder from main panel to subpanel is because the neutral is the return current path in the system and if the ground wire is bonded at both ends it creates a parallel return path for the current and 1/2 of the return current will be on the ground wire between the panels. Basically, your grounding circuit now has voltage on it!
The 2008 NEC may have removed this option because too many electricians don't understand how the grounding system works and wire subpanels incorrectly creating an unsafe system. If you treat your panel as a main panel with your 3 wire feed, bond your neutral and ground, and set your ground rods as planned - it will be fine.
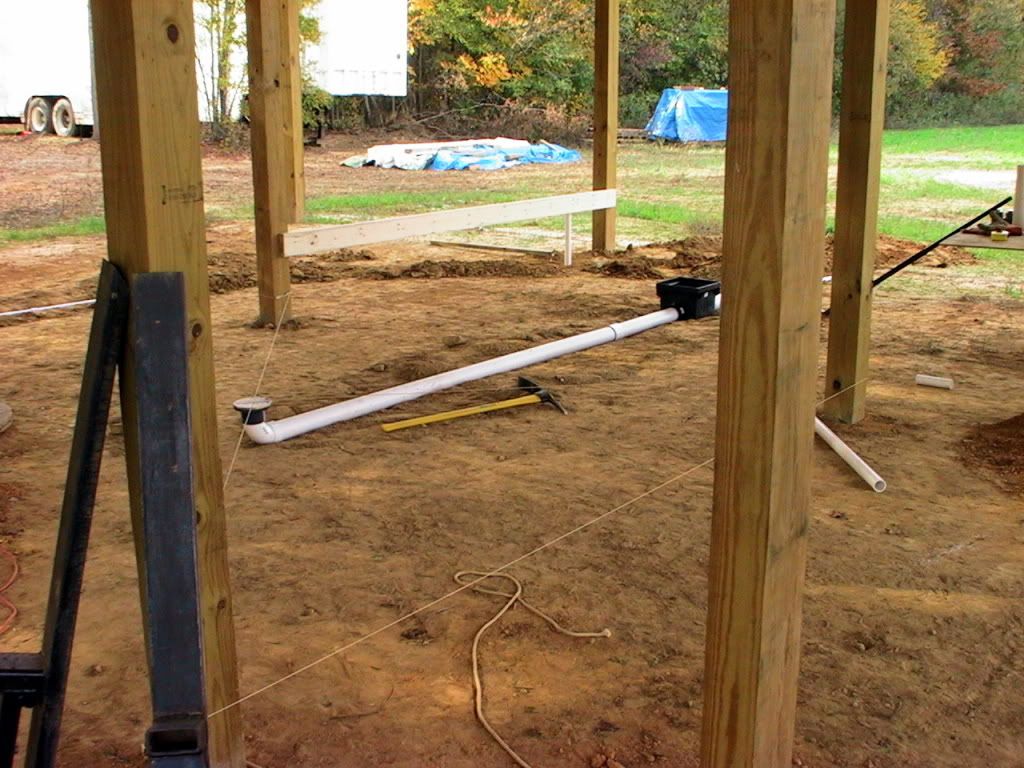
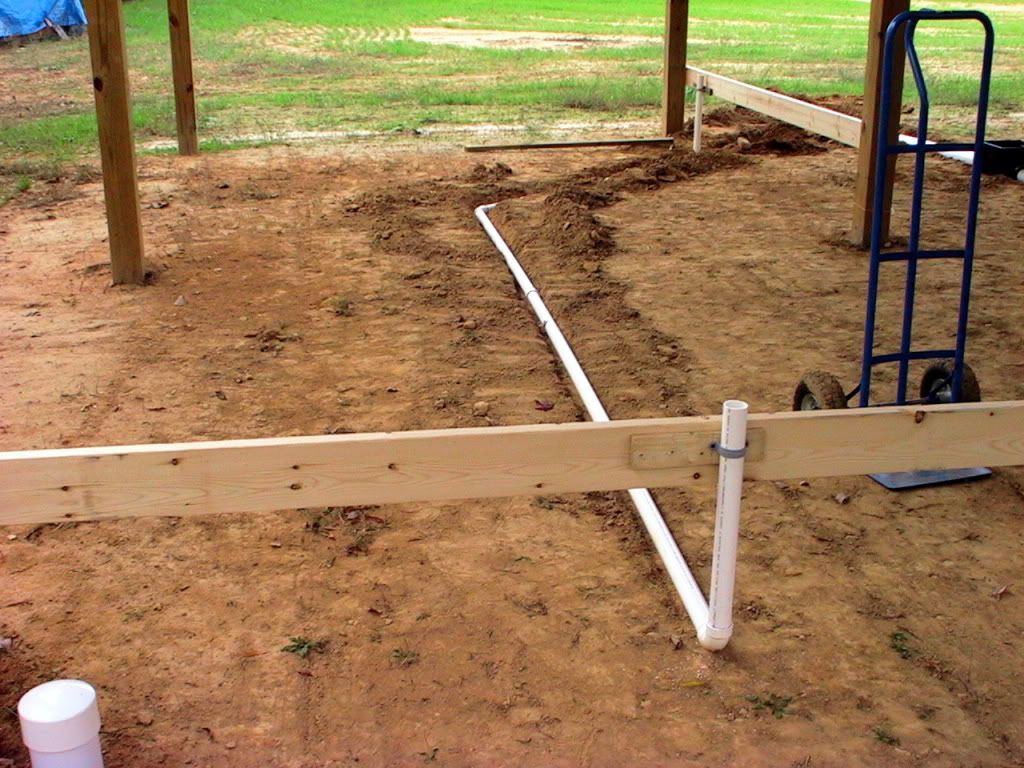
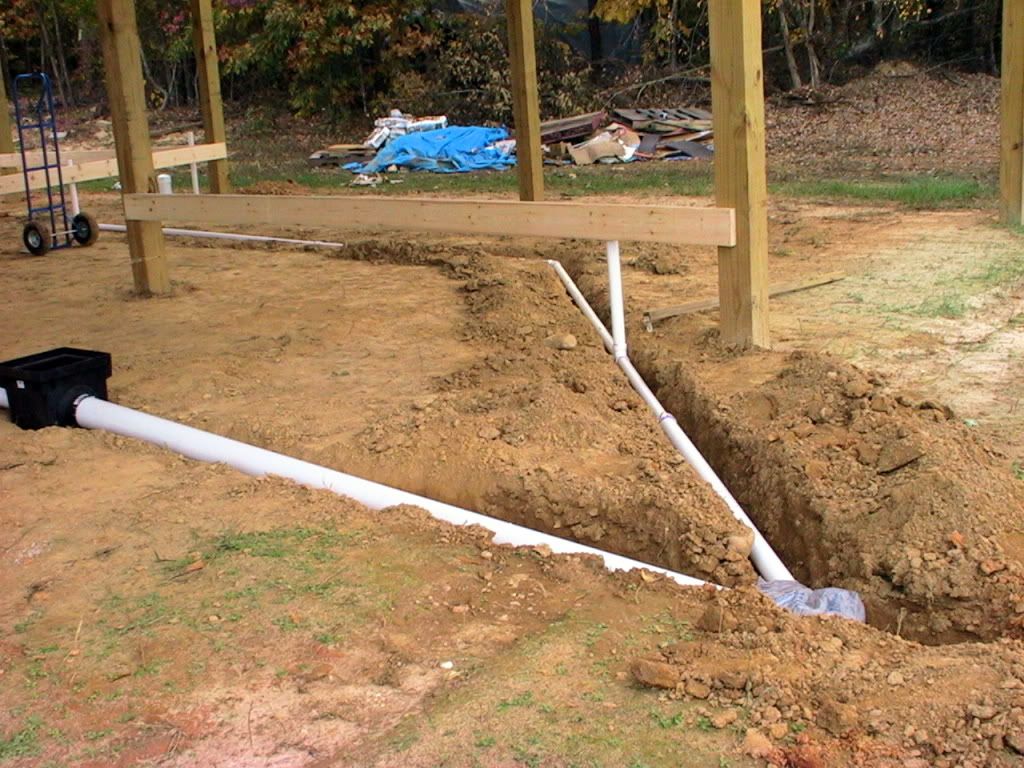
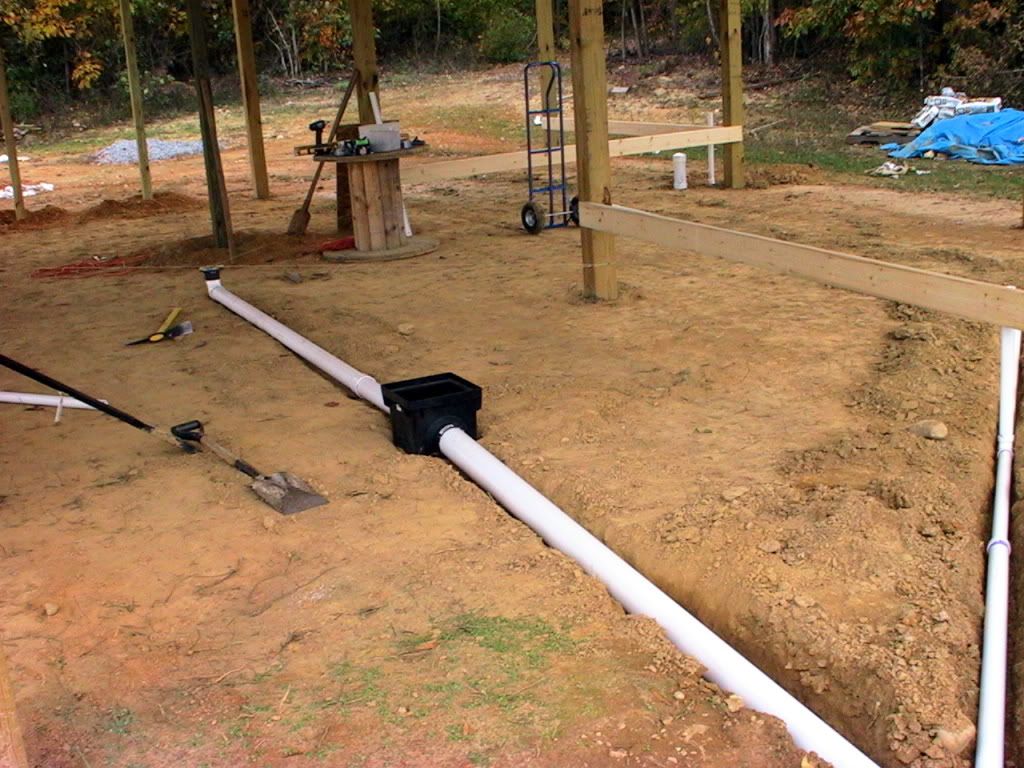
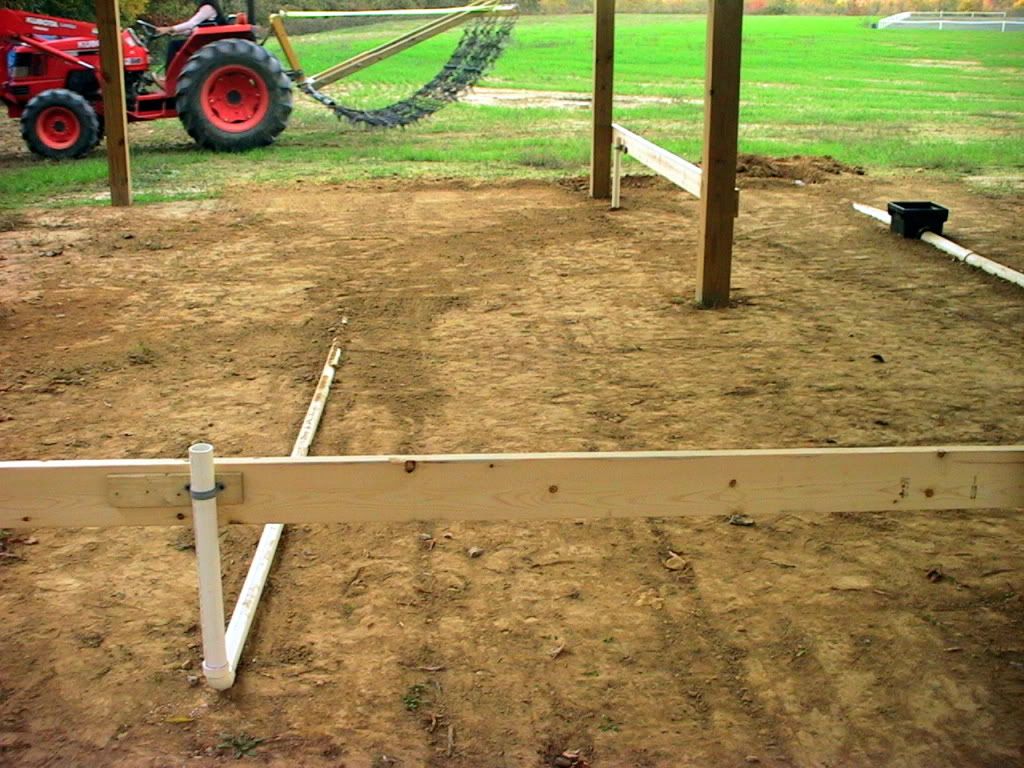
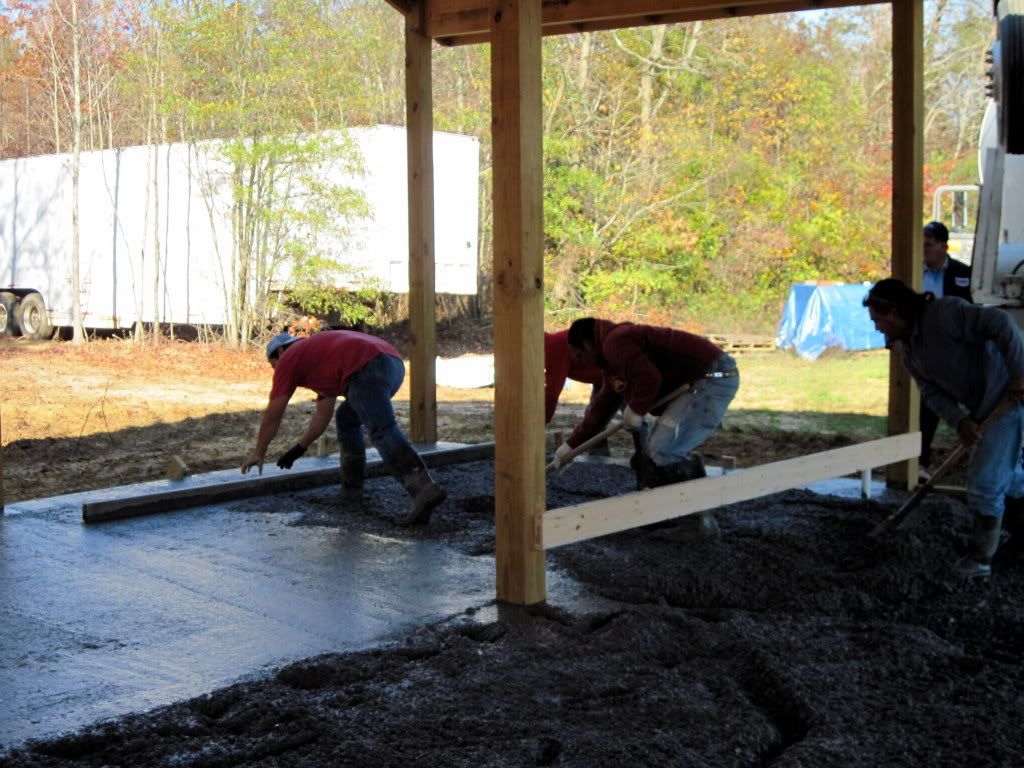
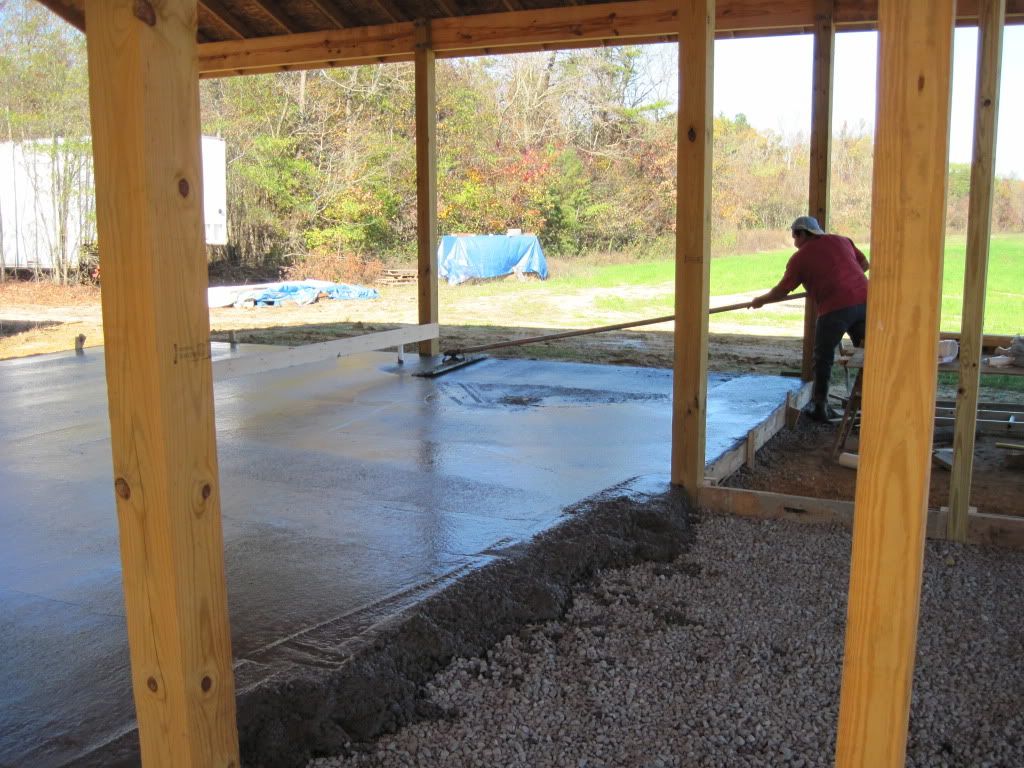
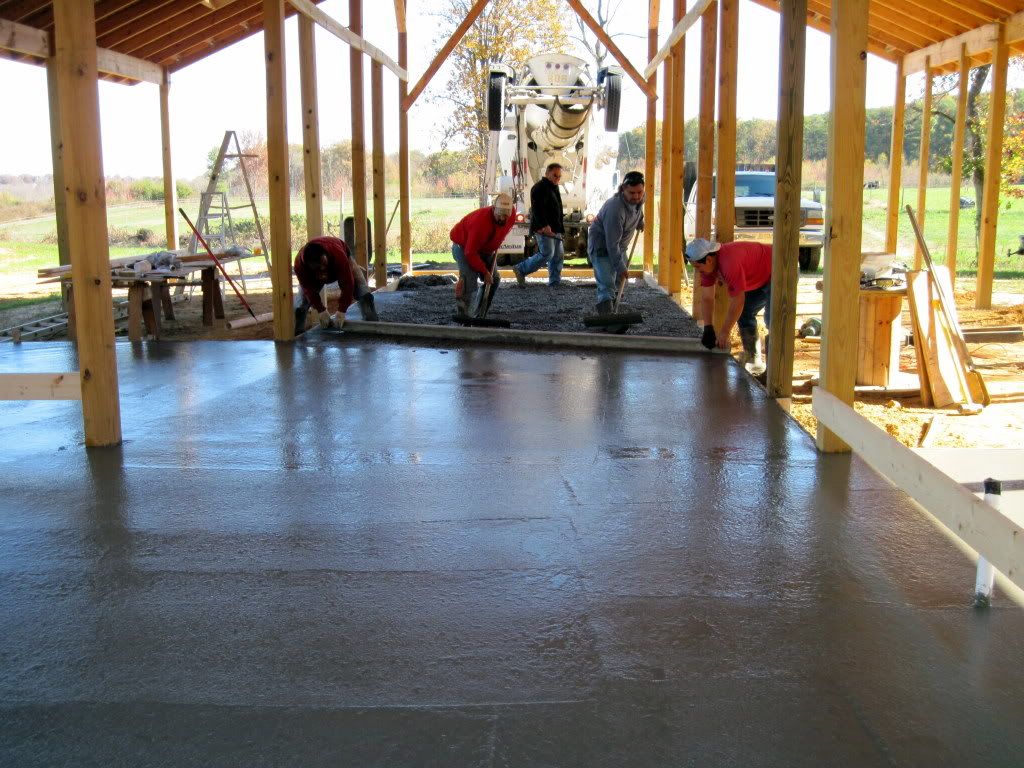
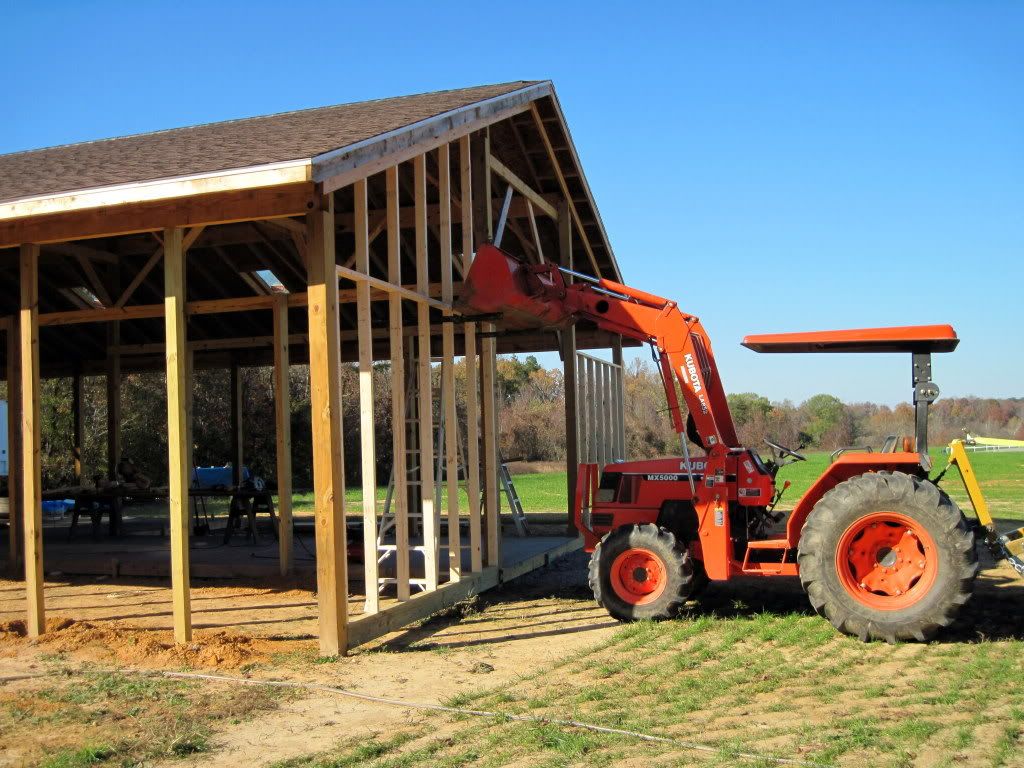
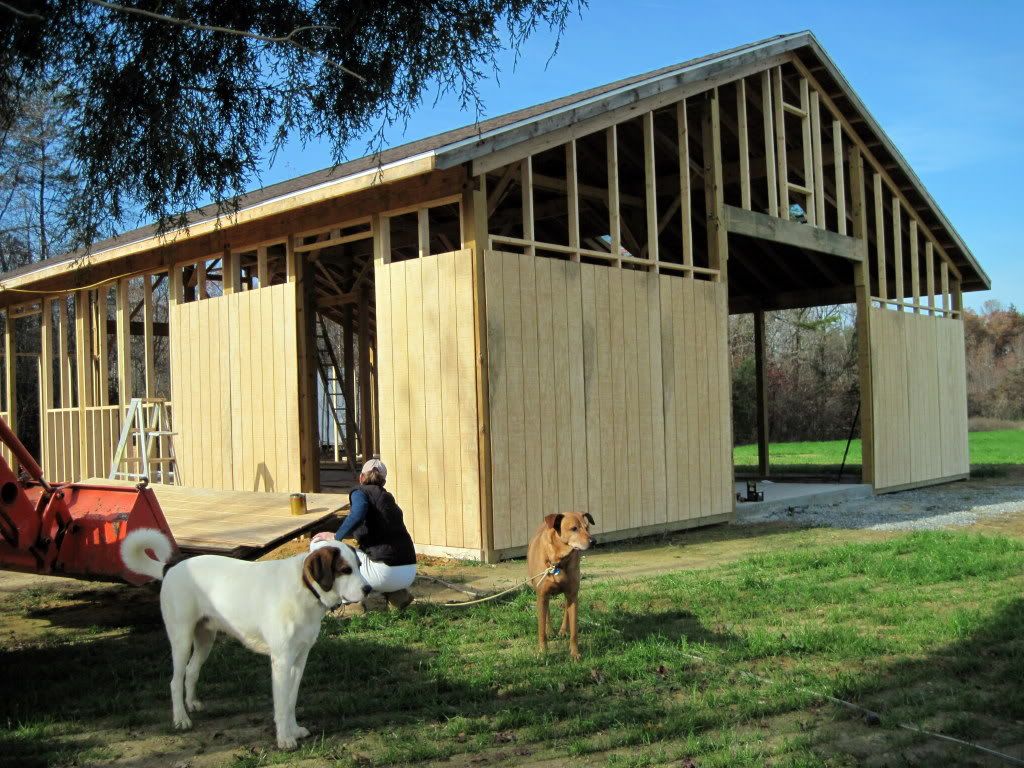
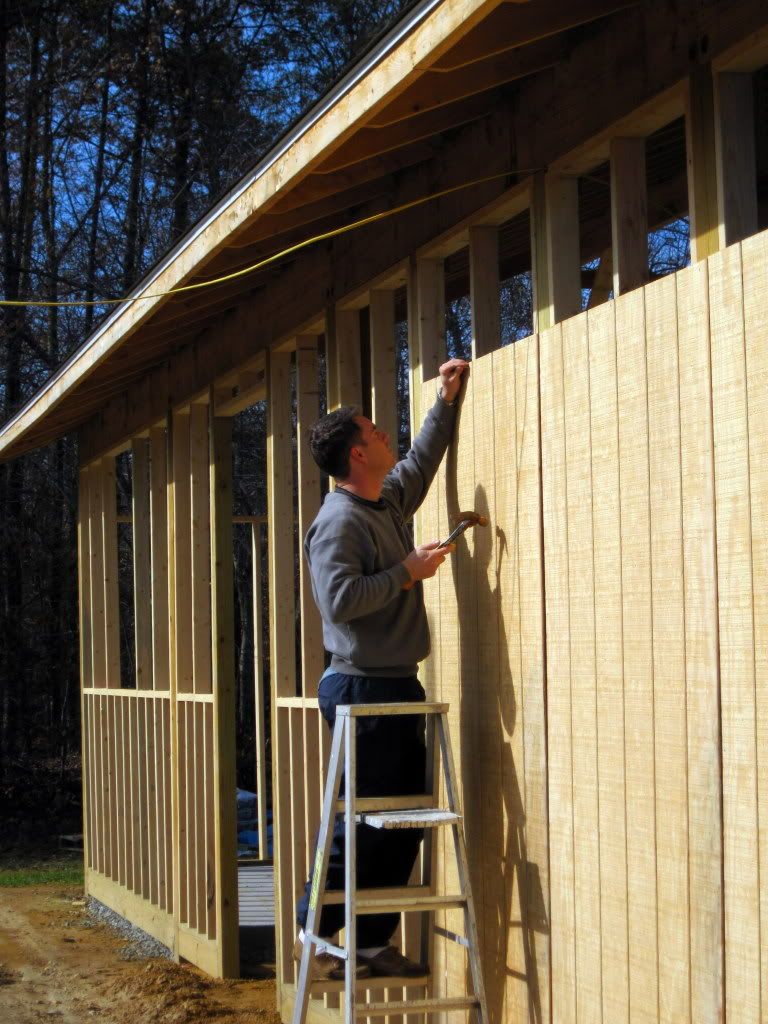
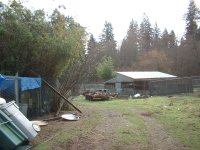
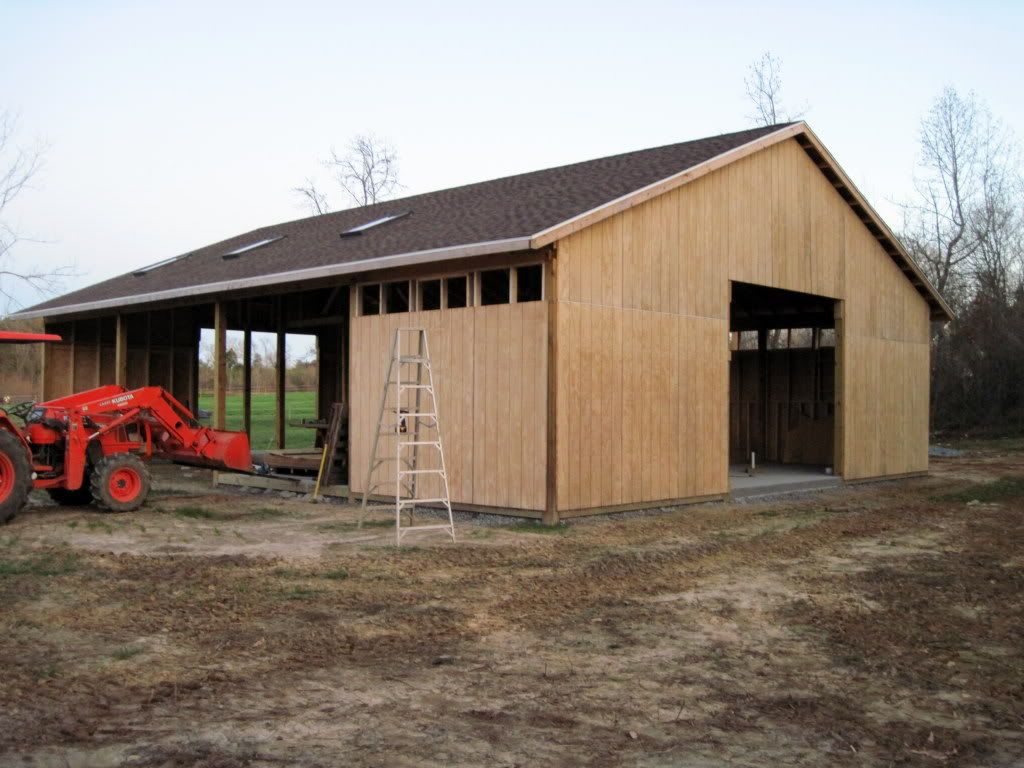
I sometimes think that building the barn from scratch might have been easier as I have had to disassemble the old barn at the same time that I am constructing the new. Also since this is currently my ONLY barn, I have had to try to maintain the usability of it at the same time.
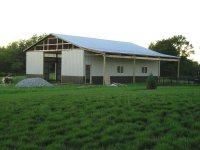
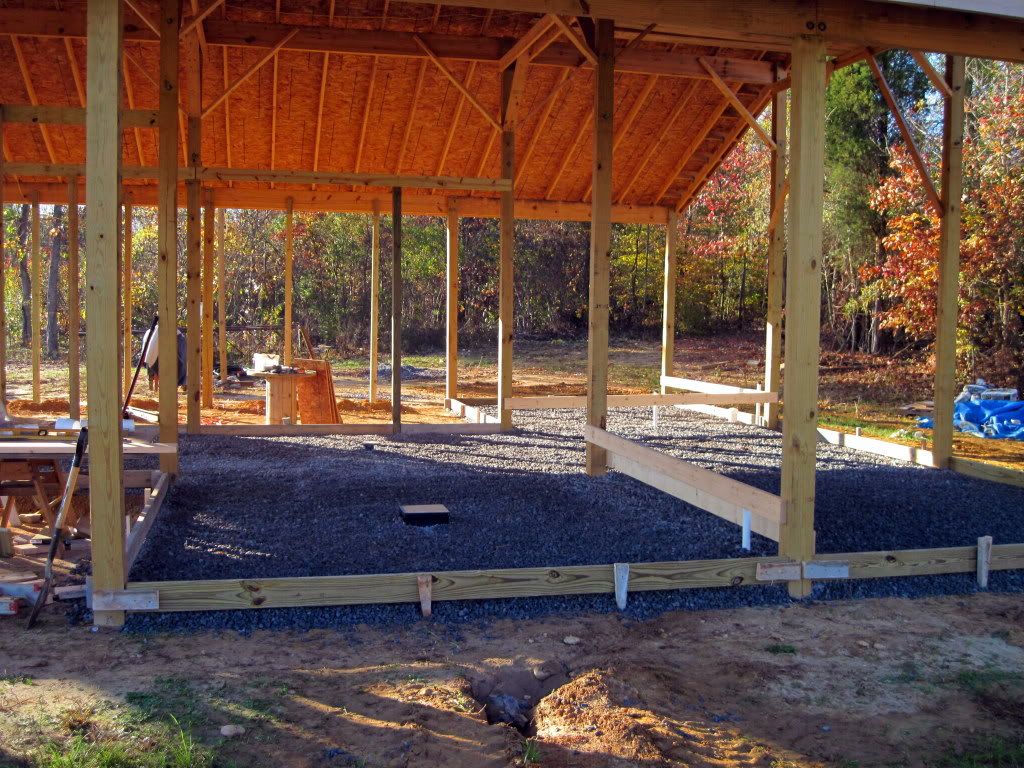
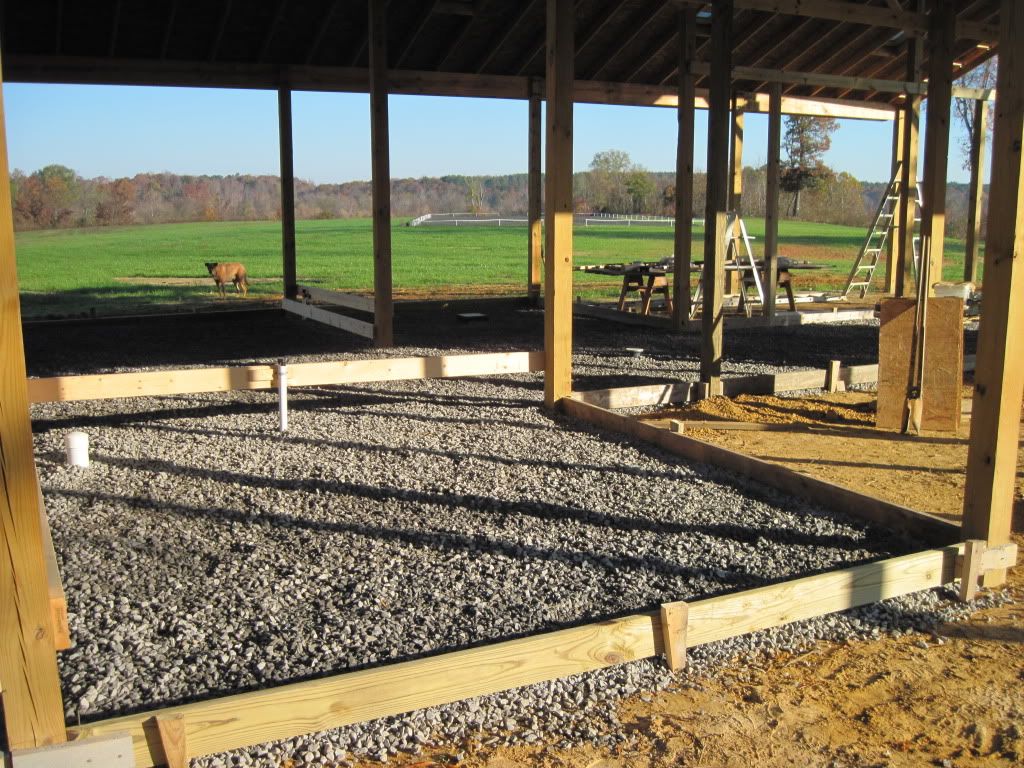
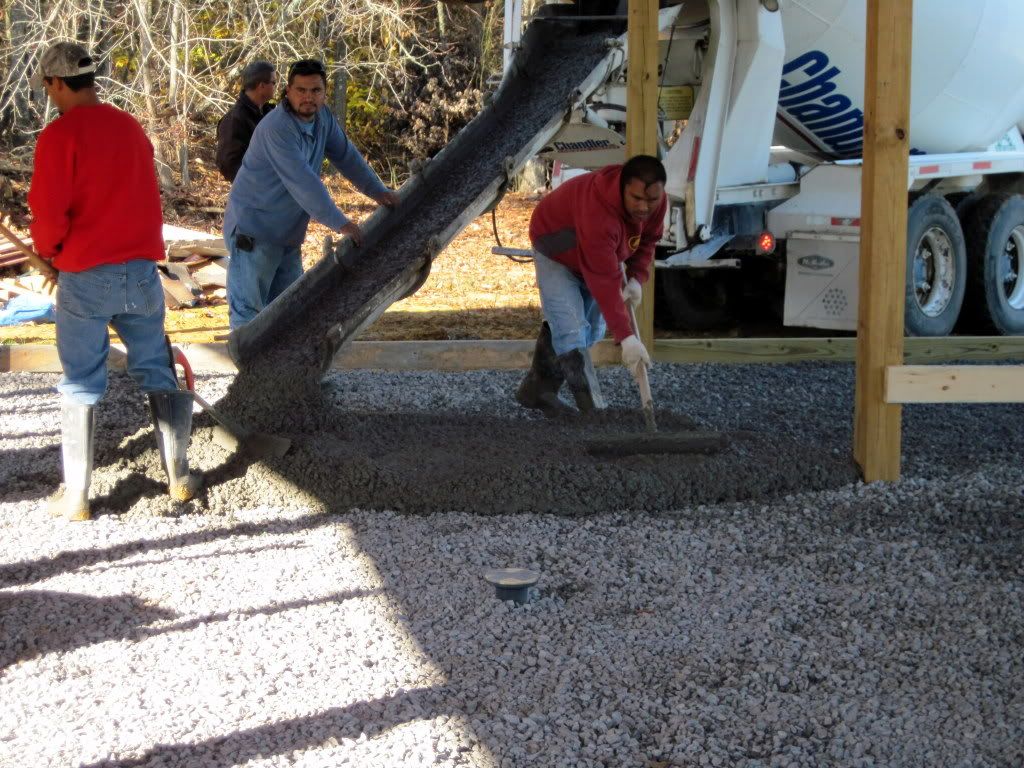
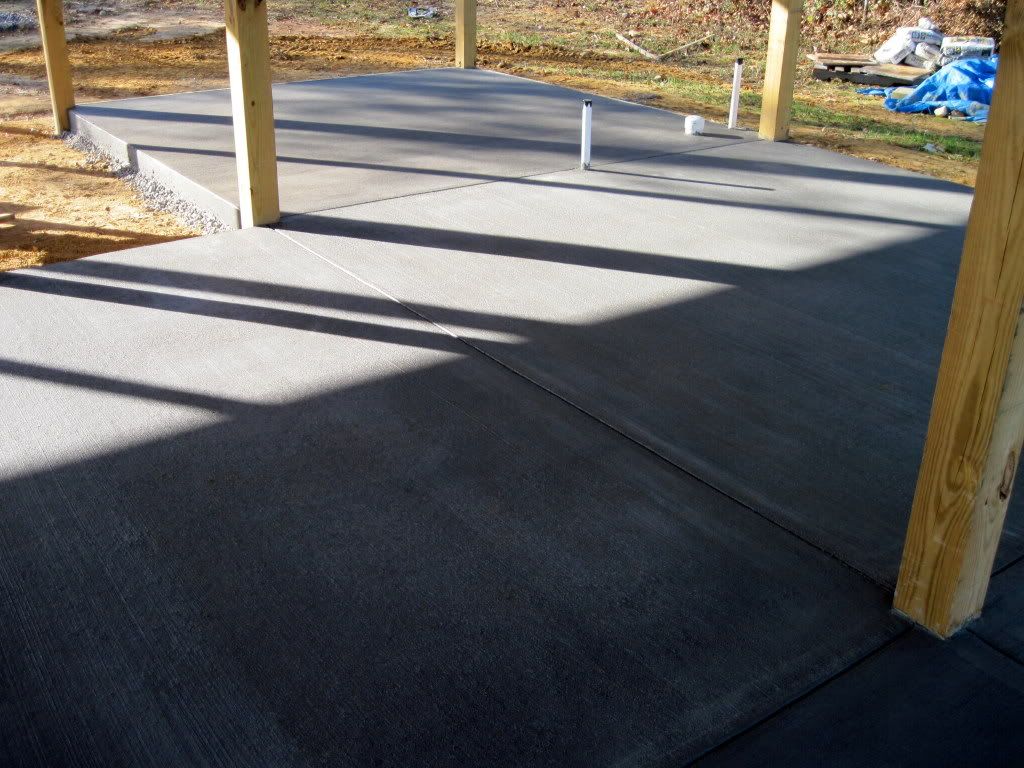
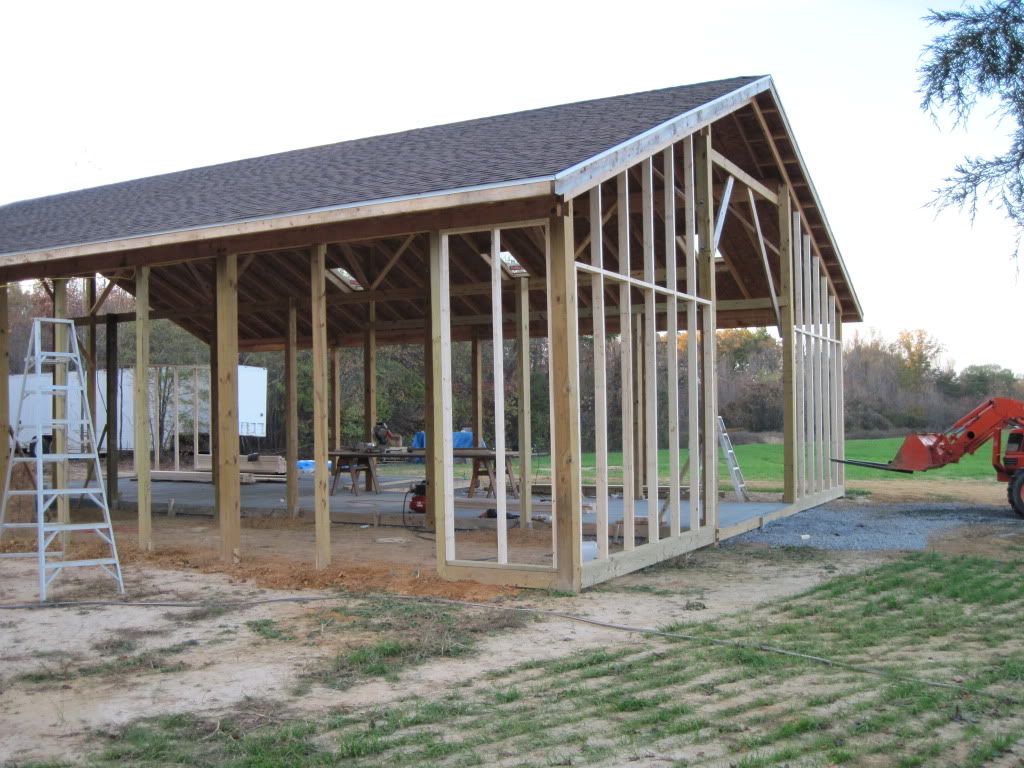
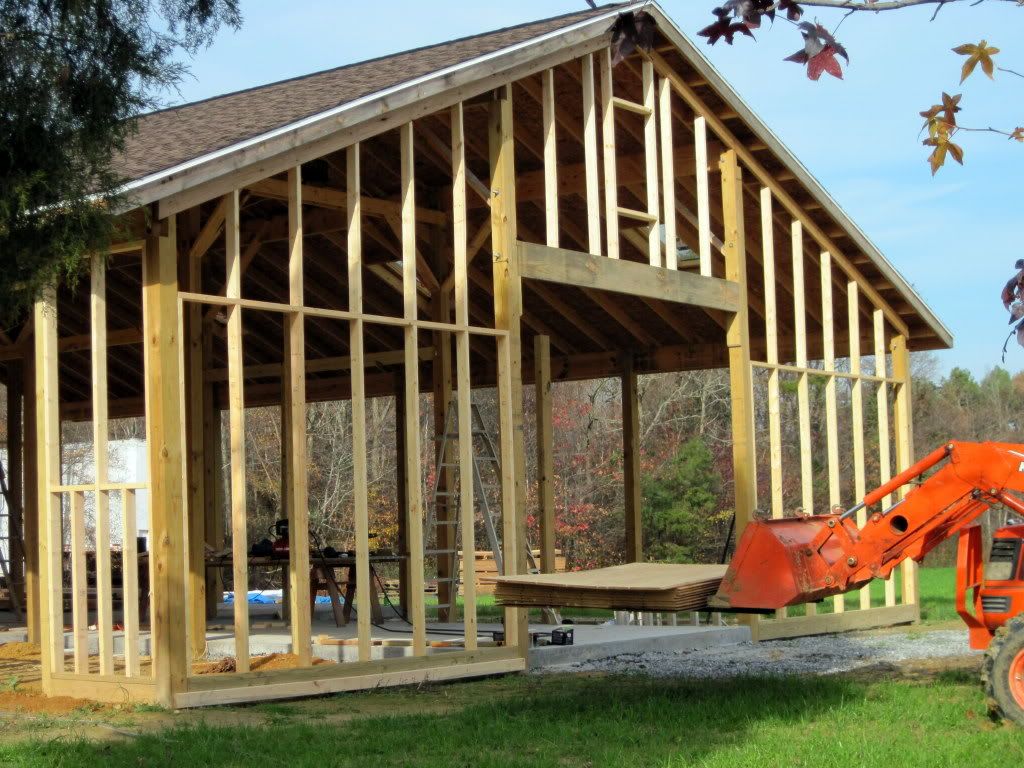
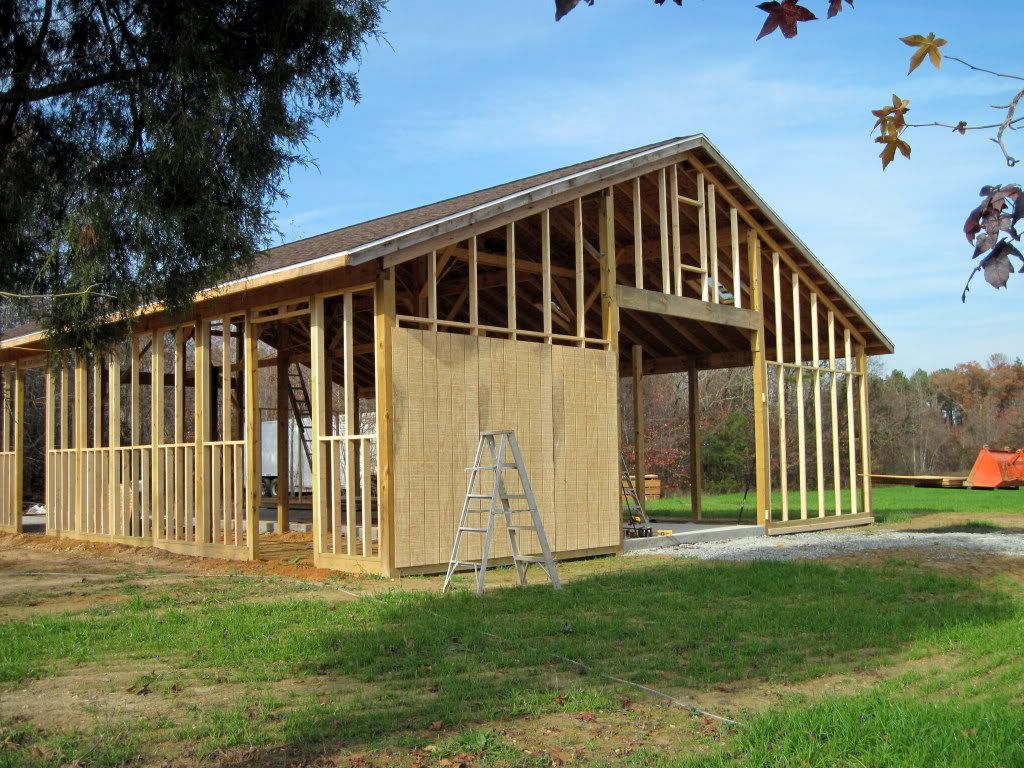
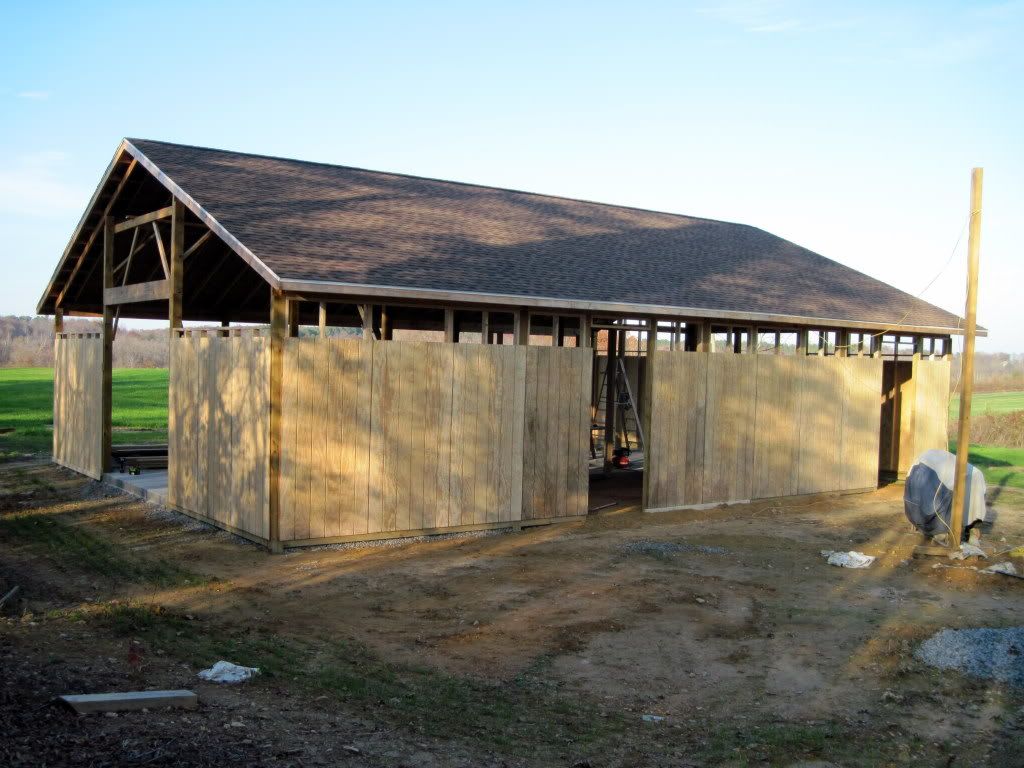
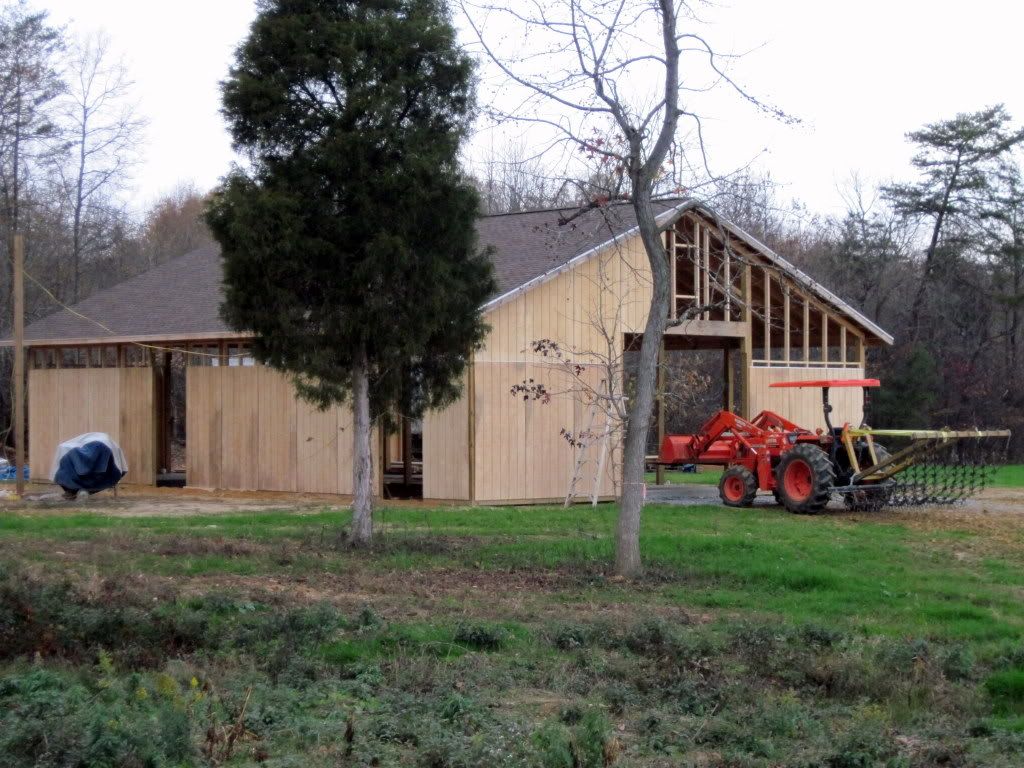
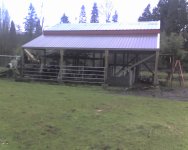
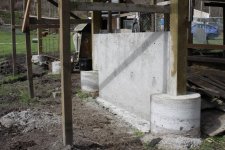
FYI - my barn is 42ft wide by 36ft long. Very close to the size of yours. I related very quickly to how much work is involved in the project you took on. Unfortunatly my ground inside the barn won't support a cement truck until I have all the footing walls in and dig out 6-12" of soft material and fill to subgrade with crushed rock. Which on the low side is about 33" above existing grade. As a result, I have approx 60 tons (2000 bags) of concrete to mix and poar by hand before I will be able to resort to a truck for the floor. Thank God for cement mixers!!
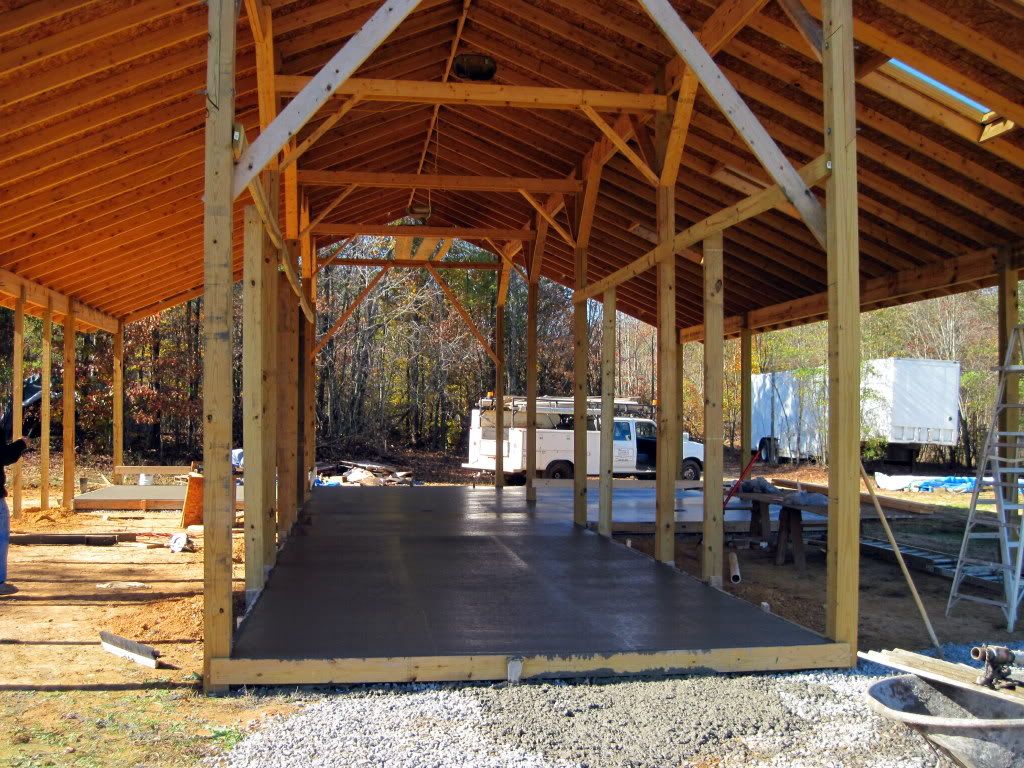
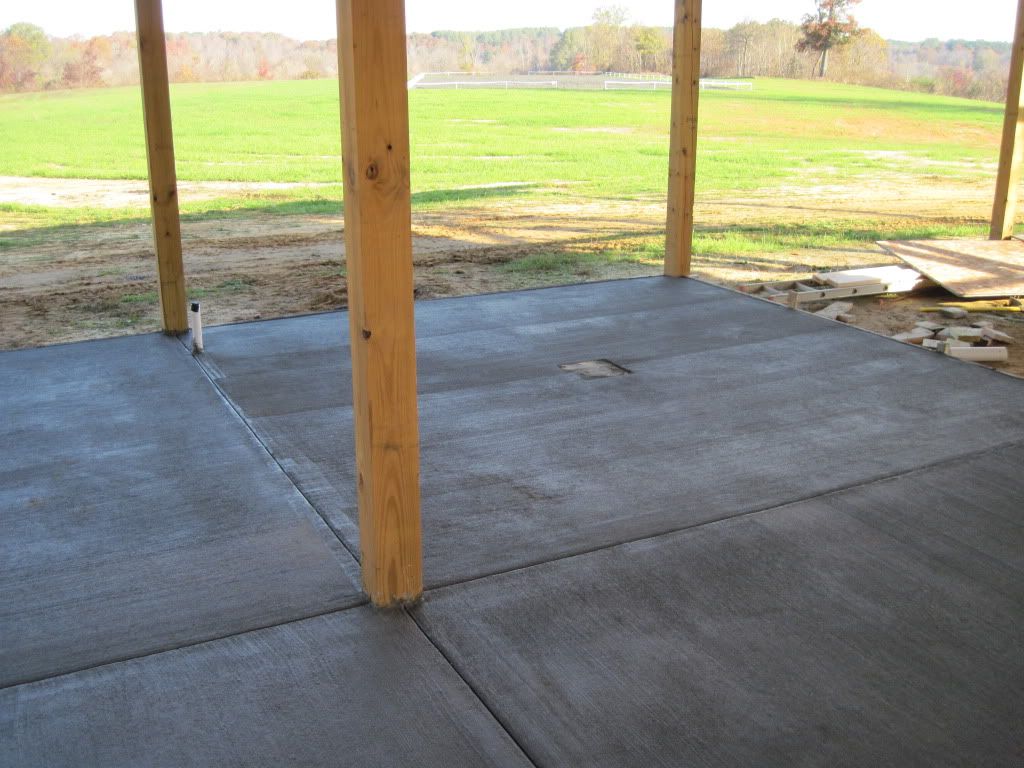
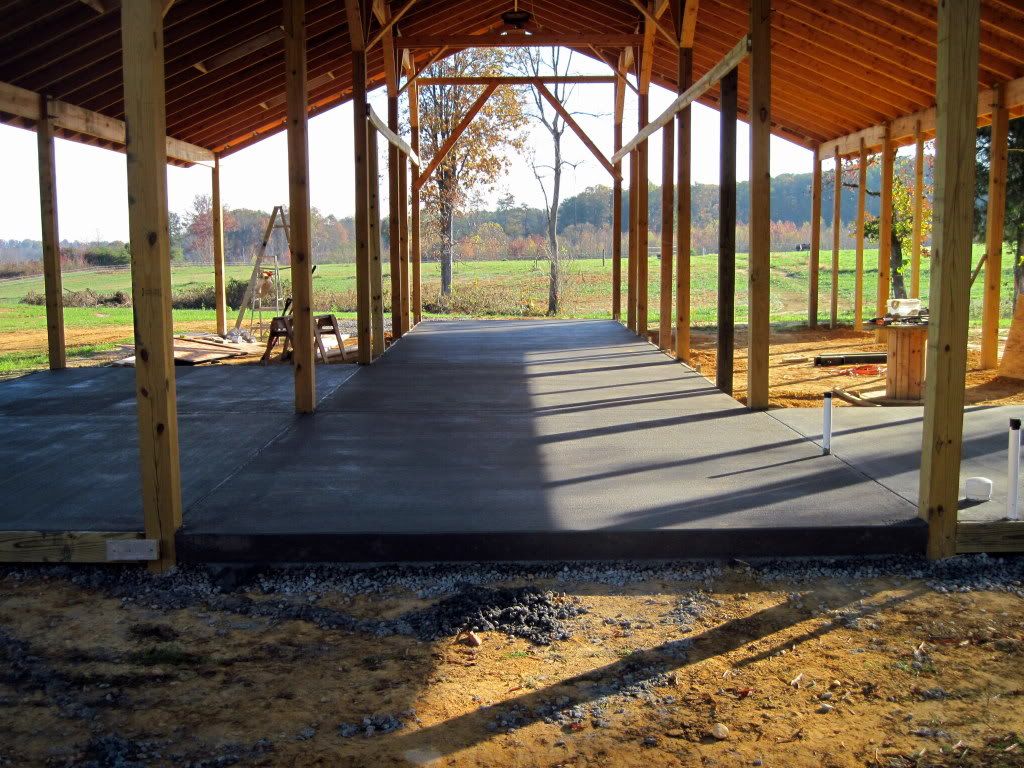
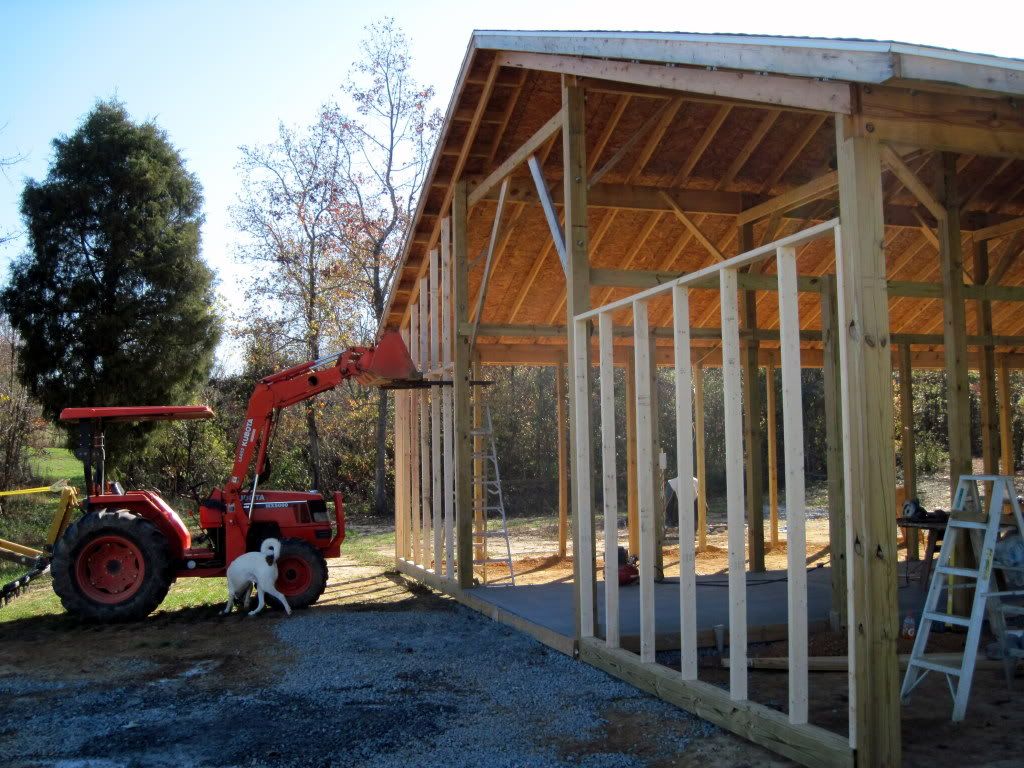
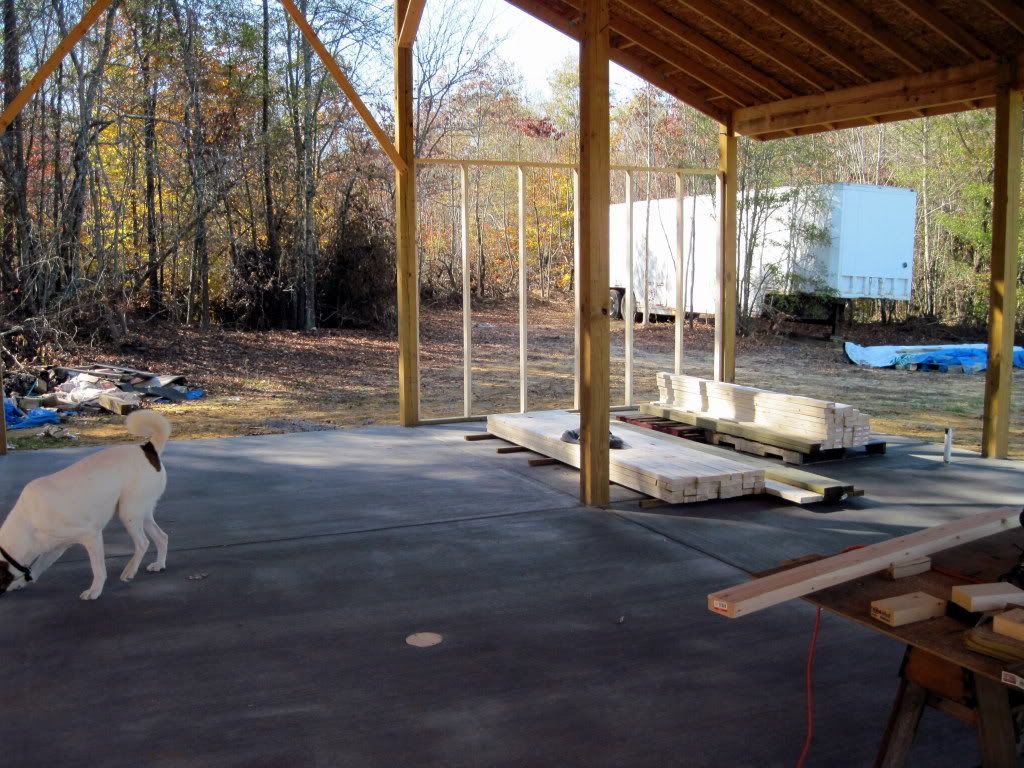
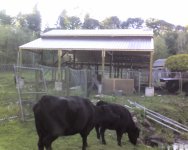
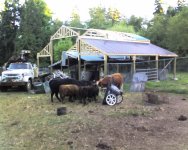
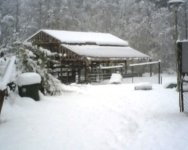
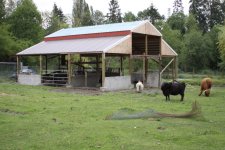
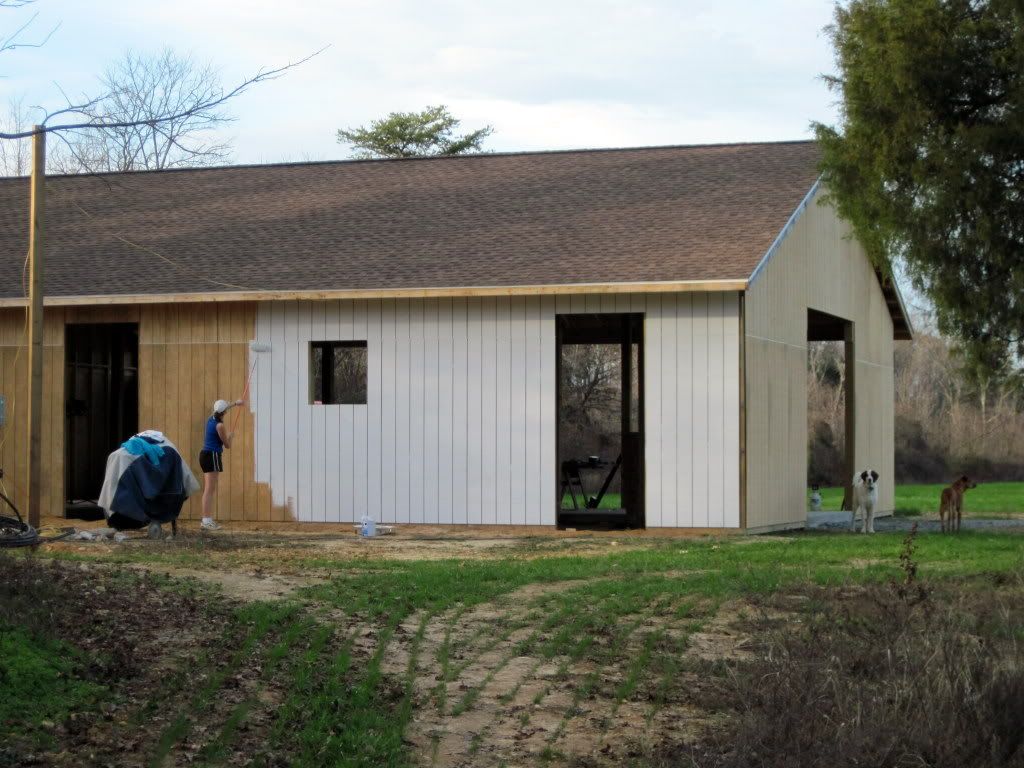
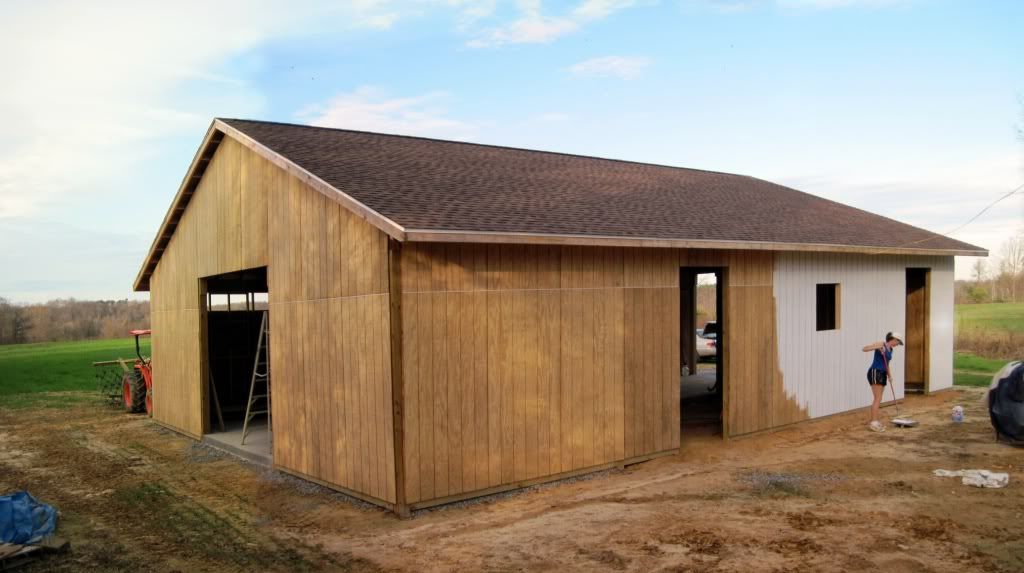
Your barn looks beautiful. Keep up the good work and keep the pictures comming. I'm jellous of your floor and walls! Right now where the cattle come to the feeder in what will be one of the back stalls, I have about 8" of mud! I ran out of weather before I got the center in the back done and I have water flowing accross the center of main floor with about an inch of mud there. At least I got the uphill side done and with pallets on the ground for the hay to sit on it stays dry and I don't have to pack it five hundred feet to feed any more. I'm suppose to bring in another 6-1/2 ton in a couple of weeks, but it's wet enough now that I don't know if they will be able to get it back there and into that barn. I might be back to packing it on top of the car again. I have a 30x36 maintainance bulding near my front gate where I used to store it. Looks like I might have to make room to store it there again for the winter.