My Horse Barn in Progress

   / My Horse Barn in Progress
  • Thread Starter
#21  
Looks like you got things well under control,as well that dog does too.We built a barn that size when we lived over in MO., be we cheated and had a neighbor that builds tobacco bards do the framing and the roof. Went with a metal roof. We used 1x10 pine boards for the siding. One, it looked better when it was stained and two, it priced out about equal if I did the work, and I work for free. I used pipe clamps to get the boards tight, but they still shrank, so I ended up ripping 2" bats to cover the gaps.

Nice looking horses, but how come the bell boot on the paint? What do you use the horses for? We used to do competitive trail with NATRC. Wife's horse is too old (32) and my horse is gettin there (20) and too fat.

I thought about board and batten, but ended up opting for T1-11. I know a lot of people don't like it, but I've had good luck with it in the past. The trick is to seal every edge, including (or rather, especially) the ones I cut, before nailing it on the walls. By doing that, flashing and caulking properly, and keeping it up off the ground, I've never had any rot problems.

My wife is a dressage rider. The paint is just a buddy-horse borrowed from a friend. His feet were a mess when he showed up, hence the bell boots.

If anyone has a nice fancy warmblood they need to get rid of, please let me know! My wife's in the market for an upgrade.
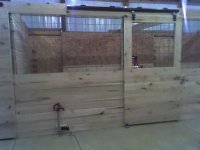
 
   / My Horse Barn in Progress #22  
About 20 yrs. ago I built a Pole Barn 40'x40' , a work shop 24'x24' and a smaller 16'x 12' building on our farm and used T1-11 - I used a semi transparent stain and have never been sorry...They look great ! I stained them all again after 15 yrs. - only because they were a little dull, I used my compressor , a paint tank and air gun.
 
   / My Horse Barn in Progress
  • Thread Starter
#23  
About 20 yrs. ago I built a Pole Barn 40'x40' , a work shop 24'x24' and a smaller 16'x 12' building on our farm and used T1-11 - I used a semi transparent stain and have never been sorry...They look great ! I stained them all again after 15 yrs. - only because they were a little dull, I used my compressor , a paint tank and air gun.

Good to know! I'm planning to do this one about the same way, though I may end up using an opaque stain or paint. The air gun seems like a must though.
 
   / My Horse Barn in Progress #24  
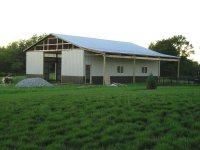
Looks like some pretty good progress. Here are a few pictures of our barn same size 36x48 with a 10' lean to. Some lessons I have learned

1. Put a water shut off to the barn.
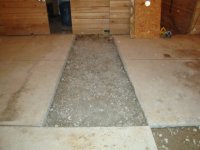
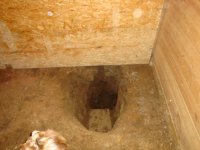
2. If there are any Tee's in the water line make sure they are either outside or put an access to them ( I had to break up concrete in our barn and get to a tee that busted last winter, you can see the hole I dug by hand on the stall side, I rented a mini excavator for the side where the concrete was.)
3. On the stall fronts I would make an opening big enough for your bucket to get into for loading sawdust or cleaning. I only have 4' doors and it is a pain.
4. Horses will chew anything.

We had a lot of fun building ours it was a kit from Menards. We had to put up 28' 6x6 for the center posts and that was pre tractor, it would have been a big help. We used the truck and about 50' of tow strap. We have 3 stalls and one tack room on one side and hay storage on the other with a center isle.
 

Attachments

  • 03-08-08_1901.jpg
    03-08-08_1901.jpg
    59.3 KB · Views: 889
  • DSC00128.JPG
    DSC00128.JPG
    143.3 KB · Views: 653
  • DSC00130.JPG
    DSC00130.JPG
    125 KB · Views: 1,545
  • P1011707.JPG
    P1011707.JPG
    612.7 KB · Views: 1,224
   / My Horse Barn in Progress
  • Thread Starter
#25  
Looks like some pretty good progress. Here are a few pictures of our barn same size 36x48 with a 10' lean to. Some lessons I have learned

1. Put a water shut off to the barn.
2. If there are any Tee's in the water line make sure they are either outside or put an access to them ( I had to break up concrete in our barn and get to a tee that busted last winter, you can see the hole I dug by hand on the stall side, I rented a mini excavator for the side where the concrete was.)
3. On the stall fronts I would make an opening big enough for your bucket to get into for loading sawdust or cleaning. I only have 4' doors and it is a pain.
4. Horses will chew anything.

We had a lot of fun building ours it was a kit from Menards. We had to put up 28' 6x6 for the center posts and that was pre tractor, it would have been a big help. We used the truck and about 50' of tow strap. We have 3 stalls and one tack room on one side and hay storage on the other with a center isle.

Very nice, and thanks for the lessons. I'll try to learn from your pain. Sorry you had to deal with that broken tee. Hopefully I can avoid such problems, but I did put in a ball valve where I teed into the water supply way back at the well head just in case.
 
   / My Horse Barn in Progress
  • Thread Starter
#26  
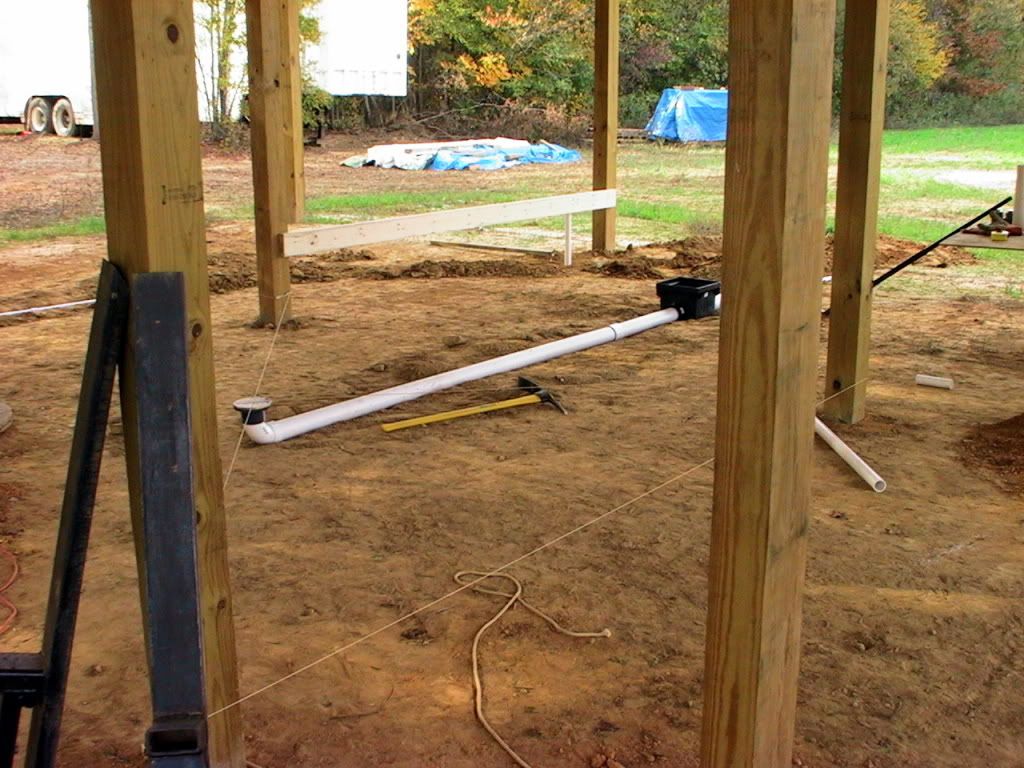
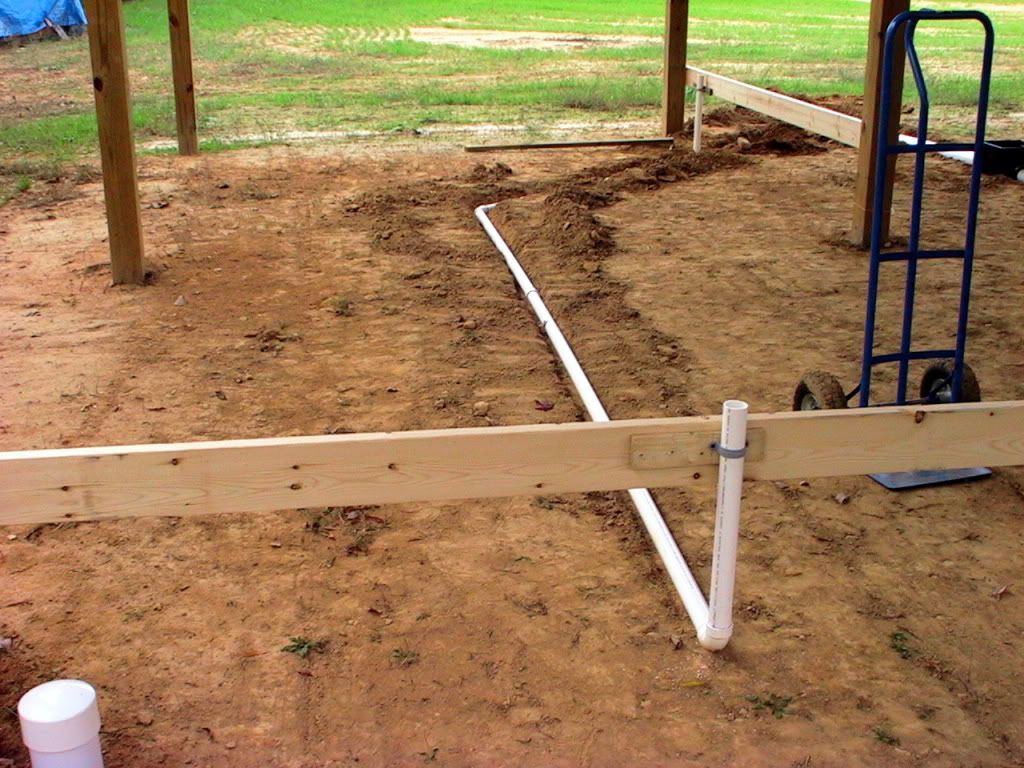
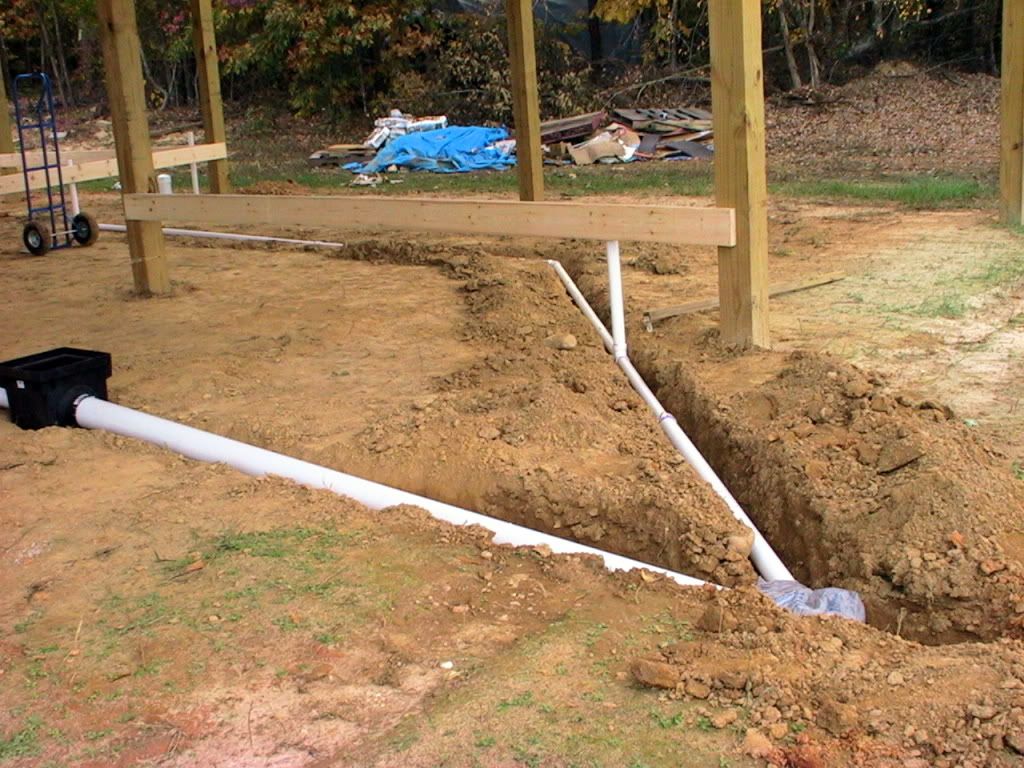
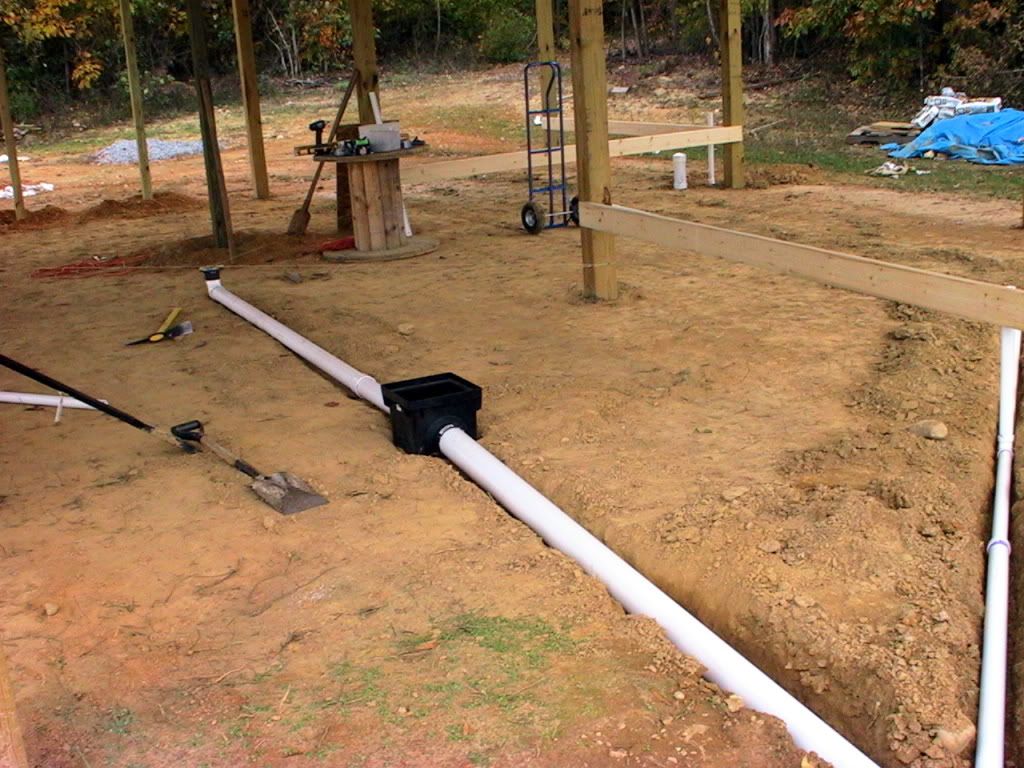
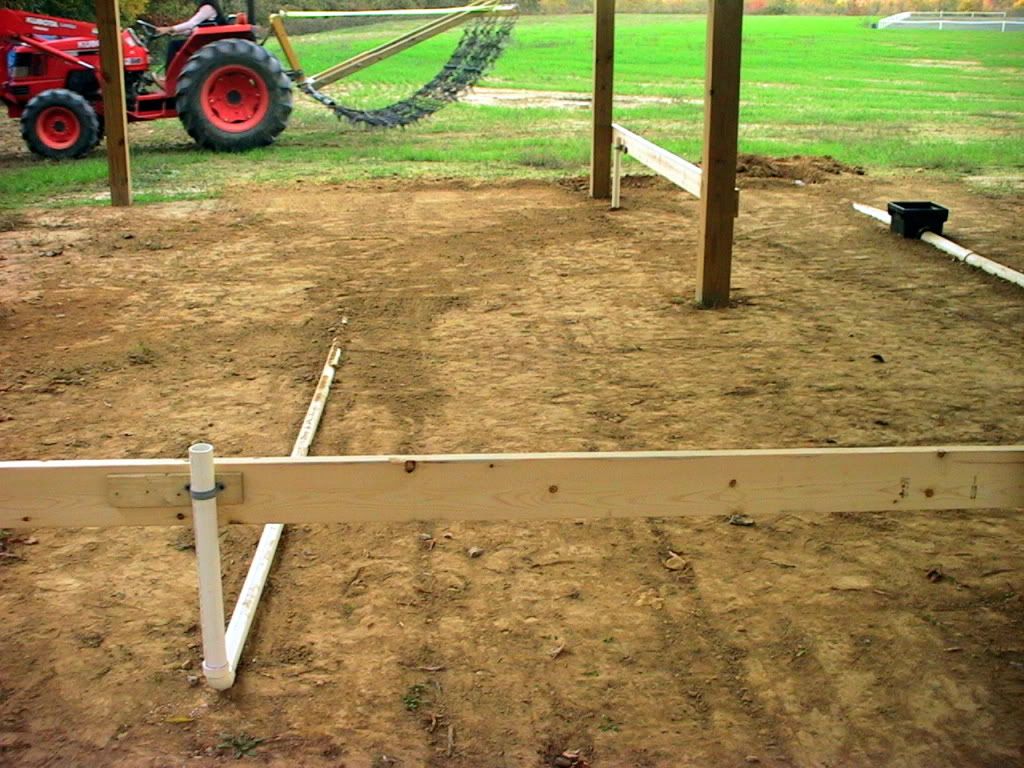
Step 7: Under-slab plumbing

Well, it's been a while since I updated my progress, so here's the latest.

Since this barn will have a concrete floor with sinks, a toilet (eventually), and a couple of floor drains, there's some plumbing to do before the slab goes down.

The tractor wasn't much help here since it's mostly just hand digging. I put in a 12" square catch basin in the wash rack with a smaller 6" round floor drain out in the aisleway nearby. I also roughed in sinks in the two tack rooms. The toilet drains into a separate system and is currently capped off underground outside of the barn. Eventually I'll install a septic system for it and hook it up.

IMG_3576.jpg

IMG_3579.jpg

IMG_3578.jpg

IMG_3580.jpg

IMG_3584.jpg

IMG_3583.jpg

IMG_3600.jpg

IMG_3598.jpg
 
Last edited:
   / My Horse Barn in Progress
  • Thread Starter
#27  
Step 8: Slab

The slab is the first step where I actually hired somebody else to do the work. With a little over 1000 square feet of concrete to spread, screed, float, and texture, I figured it was better left to the experts (and those who's backs can handle the work). I ended up putting a little over 4" of 4000psi concrete with fiber in it over a base of 4" of packed stone.

The guys did a really nice job. They made it look so easy, and did a great job of sloping down to the drains. I'm really glad I hired them to do it. The edges and joints and broom finish look really nice.

IMG_0174.jpg

IMG_0177.jpg

IMG_0189.jpg

IMG_0196.jpg

IMG_0203.jpg

IMG_0209.jpg

IMG_0220.jpg

IMG_0223.jpg

IMG_0226.jpg

IMG_0227.jpg

IMG_0229.jpg
 
   / My Horse Barn in Progress
  • Thread Starter
#28  
Step 9: Exterior wall framing

Now I'm to the point of framing the exterior walls. I'm using vertical studs flush with the outside of the posts so I can have T1-11 on the outside and horizontal T&G boards on the inside. I got a little help from the wife so far, but otherwise it's back to just me again.

IMG_0235.jpg

IMG_0236.jpg

IMG_0237.jpg

IMG_0240.jpg

IMG_0244.jpg

IMG_0247.jpg

IMG_0250.jpg

IMG_0254.jpg
 
   / My Horse Barn in Progress #29  
Looks real nice!
 
   / My Horse Barn in Progress
  • Thread Starter
#30  
Step 10: Exterior Sheathing

Okay, so I'm not technically finished with Step 9 yet, but I have a good reason for not finishing the framing on the north side of the barn. I still have about 3" of dirt followed by 3" of rock screenings to add to the stalls to raise the floor level up closer to the aisleway. However, it's too wet and soft to bring in a dump truck, so I have to postpone that step until it dries out for a bit. Since it involves something in the neighborhood of 40,000 lbs. of material, there's no way I want to move all that in a wheelbarrow, so I want to make sure I continue to have tractor access to the stalls. Hence, I'm postponing finishing off the north wall.

In the meantime, I've gotten started on the T1-11 sheathing on the other three sides. I put a PT 2x6 as a "skirt" around the entire perimeter of the barn. The T1-11 then overlaps the top of the 2x6, leaving about 4" of PT wood between the ground and the bottom of the T1-11.

Since T1-11 is subject to rot/delamination due to water infiltration, I've been sealing all edges of the sheets with polyurethane prior to installation. I also sealed the front of the sheets near the top where the z-flashing will overlap just in case wind-driven rain gets up under there. I figure none of these areas will end up getting painted once the sheets are nailed in place, so better to do it ahead of time.

To do the upper row on the gable ends, I load a good-sized stack of T1-11 onto the bucket forks (5 or 6 sheets or more - enough that I can stand on the very edge of the stack without worrying that it's going to tip up on the other side). Then I raise it eight or ten feet in the air and use it as a work platform. It's still not trivial getting full sheets of T1-11 in place while standing on a bouncy platform, but it's a whole lot easier than trying to carry one of those sheets up a ladder.

Sorry, no action shots of the top row, but here are a few pics of my progress.

IMG_0300.jpg


IMG_0303.jpg


IMG_0304.jpg


IMG_0313.jpg


IMG_0331.jpg


IMG_0337.jpg


IMG_0343.jpg
 

Tractor & Equipment Auctions

2008 CATERPILLAR 304C CR EXCAVATOR (A51242)
2008 CATERPILLAR...
2011 MAMMOTH UTILITY (A50854)
2011 MAMMOTH...
2019 Doosan DX225LC-5 Excavator (RIDE AND DRIVE) (VERY NICE) (A50774)
2019 Doosan...
2013 VERMEER RTX1250 RIDE ON TRACTOR (A51242)
2013 VERMEER...
2021 Cat D5 LGP Dozer (RIDE AND DRIVE) (A50774)
2021 Cat D5 LGP...
Ditch Witch 6510A Trencher - Deutz Diesel, Backhoe, Cable Plow, Front Blade (A51039)
Ditch Witch 6510A...
 
Top