jcaron2
Silver Member
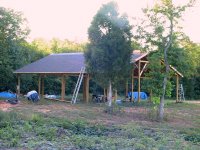
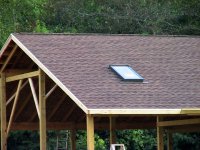
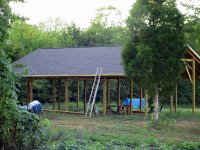
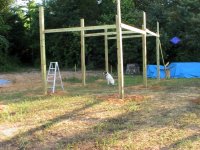
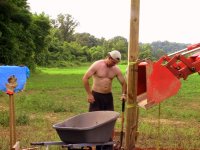
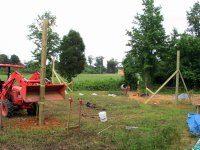
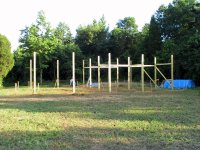
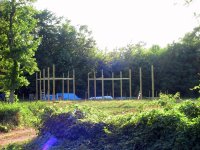
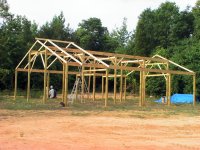
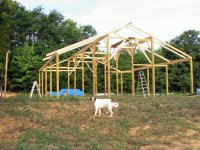
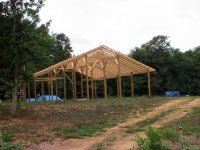
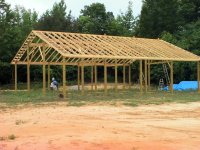
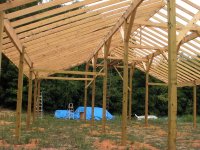
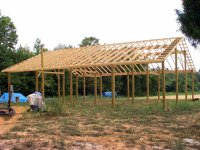
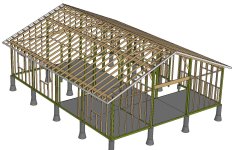
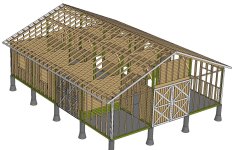
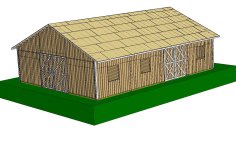
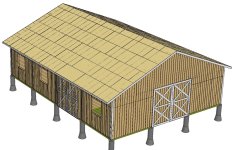
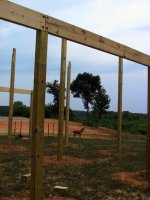
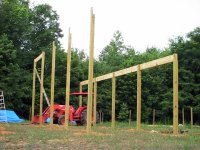
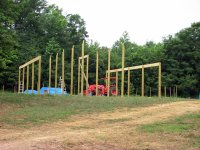
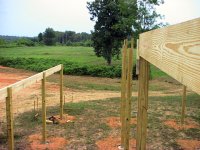
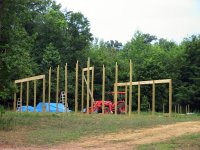
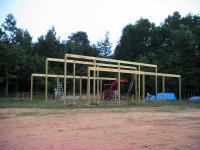
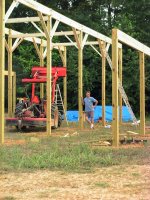
I started building my horse barn this spring. So far it's pretty much been just me and my Kubota. Since the tractor has played a major role, I figured I'd share some pics and narrative of the progress.


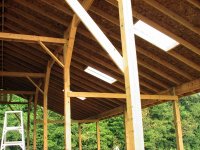
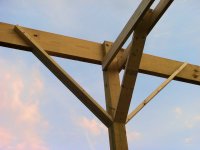
That looks like a good design
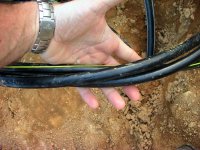
If you are putting a in a sub panel you should have 4 wires out there to meet new code if applicable to you.
hot, hot, neutral, and ground.
At least add a ground rod out at the panel to be safe.
tom

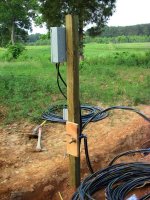
Thanks, Tom. I realize the new code requires a ground, but I'm not required to get any of this permitted since this is an agricultural building on a registered farm. Therefore, I'll pretend it's still 2007 and put a couple of ground rods at the barn location.
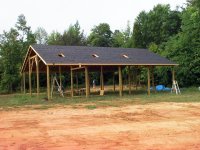
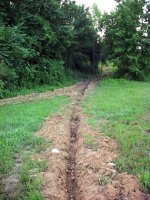
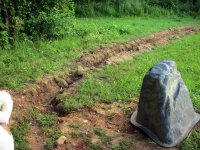
2' down is required down here for electric or water. Up north in Ohio, or other cold climates, it needs to be below the frost line.That looks like a fine horse barn. I'm from Michigan so the 18" deep buried water line seems shallow. I go about 48" here (minimum 42) but you must be in the sun belt somewhere. Lot of work ahead. Best wishes on your project.
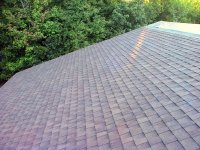
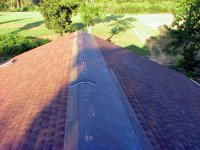
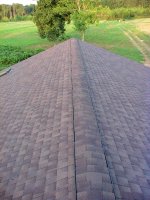
 I'm not really sure how I miscalculated so badly, but no matter. I had the entire following day to finish the last couple of feet near the peak, install the ridge vent, and put on the ridge shingles. It was 89 degrees that day, and I finished with the last of the ridge at about 7:30 p.m.