You are using an out of date browser. It may not display this or other websites correctly.
You should upgrade or use an alternative browser.
You should upgrade or use an alternative browser.
My Horse Barn in Progress
- Thread starter jcaron2
- Start date
- Views: 97416
/ My Horse Barn in Progress
#181
OP
jcaron2
Silver Member
Wow, great pictures (I had no trouble viewing them, by the way). Who made your horse stalls? They are really nice, I like that "arch" at the top of the doors.
Very neat idea on the stay roller issue for the exterior barn doors, looks like it works well. Always looking for new and innovative ideas, thanks.
Thanks.
The stalls are completely from scratch. I think there are some pictures from earlier this spring further back in this thread showing some of the work on the stall fronts. I made the arch-top doors from scratch too. I've seen them before, but they're pretty expensive and I'm not sure if they're available at a full 96" height. Everything I've seen online is 84". I wanted extra headroom going in and out of the stalls. Plus, I was able to make them for about 10-15% of the cost of buying them.
dcyrilc
Elite Member
Thanks.
The stalls are completely from scratch. I think there are some pictures from earlier this spring further back in this thread showing some of the work on the stall fronts. I made the arch-top doors from scratch too. I've seen them before, but they're pretty expensive and I'm not sure if they're available at a full 96" height. Everything I've seen online is 84". I wanted extra headroom going in and out of the stalls. Plus, I was able to make them for about 10-15% of the cost of buying them.
The door construction started in this post.
http://www.tractorbynet.com/forums/build-yourself/153626-my-horse-barn-progress-11.html#post1896464
OP
jcaron2
Silver Member
I use Mozilla3.6.11 and the pics don't resize. I have to move the bars L+R, U+D to see.
Btw, you can re-size without changing the pixels.
Nice work anyway!
regards,
Steve
Steve, I have the same version.
TBN facilitates automatic resizing using Javascript. You may have disabled Javascript on your browser (There's a checkbox in the Tools/Options/Content tab).
If you enable Javascript and reload the page, it should automatically display the pictures at only 400 pixels wide (with the option to click them to see full resolution).
Regardless, can anybody tell me how (or if it's possible) to force images to display here at a reduced size? If this was regular HTML code, I'd use the <img source="..." width="..." /> syntax. But this is more of a "dumbed down" version. Anyone? Anyone?
OP
jcaron2
Silver Member
Steve, I have the same version.
TBN facilitates automatic resizing using Javascript. You may have disabled Javascript on your browser (There's a checkbox in the Tools/Options/Content tab).
If you enable Javascript and reload the page, it should automatically display the pictures at only 400 pixels wide (with the option to click them to see full resolution).
Regardless, can anybody tell me how (or if it's possible) to force images to display here at a reduced size? If this was regular HTML code, I'd use the <img source="..." width="..." /> syntax. But this is more of a "dumbed down" version. Anyone? Anyone?
I finally figured out that the code used for formatting this stuff is called BBcode (as opposed to, say HTML, XML, etc.). It doesn't have any provisions for resizing images.
Given that, Steve, can you explain what you mean about resizing images without changing the pixels? (by which, I assume, you mean resolution).
OP
jcaron2
Silver Member
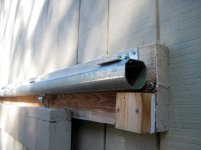
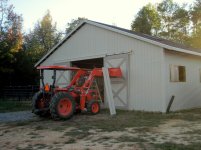
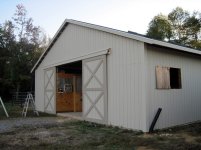
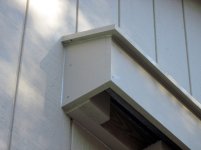
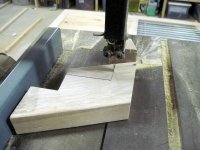
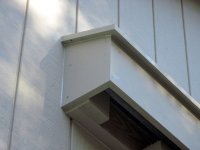
Step 20: Pent roofs.
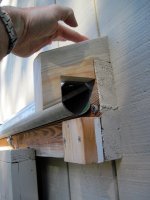
In case you're not familiar with the terminology, a pent roof is a small shed-style roof projecting out from the side of a building, usually over window or door openings. I needed to add pent roofs over the sliding doors on either end of the barn to make sure that water running down the wall would not run behind the doors and inside the barn.
I didn't do anything particularly fancy here. If I had planned properly, I would have framed and built these before sheathing the barn so that I could have run flashing up underneath the T1-11. However, having never done this before, it didn't occur to me at the time.
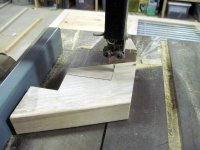
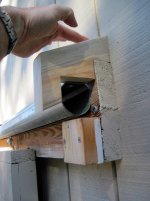
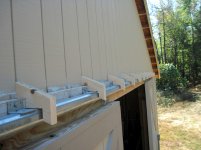
I cut support brackets for the pent roofs and attached them through the T1-11 to the studs. Then I applied the roof and facia, which I made out of exterior AC plywood. I prepainted everything on the ground so that I wouldn't have to worry about dripping paint or primer onto the doors or walls below. Once everything was screwed in place, I caulked the heck out of it where it meets the wall of the barn.
As always, here are some pictures. To keep them from displaying too wide, I've attached two versions of each - one at 800x600 and one at the full 4000x3000. Only the smaller versions are included inline with the text. If you want to see the full-resolution versions, they're the first nine attachments at the bottom.


In case you're not familiar with the terminology, a pent roof is a small shed-style roof projecting out from the side of a building, usually over window or door openings. I needed to add pent roofs over the sliding doors on either end of the barn to make sure that water running down the wall would not run behind the doors and inside the barn.
I didn't do anything particularly fancy here. If I had planned properly, I would have framed and built these before sheathing the barn so that I could have run flashing up underneath the T1-11. However, having never done this before, it didn't occur to me at the time.
I cut support brackets for the pent roofs and attached them through the T1-11 to the studs. Then I applied the roof and facia, which I made out of exterior AC plywood. I prepainted everything on the ground so that I wouldn't have to worry about dripping paint or primer onto the doors or walls below. Once everything was screwed in place, I caulked the heck out of it where it meets the wall of the barn.
As always, here are some pictures. To keep them from displaying too wide, I've attached two versions of each - one at 800x600 and one at the full 4000x3000. Only the smaller versions are included inline with the text. If you want to see the full-resolution versions, they're the first nine attachments at the bottom.
Attachments
-
 IMG_1790.jpg712 KB · Views: 176
 -
 IMG_1797.jpg993.2 KB · Views: 168
 -
 IMG_1792.jpg675.9 KB · Views: 173
 -
 IMG_1802.jpg732.1 KB · Views: 159
 -
 IMG_1816.jpg762.8 KB · Views: 171
 -
 IMG_1825.jpg959.3 KB · Views: 173
 -
 IMG_1833.jpg847.8 KB · Views: 156
 -
 IMG_1838.jpg772.2 KB · Views: 196
 -
 IMG_1790_small.JPG96 KB · Views: 1,030
 -
 IMG_1841.jpg923.8 KB · Views: 173
 -
 IMG_1797_small.JPG111.1 KB · Views: 1,006
 -
 IMG_1792_small.JPG100.4 KB · Views: 1,012
 -
 IMG_1802_small.JPG104.5 KB · Views: 1,007
 -
 IMG_1816_small.JPG88.8 KB · Views: 994
 -
 IMG_1841_small.JPG129.6 KB · Views: 975
 -
 IMG_1838_small.JPG78.8 KB · Views: 987
 -
 IMG_1833_small.JPG111.7 KB · Views: 1,020
 -
 IMG_1825_small.JPG123.7 KB · Views: 1,036
jayste
Veteran Member
- Joined
- Feb 12, 2008
- Messages
- 1,671
- Tractor
- 2004 Kubota M4800 SU
Jcaron, very neat and attention to detail. I'm impressed with how it turned out.:thumbsup:
OP
jcaron2
Silver Member
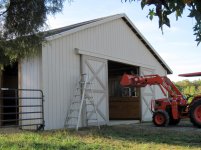
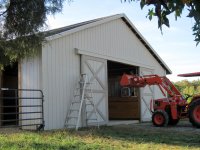
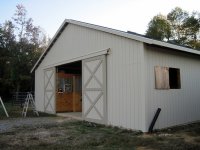
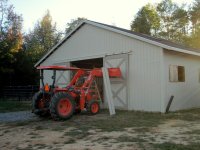
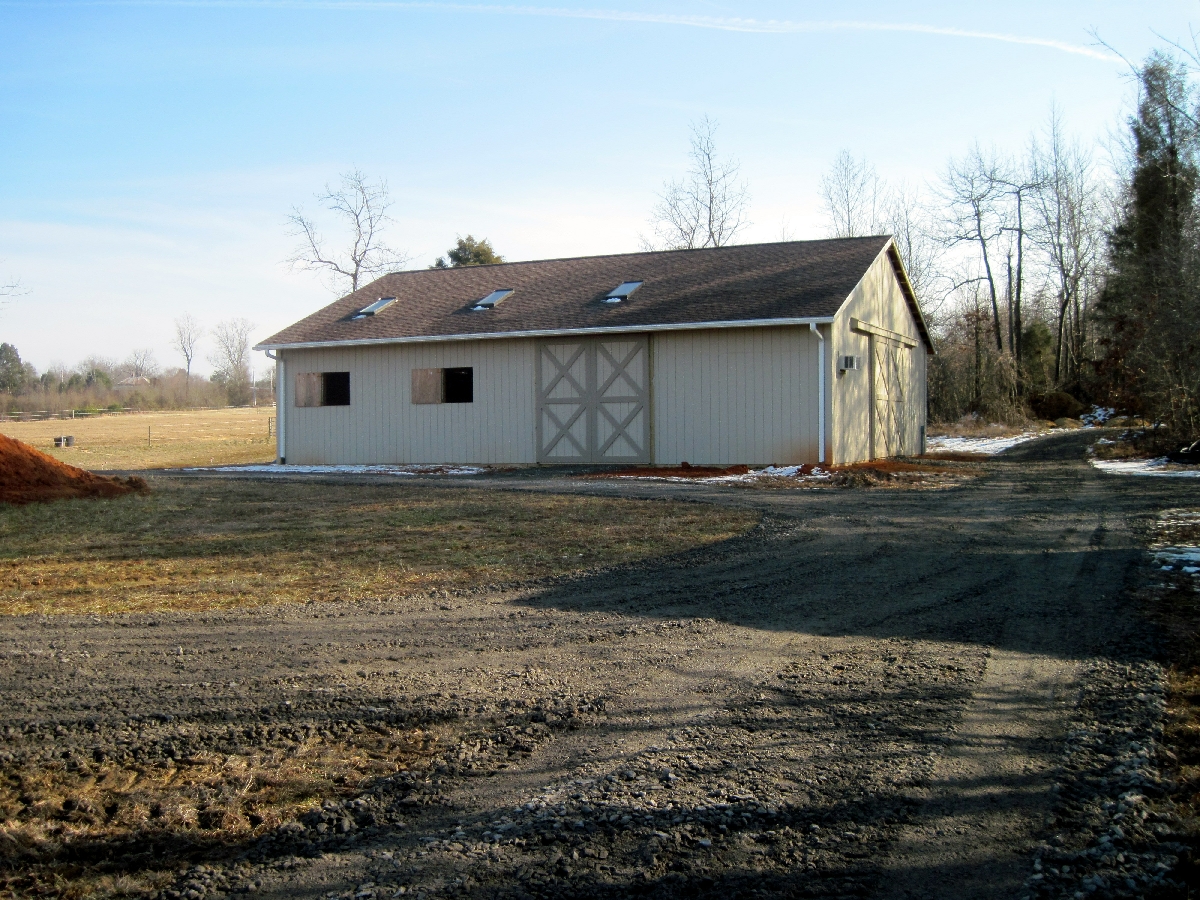
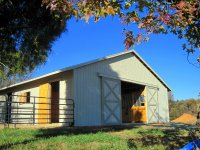
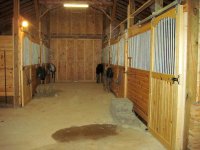
It's been a while since I've posted any updates here. 18 months since I started, and the barn is almost finished (though it's been functional for quite some time now).
Here are some of my accomplishments in the last few months:
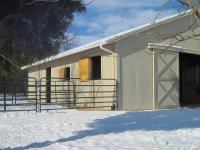
I got the last two stalls finished and ready for horses. One of them is now occupied by a boarder.
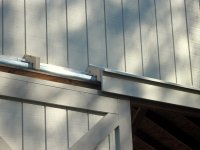
I finally got the gutters done, so no more mud splashing up on the siding when it rains (though there are still some mud stains that need to be scrubbed off). I priced out the materials to do it myself - around $300. Then I called around and got some quotes for seamless gutters - around $300. Seemed to be a no-brainer. Other than pouring the slab, that's the only other step I haven't done myself.
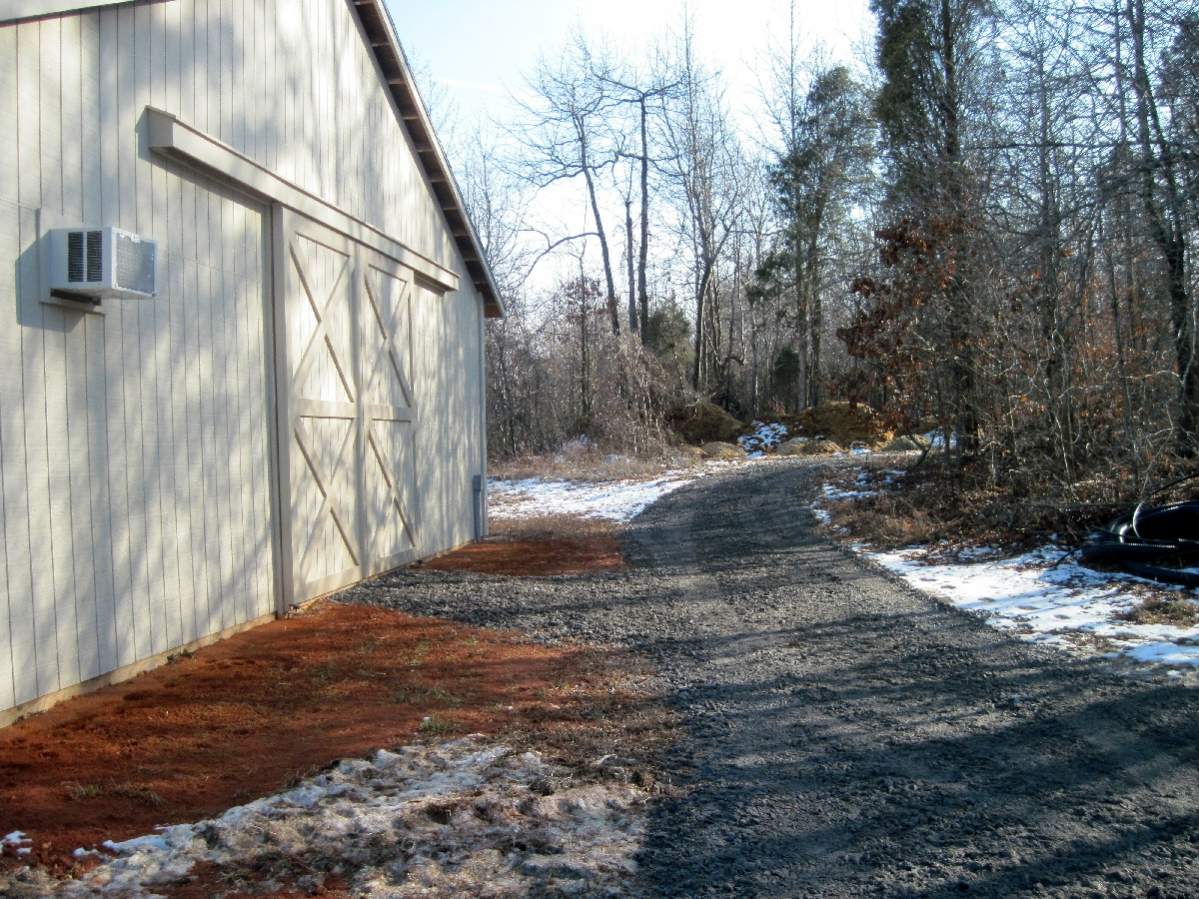
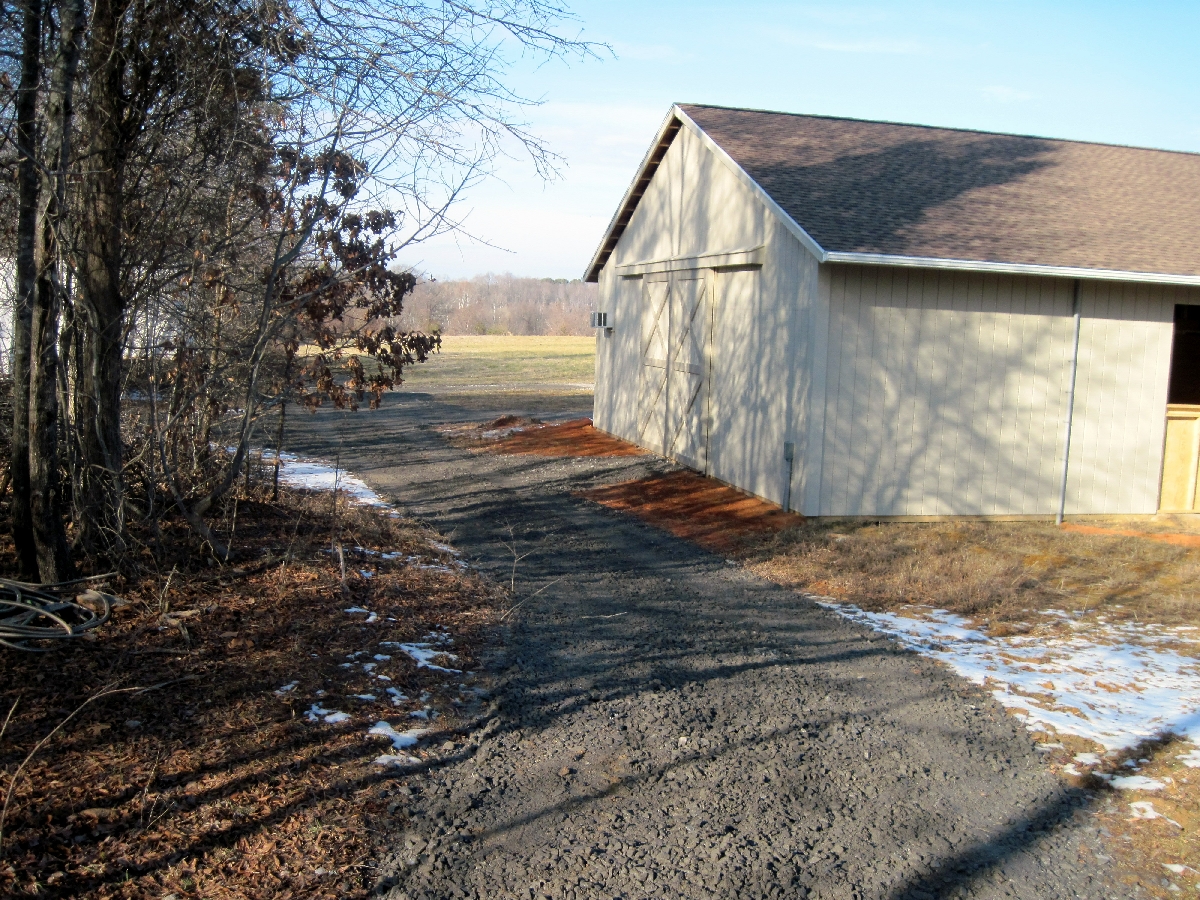
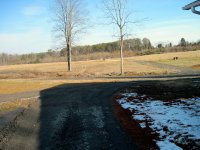
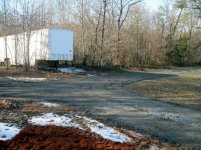
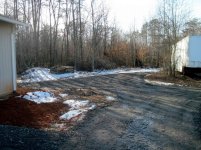
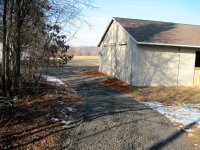
I got the various driveways around the barn finished. That includes a big loop to be able to turn around horse trailers, a parking pad for boarders and visitors, driveways to the hay shed and manure pile, and a separate parking pad for our horse trailer. It took five loads of crusher run, most of which had to be spread with my tractor since it was too muddy for the dumptruck to dump-and-run.
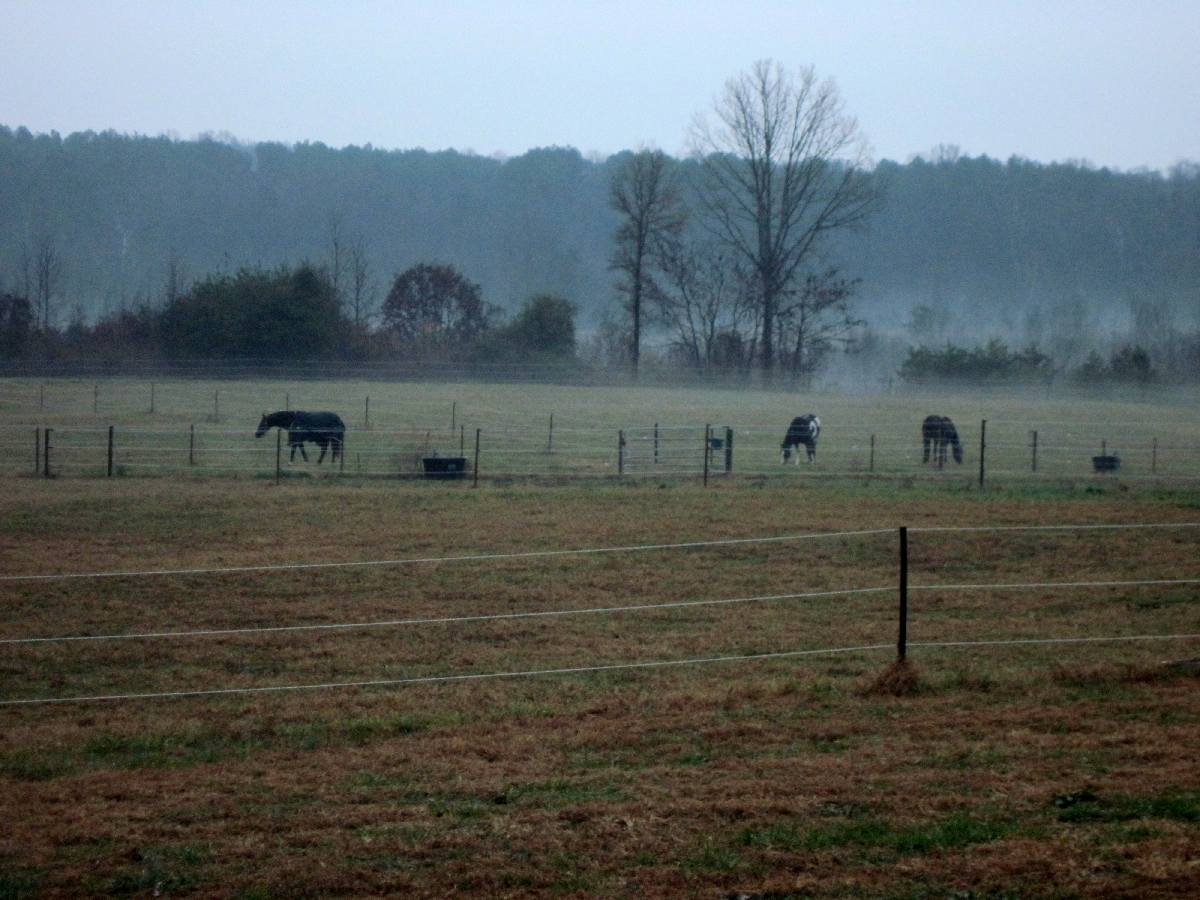
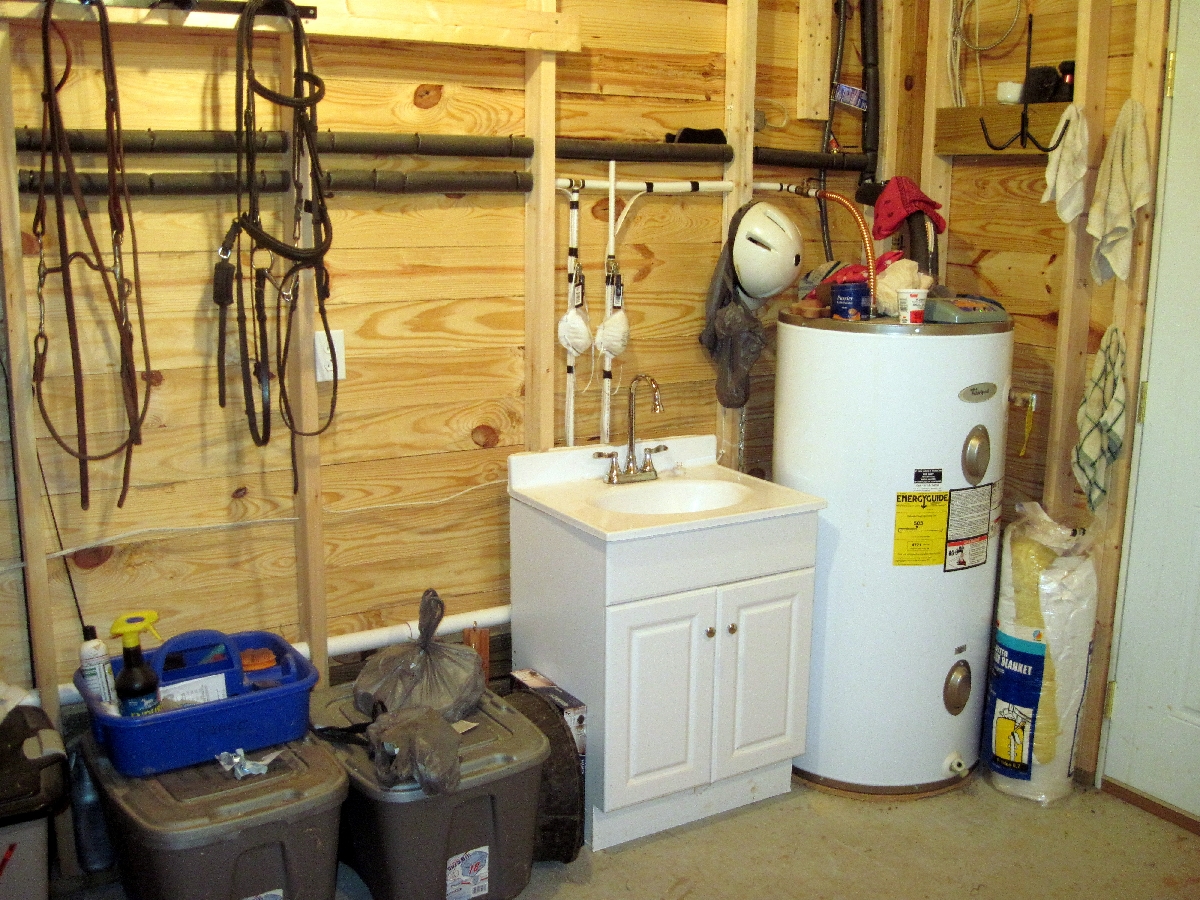
I also got the sink plumbed in the tack room, loads of hardware hung in various places (blanket racks, saddle racks, bridle hooks, etc., etc.), the heat tape wired up, the outdoor outlets in the pastures working (along with trough de-icers), and most of the indoor electrical work finished.
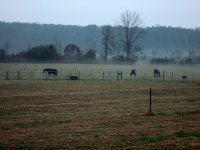
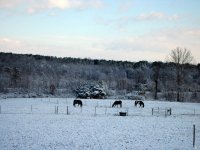
Here are some recent pictures:


Here are some of my accomplishments in the last few months:
I got the last two stalls finished and ready for horses. One of them is now occupied by a boarder.
I finally got the gutters done, so no more mud splashing up on the siding when it rains (though there are still some mud stains that need to be scrubbed off). I priced out the materials to do it myself - around $300. Then I called around and got some quotes for seamless gutters - around $300. Seemed to be a no-brainer. Other than pouring the slab, that's the only other step I haven't done myself.
I got the various driveways around the barn finished. That includes a big loop to be able to turn around horse trailers, a parking pad for boarders and visitors, driveways to the hay shed and manure pile, and a separate parking pad for our horse trailer. It took five loads of crusher run, most of which had to be spread with my tractor since it was too muddy for the dumptruck to dump-and-run.
I also got the sink plumbed in the tack room, loads of hardware hung in various places (blanket racks, saddle racks, bridle hooks, etc., etc.), the heat tape wired up, the outdoor outlets in the pastures working (along with trough de-icers), and most of the indoor electrical work finished.
Here are some recent pictures:
Attachments
-
 IMG_1859_cropped.jpg847.3 KB · Views: 930
 -
 IMG_1874.jpg961.6 KB · Views: 954
 -
 IMG_1943.jpg793.3 KB · Views: 929
 -
 IMG_1987.jpg880.8 KB · Views: 916
 -
 IMG_2072.jpg907 KB · Views: 895
 -
 IMG_2071.jpg215.7 KB · Views: 884
 -
 IMG_2067.jpg892.1 KB · Views: 901
 -
 IMG_2057.jpg777.4 KB · Views: 904
 -
 IMG_2073.jpg188.1 KB · Views: 871
 -
 IMG_2074.jpg190.4 KB · Views: 853
 -
 IMG_2077.jpg991.3 KB · Views: 876
 -
 IMG_2080.jpg906.9 KB · Views: 893
 -
 IMG_2085.jpg905.2 KB · Views: 908
dcyrilc
Elite Member
It's been a while since I've posted any updates here. 18 months since I started, and the barn is almost finished (though it's been functional for quite some time now).
Here are some of my accomplishments in the last few months:
I got the last two stalls finished and ready for horses. One of them is now occupied by a boarder.
I finally got the gutters done, so no more mud splashing up on the siding when it rains (though there are still some mud stains that need to be scrubbed off). I priced out the materials to do it myself - around $300. Then I called around and got some quotes for seamless gutters - around $300. Seemed to be a no-brainer. Other than pouring the slab, that's the only other step I haven't done myself.
I got the various driveways around the barn finished. That includes a big loop to be able to turn around horse trailers, a parking pad for boarders and visitors, driveways to the hay shed and manure pile, and a separate parking pad for our horse trailer. It took five loads of crusher run, most of which had to be spread with my tractor since it was too muddy for the dumptruck to dump-and-run.
I also got the sink plumbed in the tack room, loads of hardware hung in various places (blanket racks, saddle racks, bridle hooks, etc., etc.), the heat tape wired up, the outdoor outlets in the pastures working (along with trough de-icers), and most of the indoor electrical work finished.
Very nice. I sure wish our ground was dry enough to work this time of year.
jayste
Veteran Member
- Joined
- Feb 12, 2008
- Messages
- 1,671
- Tractor
- 2004 Kubota M4800 SU
Your barn has turned out very nice as well as the roads around it.:thumbsup: