PatrickS2222
Gold Member
- Joined
- Feb 6, 2016
- Messages
- 494
- Location
- Brisbane, Australia
- Tractor
- MF35, MF135, MF203 with loader.
It's called technology - Computers are supposed to make life easier! 
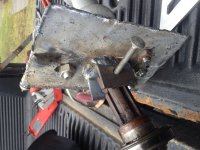
Don't stress - PTO shaft is brutally strong, but circlip in front of bearing may let go - this will help!
A soaking for several days with penetrating oil will assist..
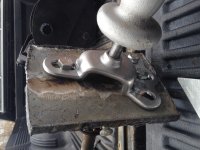
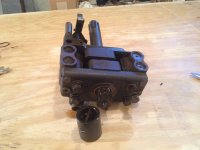
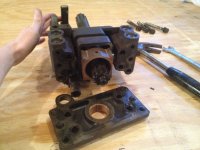
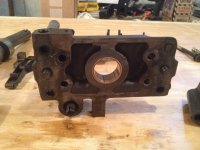
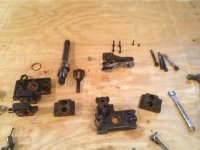
*** Remember: Bearing holder (round, but with two flats) is held in housing by three bolts through retaining plate and is sealed by a thick O-ring.
Bearing, seal and O-ring are very cheap to buy (here at least). Bearing is also quite robust and will stand up to some force.
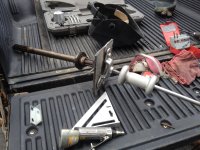
A slide hammer is the best tool, to connect it maybe sacrifice a D-shackle just larger than the shaft diameter, and a strong bolt through the hole with a nut to close it against the shaft.
Best of Luck! :thumbsup:
Don't stress - PTO shaft is brutally strong, but circlip in front of bearing may let go - this will help!
A soaking for several days with penetrating oil will assist..
*** Remember: Bearing holder (round, but with two flats) is held in housing by three bolts through retaining plate and is sealed by a thick O-ring.
Bearing, seal and O-ring are very cheap to buy (here at least). Bearing is also quite robust and will stand up to some force.
A slide hammer is the best tool, to connect it maybe sacrifice a D-shackle just larger than the shaft diameter, and a strong bolt through the hole with a nut to close it against the shaft.
Best of Luck! :thumbsup: