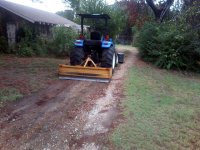
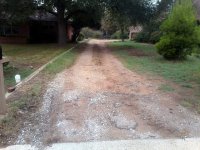
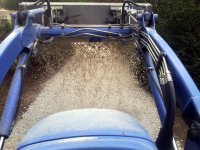
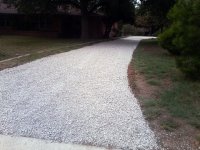
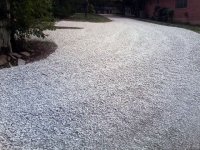
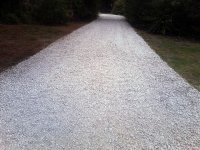
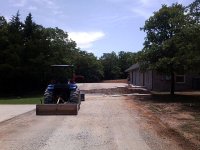
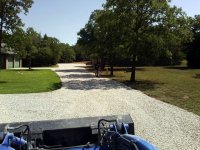
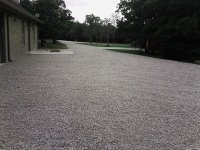
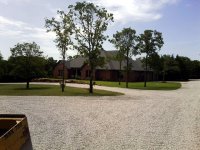
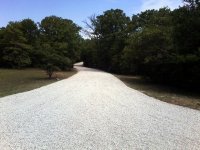
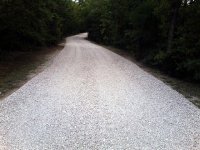
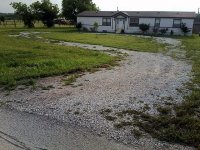
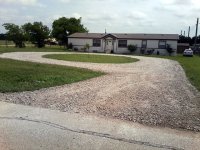
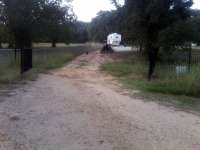
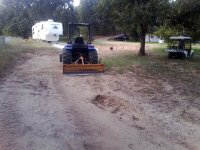
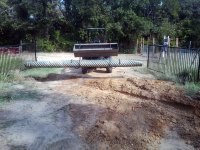
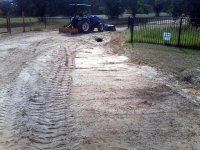
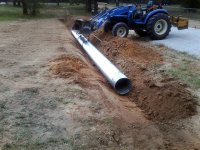
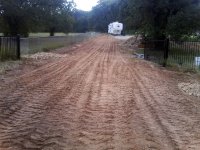
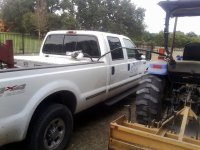
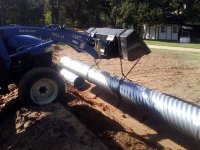
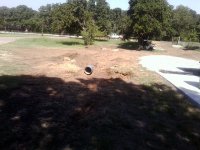
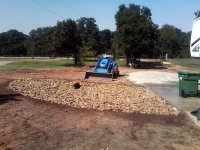
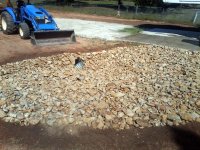
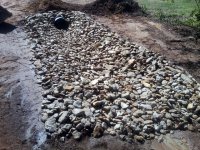
Every job is different, but when I'm using the box blade and scarifiers I only go down to a depth of 2" or so. I also use a ratchet rake on the bucket and am experimenting with a landplane. I don't mind getting into the soil a little bit to remove grass roots, but if I see any soil peeling up onto the scarifiers I raise them up a bit. I rip to the bottom of any potholes full-box blade width both ways and take the extra time to compact those areas back in. In the photos in #31 I hauled off two bucket loads of grass and roots.
STEPS FOR RESTORING YOUR GRAVEL DRIVEWAY or PARKING LOT
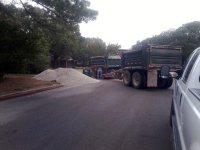
#1. During our visit to provide you with a Free Estimate, we'll measure the area and identify any existing problems (IE: potholes, poor drainage, washboard). We will also determine the depth of the existing gravel in several locations to insure that there is enough material and the right type of material to reclaim your driveway or parking lot.
If we determine that you will need additional gravel, we will inform you during our first visit…No Surprises!
#2. We'll scarify (score) your driveway or parking lot using our equipment-mounted scarifiers and a specially designed loader attachment. Getting to the bottom of these problem areas is the only method proven to repair and eliminate potholes, poor drainage and washboard surfaces. Adding rock to potholes and spreading more gravel over old problems looks fine for awhile... but it does nothing to correct the problem. Those same problem areas will return just as before.
#3. The gravel and fine particles are mixed back together and re-graded over your driveway or parking lot using the combination of our loader and road maintainer or box grader. We pay close attention to drainage, dress up the edges, and re-crown if required. We also separate and remove as much grass, soil and other materials as possible during the restoration process.
#4. Your reclaimed gravel driveway or parking lot is then compacted to add durability. Rainfall does the rest!
