Egon
Epic Contributor
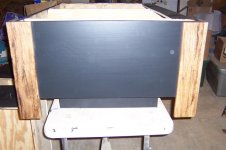
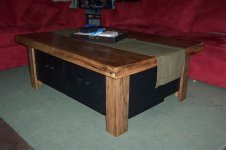
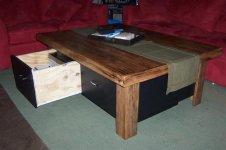
Counterweights !
Eddie,EddieWalker said:Scotty,
Thanks for the detailed explination. I now understand how I should have done it, but what's done is done. I'm not sure how bad the damage will be with it inside the house and I'm kind of curious to see what happens. Obviously it's a good thing I'm not trying to make a living with my woodworking. hahahahha
Eddie
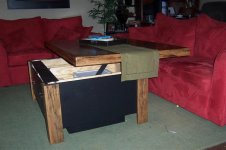
EddieWalker said:Morning Scotty,
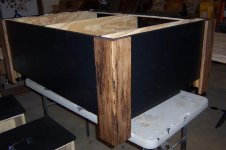
I've been wondering about that. How hard will it be to lift? Two of us will be able to do it easy, but can Steph lift it by herself?
On the ones they sell for $150, the metal is much thinner and they seem sort of flimsy overall, but they have springs on them. I'm wondering if some heavy duty springs might help?
I'm just confused on how to do it right now. I know that it's something I can add at any time, so it's not a rush, but it is something I'm thinking about.
Thanks,
Eddie
LOL ... Oh gee Scott, thanks ...scott_vt said:Afternoon Eddie,
Im going to offer Robs' assistance. yep 3RRL !
He is very good with CAD layout, should be a piece of cake for him
You should see the plans he sent me on hydraulic operated boxblade !
Sorry Rob I couldnt resist offering your services
scott_vt said:Afternoon Eddie,
Im going to offer Robs' assistance. yep 3RRL !
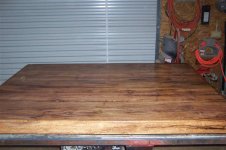
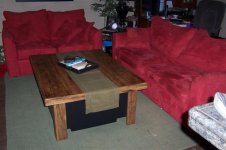
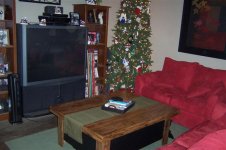
hahahagoneandbrokeit said:I know they won't last a 100 years, but they are still solid tables that I use every day and get satisfaction knowing I made them. I am sure you and your family will enjoy your table for years to come.
I like old fashion ! Youve got some good ideas !