Zephrant
Silver Member
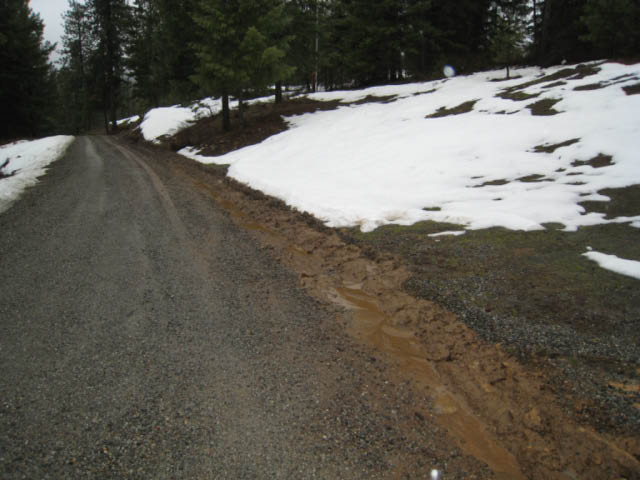
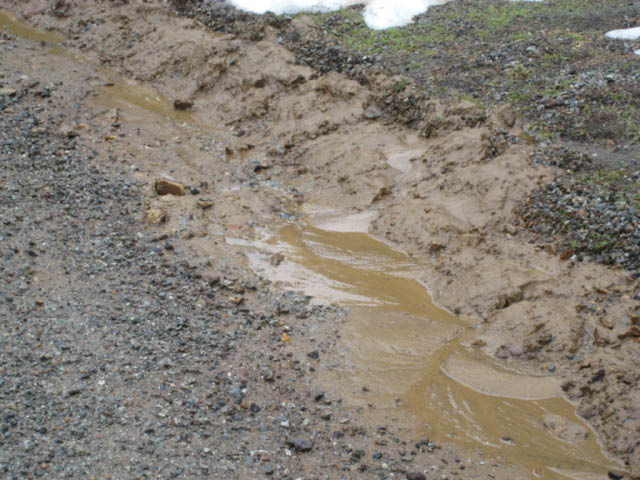
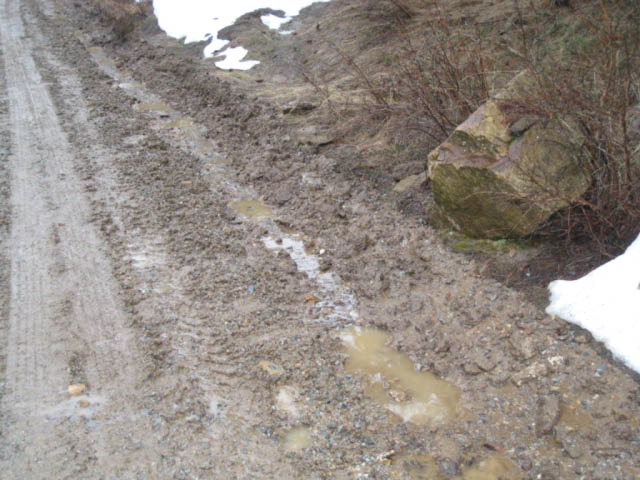
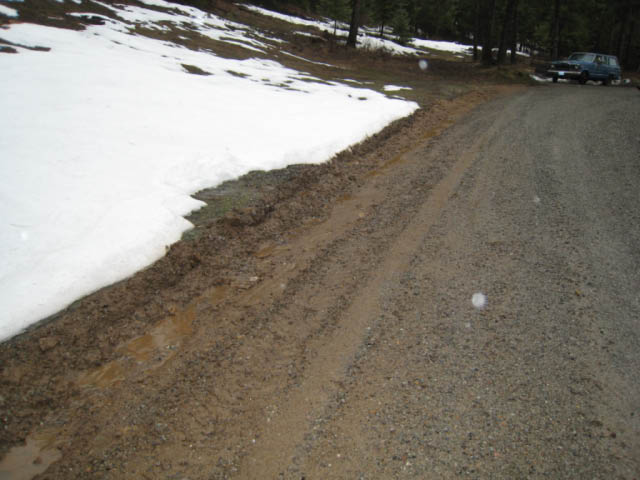
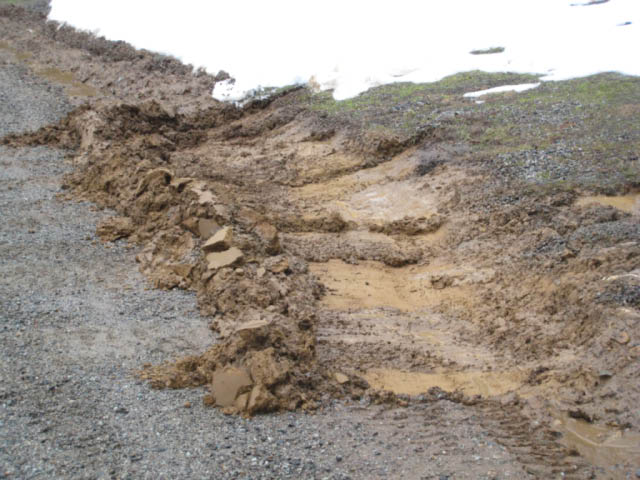
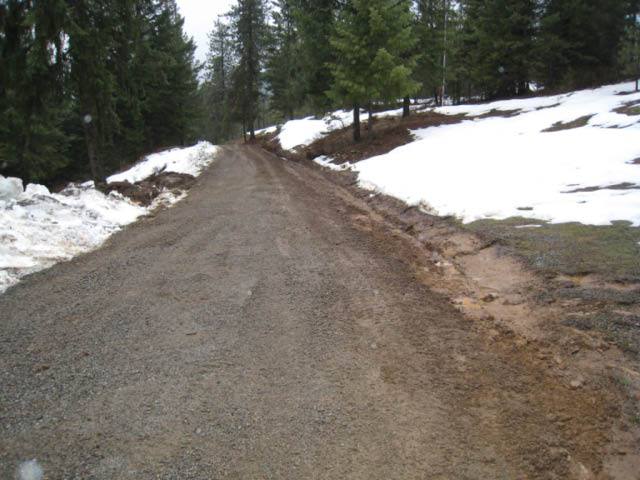
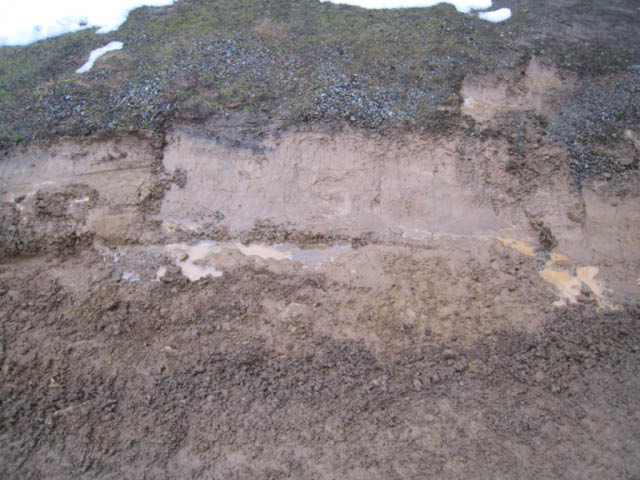
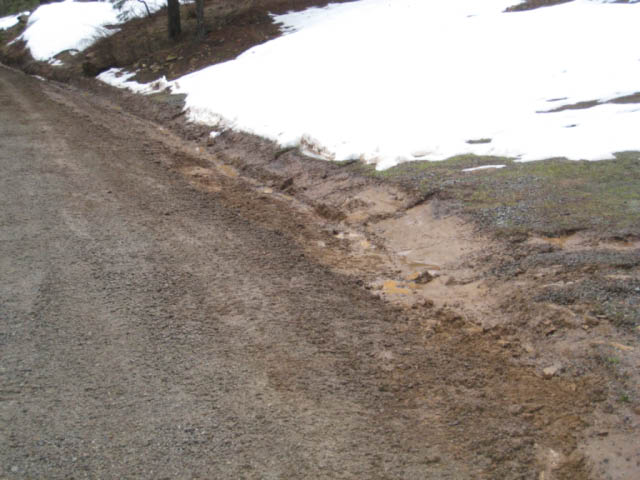
My road needs a ditch on the up-hill side, to prevent run-off from washing over the road. I'd also like to smooth out some bumps and depressions.
The tools I have at hand are a JD2210, and a 6' blade. So I went out yesterday to see what kind of damage I could do. I don't yet have a box blade.
When I'm driving along the front wheels will drop in to a depression, and the blade will lift, leaving a mound. Then the back wheels drop in and the blade scoops out a divot. By the time I'm done, I've taken one hole and turned it in to two, plus added a mound! What can I do to reduce that effect?

")