Domush
Platinum Member
I've been rebuilding my 1983-ish YM336D over the past month (when I bought it) and I have learned a great deal about it, mainly because it had so many things wrong :confused2:
I'll be sure to get a good collection of photos together for this project. I know I love pics, and no good restore thread is complete (or even begun) without a massive collection of before and after shots.
Before shots:

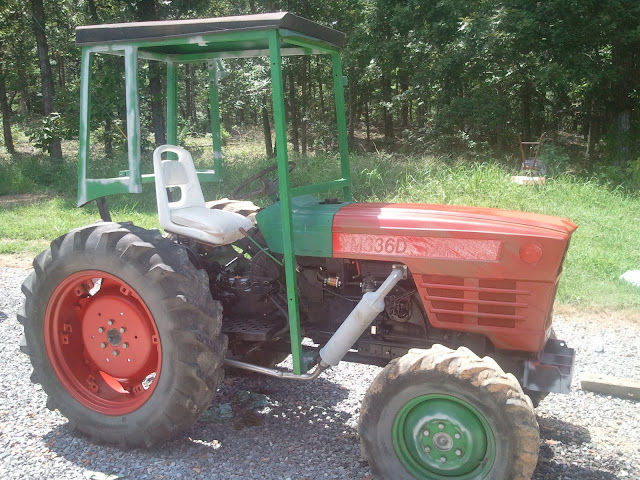
Here's what she looked like when I brought her home. I only wish I had thought to park it out of my driveway.. a whole month without access to my driveway :ashamed:
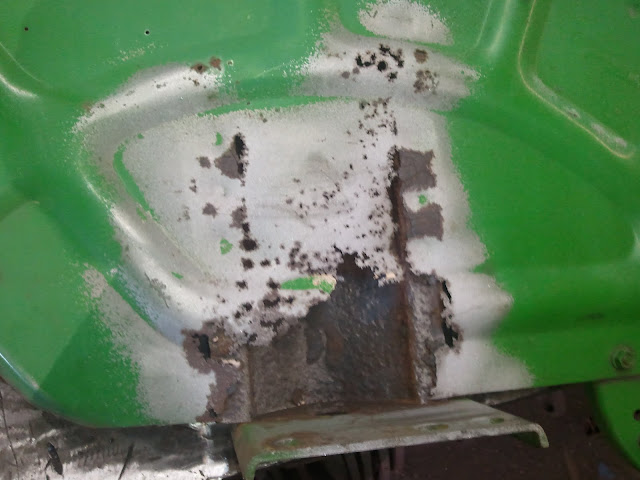
Wheel wells are rusted through
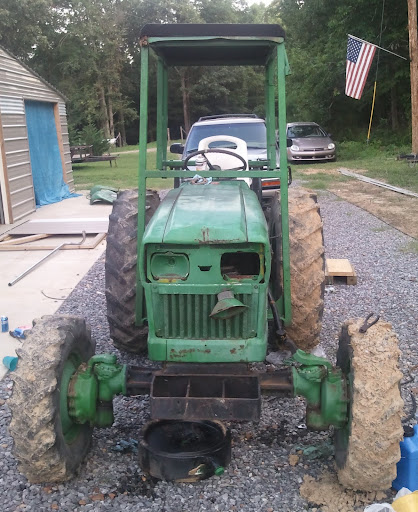
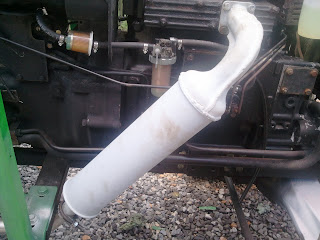
A few things are, umm, missing. Notice the lack of air filter assembly and exhaust. Not much left of the headlamps, either. The dashboard is also pretty devoid of switches and lamps. At least it has the ignition switch! sheesh!

Exhaust bolts were frozen. One snapped and another looked as though it was ripped out at one point.
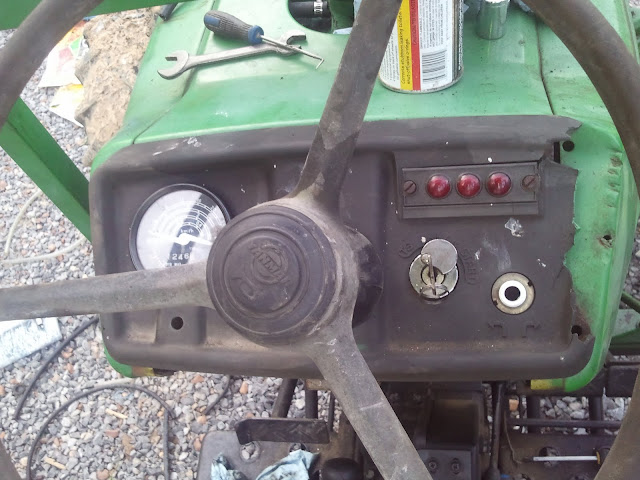
Dashboard has seen better (and more switch-filled) days.
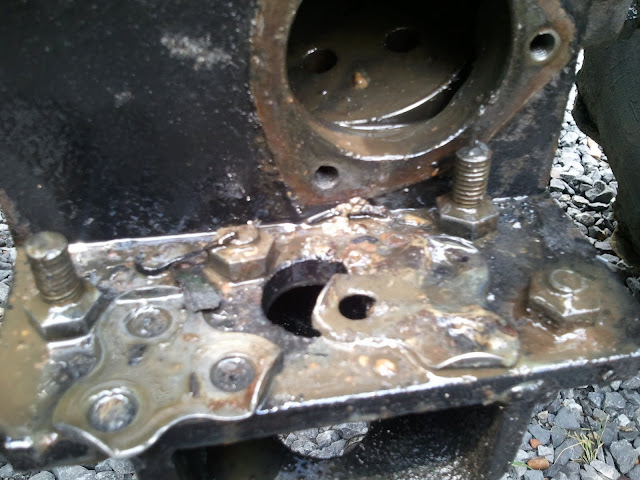
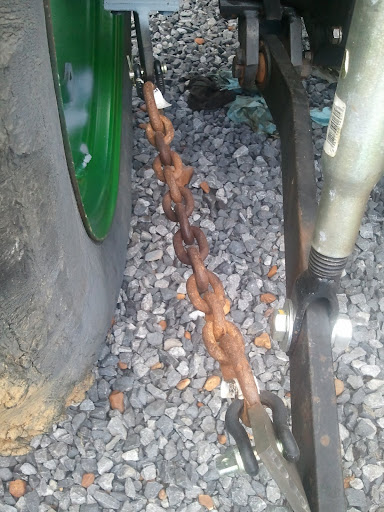
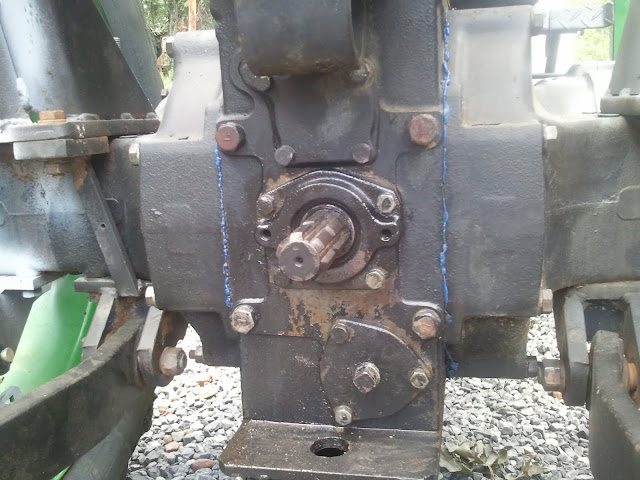
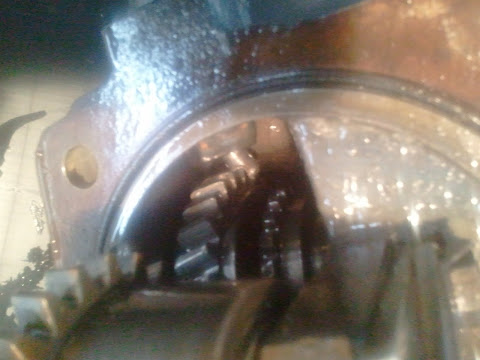
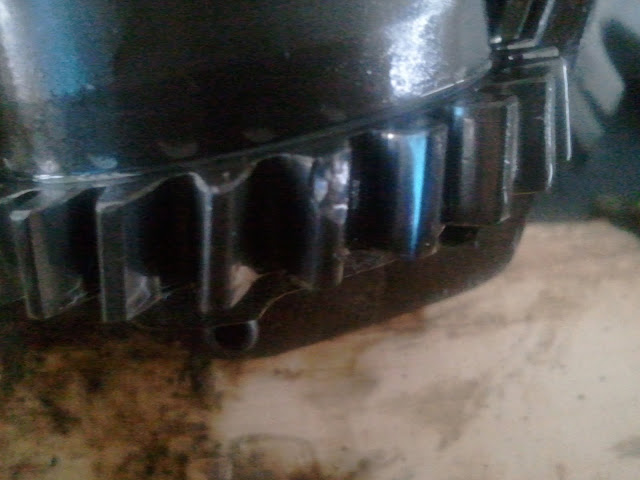
Misc bolt heads and metal bits inside the final drive housing
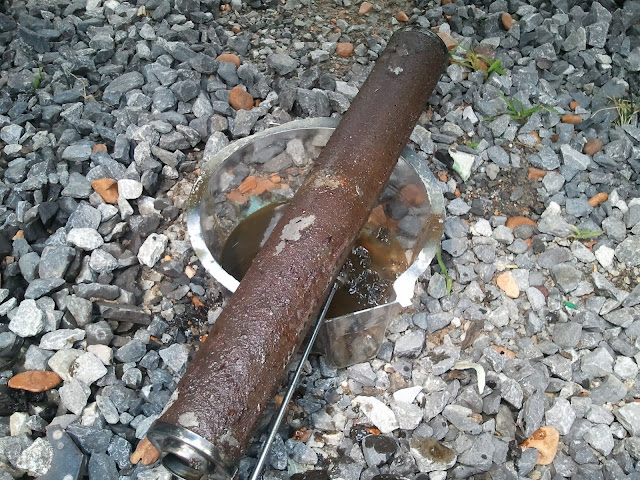
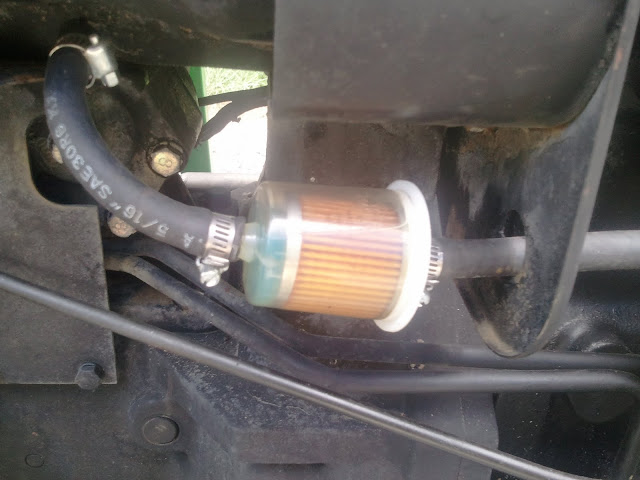
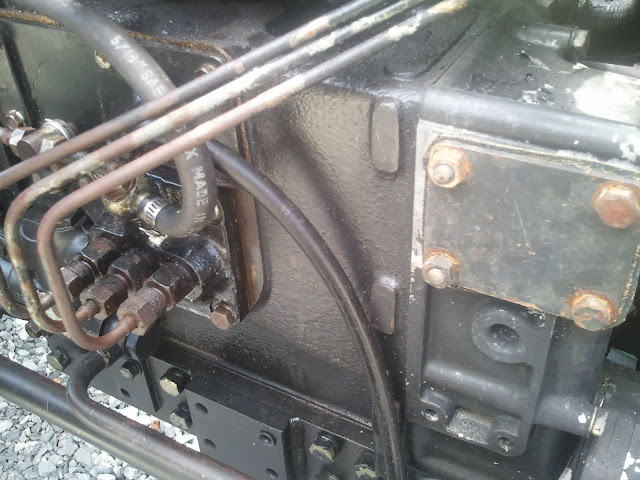
I'm guessing this secondary hydraulic filter isn't Yanmar Brown on purpose.
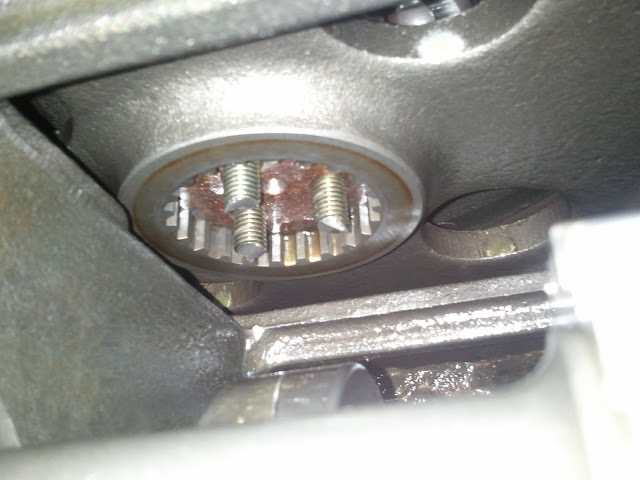
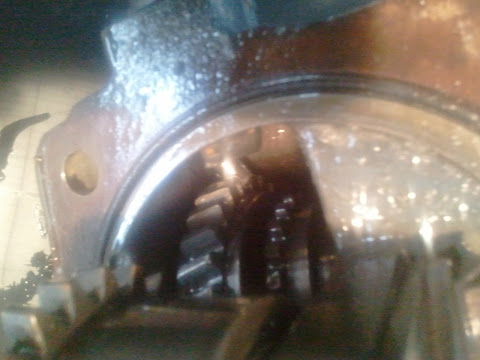
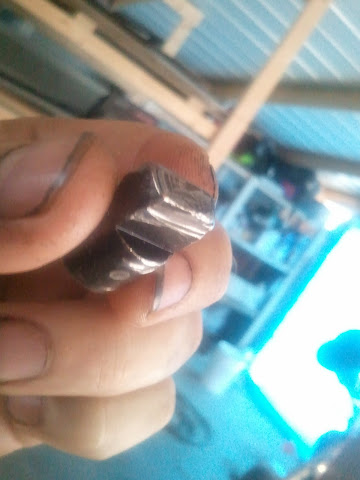
Here is the source of the extra bolt heads. Photo is the final drive gear on the rear axle (both sides have the same snapped bolts)
Well, that is the before photo section.
Read on for the restoration!
--------------------------------------------
Here is the list of things finished so far:
- Changed the engine oil
- Changed the trans fluid
- Changed the front axle oil
- Replaced front axle tower oil seals
- Cleaned the injectors
- Repaired (re-flattened) the fuel pump shims (they had dents in them, causing them to be slightly thicker than designed)
- Cleaned the valve cover assembly (looks like water got in there)
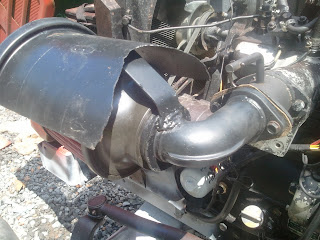
- Built a new air cleaner housing (oem assembly was missing most parts). Now accepts a high flow K+N (washable) filter. No pre-filter for now, but will add one if needed.
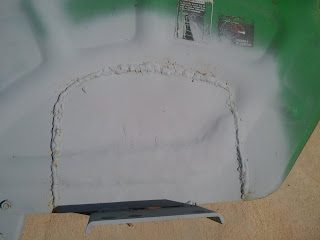
- Replaced sheet metal on rear fenders (was rusted through)
- Fabricated new 3pt linkages (left and upper) - Luckily OEM right adjustable was only bent and easily fixed
- Fabricated anti-sway chains
- Replaced all fuel hoses and some water hoses
- Replaced fuel bowl gasket
- Installed aftermarket fuel filter
- Replaced missing in-bowl fuel filter and spring (now have two filters total)
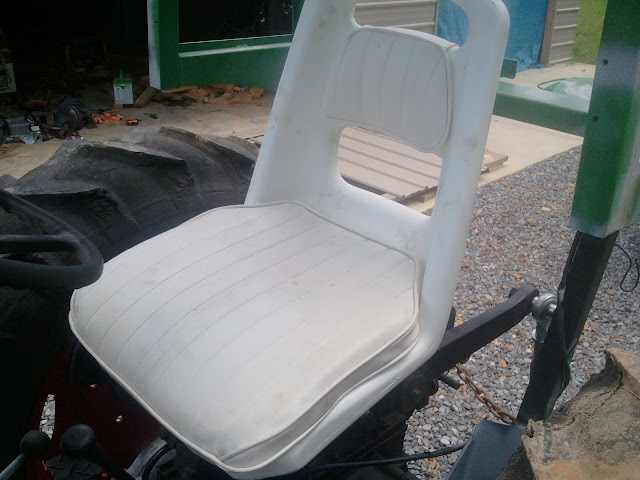
- Replaced seat with cushioned high back (priority #1 right there") )
)
- Replaced fuel cap with generic cap (OEM was damaged, will fix it at a later date)
- Cleaned air intake manifold (had crud in it.. had no air filter at all when purchased)
- Replaced whatever is to the right of and above the fuel pump (cheap gasket maker was there.. replaced with hand cut cork gaskets)
- Replaced battery with marine battery (I had one hanging around)
- Attempted to repaint the body, but failed miserably. Will reattempt when finished fixing mechanical issues (only pics can show this awful failure)
- Replaced muffler (made a custom exhaust, so it ejects below and behind me, like a car)
- Replaced spin-on hydraulic filter
- Cleaned and refurbed secondary hydraulic filter
- Tightened and water sealed ignition switch
- Replaced broken final drive gear bolts on both sides of transmission (all 6 were snapped off.. thank you screw extractors :thumbsup
- Cleaned metal debris (left from above issue) from transmission case
- Cleaned and adjusted brakes and drums
- Replaced o-ring and spring clip for PTO shaft
- Replaced fan belt
- Reconnected some disconnected wires (now the tach and hour meter work)
- Replaced decompression cable (was missing)
- Adjusted clutch pedal and inertia brake
- Adjusted left and right brakes
- Repaired slow return valve (top of valve was missing)
- Replaced coolant reservoir
- Replaced many cotter pins, installing spacer washers where needed
- Adjusted throttle lever (would not stay put)
- Sanded and lubed throttle pedal (would not depress)
- Greased all grease points
- Resurfaced left axle tower shaft to prevent oil seal leakage (was pitted to the point new oil seals would not stop leakage) - Used fiberglass, btw. TBD how well it will hold up. For now I just needed it to stop leaking.
- Replaced coolant
- Replaced PTO lift piston seals
- Removed surface rust from inside PTO case cover
- Replaced oil temp sender unit
- Reconnected speedometer cable
I think that does it for now.
I did manage to start it up this afternoon (1st time since unloading after purchase). It has an awful metal clunking when I try to drive it, either forward or backward. It also hesitates for a moment upon every wheel revolution. This was not happening when I unloaded from the trailer upon purchase. I really have little idea what is causing this, seeing as I have messed with the transmission gears very little. All this work and still no usable tractor.
Luckily the engine runs great and the PTO lift now works (didn't when purchased) and tracking down this gear issue should be the last item on the to-do list beyond cosmetic things like lights, horn, paint and dash gauges for oil/amp/temp.
I was so very nervous starting it up for the first time today. I have never, NEVER gone so deep into anything this size before.. and had it live to use again. With this new clunking noise, my track record of goose-egg still stands
I'm wondering if the clunk may be caused by the 4wd lever, as I suspect it is not working, seeing as it moves back and forth so easily (to the point gravity can move it). Although this was the case when I bought it, it may be in between selections, now. I have to fix it either way, so it might as well be next.
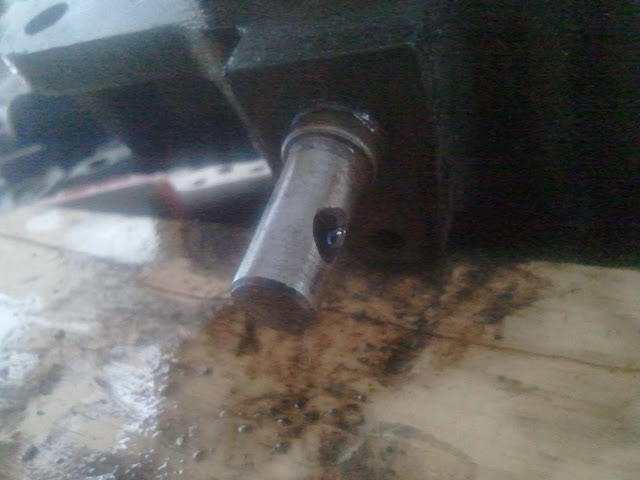
There was also a drive gear which was pretty badly torn up inside the transmission case. It appears the final drive gear, wobbling about from the lack of bolts holding it in place, ground off the outside of a part which had a spring clip holding it in place, although the clip was now barely holding on, as the metal was ground so far back, the groove was nearly shaved off. Without a parts machine, I feel I'm out of luck on that, and may need to weld a bit onto it and grind a new groove for the spring clip, assuming it needs the repair at all. It may work just fine forever.. or it could be the cause of the clunking, now that the final drive gear is back where it belongs and not grinding against this area (and possibly holding it in place).
If the provided photos just aren't enough eye candy for you, here is a link to my Picasa album with all of my tractor photos in it.
I'll be sure to get a good collection of photos together for this project. I know I love pics, and no good restore thread is complete (or even begun) without a massive collection of before and after shots.
Before shots:
Here's what she looked like when I brought her home. I only wish I had thought to park it out of my driveway.. a whole month without access to my driveway :ashamed:
Wheel wells are rusted through
A few things are, umm, missing. Notice the lack of air filter assembly and exhaust. Not much left of the headlamps, either. The dashboard is also pretty devoid of switches and lamps. At least it has the ignition switch! sheesh!
Exhaust bolts were frozen. One snapped and another looked as though it was ripped out at one point.
Dashboard has seen better (and more switch-filled) days.
Misc bolt heads and metal bits inside the final drive housing
I'm guessing this secondary hydraulic filter isn't Yanmar Brown on purpose.
Here is the source of the extra bolt heads. Photo is the final drive gear on the rear axle (both sides have the same snapped bolts)
Well, that is the before photo section.
Read on for the restoration!
--------------------------------------------
Here is the list of things finished so far:
- Changed the engine oil
- Changed the trans fluid
- Changed the front axle oil
- Replaced front axle tower oil seals
- Cleaned the injectors
- Repaired (re-flattened) the fuel pump shims (they had dents in them, causing them to be slightly thicker than designed)
- Cleaned the valve cover assembly (looks like water got in there)
- Built a new air cleaner housing (oem assembly was missing most parts). Now accepts a high flow K+N (washable) filter. No pre-filter for now, but will add one if needed.
- Replaced sheet metal on rear fenders (was rusted through)
- Fabricated new 3pt linkages (left and upper) - Luckily OEM right adjustable was only bent and easily fixed
- Fabricated anti-sway chains
- Replaced all fuel hoses and some water hoses
- Replaced fuel bowl gasket
- Installed aftermarket fuel filter
- Replaced missing in-bowl fuel filter and spring (now have two filters total)
- Replaced seat with cushioned high back (priority #1 right there
)- Replaced fuel cap with generic cap (OEM was damaged, will fix it at a later date)
- Cleaned air intake manifold (had crud in it.. had no air filter at all when purchased
)- Replaced whatever is to the right of and above the fuel pump (cheap gasket maker was there.. replaced with hand cut cork gaskets)
- Replaced battery with marine battery (I had one hanging around)
- Attempted to repaint the body, but failed miserably. Will reattempt when finished fixing mechanical issues (only pics can show this awful failure)
- Replaced muffler (made a custom exhaust, so it ejects below and behind me, like a car)
- Replaced spin-on hydraulic filter
- Cleaned and refurbed secondary hydraulic filter
- Tightened and water sealed ignition switch
- Replaced broken final drive gear bolts on both sides of transmission (all 6 were snapped off.. thank you screw extractors :thumbsup
- Cleaned metal debris (left from above issue) from transmission case
- Cleaned and adjusted brakes and drums
- Replaced o-ring and spring clip for PTO shaft
- Replaced fan belt
- Reconnected some disconnected wires (now the tach and hour meter work)
- Replaced decompression cable (was missing)
- Adjusted clutch pedal and inertia brake
- Adjusted left and right brakes
- Repaired slow return valve (top of valve was missing)
- Replaced coolant reservoir
- Replaced many cotter pins, installing spacer washers where needed
- Adjusted throttle lever (would not stay put)
- Sanded and lubed throttle pedal (would not depress)
- Greased all grease points
- Resurfaced left axle tower shaft to prevent oil seal leakage (was pitted to the point new oil seals would not stop leakage) - Used fiberglass, btw. TBD how well it will hold up. For now I just needed it to stop leaking.
- Replaced coolant
- Replaced PTO lift piston seals
- Removed surface rust from inside PTO case cover
- Replaced oil temp sender unit
- Reconnected speedometer cable
I think that does it for now.
I did manage to start it up this afternoon (1st time since unloading after purchase). It has an awful metal clunking when I try to drive it, either forward or backward. It also hesitates for a moment upon every wheel revolution. This was not happening when I unloaded from the trailer upon purchase. I really have little idea what is causing this, seeing as I have messed with the transmission gears very little. All this work and still no usable tractor
. Luckily the engine runs great and the PTO lift now works (didn't when purchased) and tracking down this gear issue should be the last item on the to-do list beyond cosmetic things like lights, horn, paint and dash gauges for oil/amp/temp.
I was so very nervous starting it up for the first time today. I have never, NEVER gone so deep into anything this size before.. and had it live to use again
. With this new clunking noise, my track record of goose-egg still stands I'm wondering if the clunk may be caused by the 4wd lever, as I suspect it is not working, seeing as it moves back and forth so easily (to the point gravity can move it). Although this was the case when I bought it, it may be in between selections, now. I have to fix it either way, so it might as well be next.
There was also a drive gear which was pretty badly torn up inside the transmission case. It appears the final drive gear, wobbling about from the lack of bolts holding it in place, ground off the outside of a part which had a spring clip holding it in place, although the clip was now barely holding on, as the metal was ground so far back, the groove was nearly shaved off. Without a parts machine, I feel I'm out of luck on that, and may need to weld a bit onto it and grind a new groove for the spring clip, assuming it needs the repair at all. It may work just fine forever.. or it could be the cause of the clunking, now that the final drive gear is back where it belongs and not grinding against this area (and possibly holding it in place).
If the provided photos just aren't enough eye candy for you, here is a link to my Picasa album with all of my tractor photos in it.
Last edited: