Thank you Redman. Im not 100% sure. I was under the impression that they did not have industrial 135s in the USA, but I was also under the impression that the Orchard model came with a diesel or a 4cyl gas, not the 3 cyl gas perkins. Who knows....
I am just about finished with it.
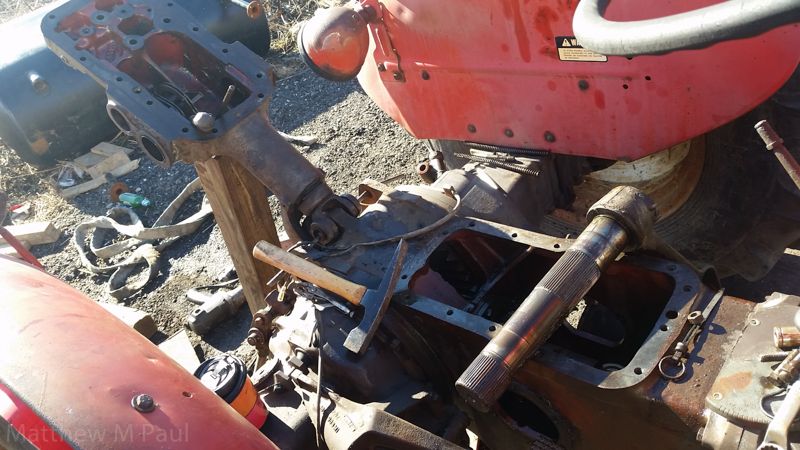
I got it back together and found out that th 3pt lift did not function. I took the inspection covers off, cleaned the filter and manipulated the pump lever by hand with the tractor running, through the side port, and the lift worked, but would not function with the controls. There were rollers missing in the control linkage, cotter pins missing, one spring in the bottom of the case, very bad, and very worn.
I turned new rollers and made some bushings to tighten everything up. Apparently I made it too tight as the lift operates from 100% up to all the way down with about 2 inches of travel on the hand controls... but that's ok.
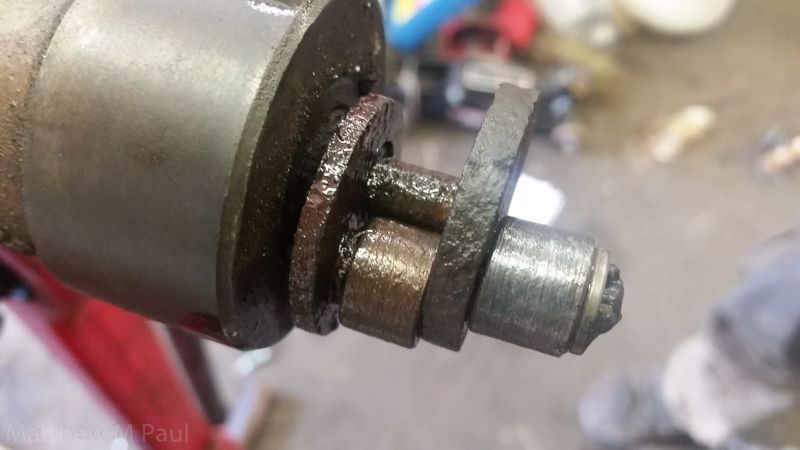
These are the new rollers that I made, they sit at the end of the control shafts.
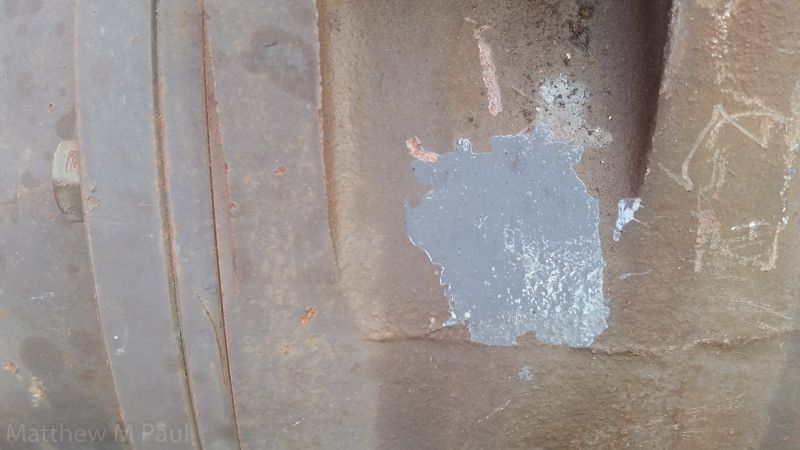
I mixed up some paint for the chassis, Some smoke grey rustolium and some black, mixed until the color was close to the factory.
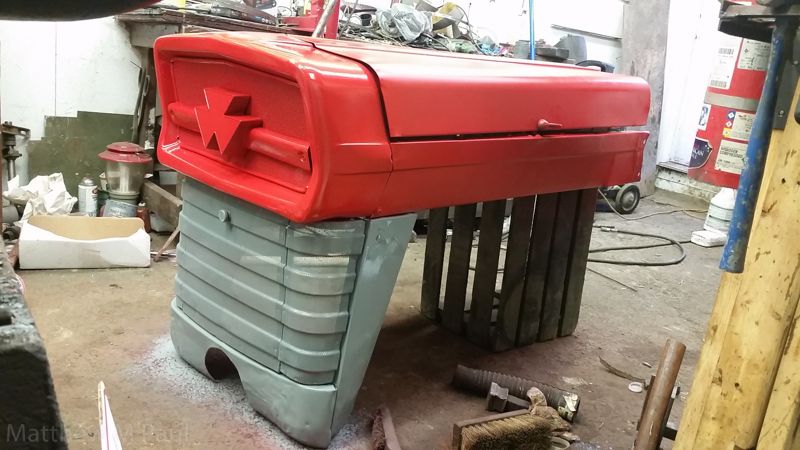
I got it all painted, and started on the hood and grill.
And......
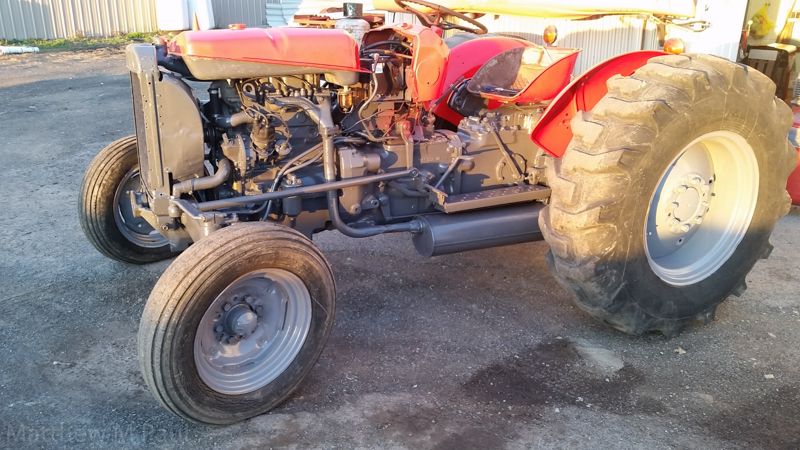
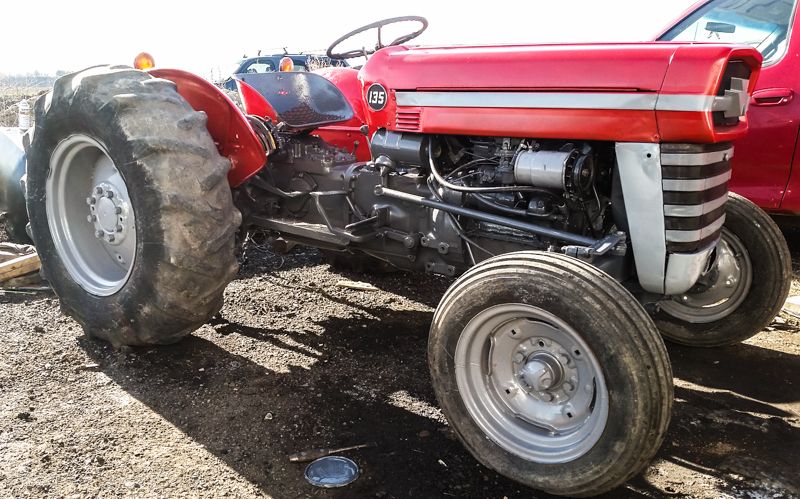
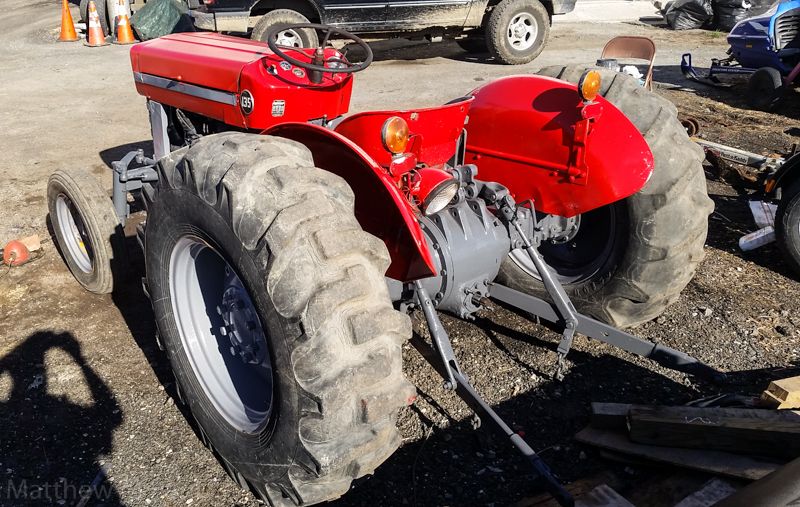
Here is the finished machine!
Well, almost finished. I need to set up the charging system and re work the carb again. Also - I need to save my pennies for some new rubber.