David, you're doing the veggies in a much larger scale than I

I'll be anxious to see photos! As for the Chicken Tractor, I didn't get as far over the weekend as I hoped....but I'm getting close.

I was going to wait to post final photos, but thought you guys might learn from my mistakes if you get it in progress.

I ended up using an exterior paneling that looks a lot like barn planks too me. For the roof, it is a PVC material (lightweight and safer for the kids than metal). All wood in ground contact is PT and as small a dimension as I felt I could get away with.
Notice on all four lower corners I put eye bolts and attached a rope. This rope makes a nice handle for dragging. I hope it works well hooked to the tractor for dragging any distance. The weight is about the limit of what I can drag by hand, and my wife likely cannot. We may put wheels on the coop end at some point. But for the most part, I expect to shift it over 4' at a time....shouldn't be that bad.
Being that we are in a pretty warm climate, I designed the roof to allow for alot of ventilation. The floor of the coop and run are both left open for now. If we have predator issues, I'll have to fortify better for the next set of chicks.
One whole wall of the coop is on hinges to make access easy. The end wall of the run is also on hinges.
I plan to put a sliding door over the "chicken door" tied to a string so that I can open and close it from the outside for the chickens. At night, it will be closed.
The nesting box is not on yet, and I likely won't add it for a few months. The coop is framed to accept it on the back wall.
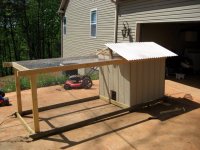
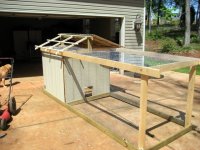

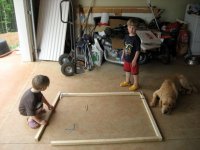
The boys helped out along the way
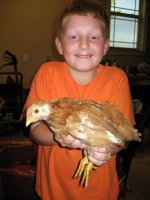
We had some good friends visiting over the weekend and their boy had a good time with the chickens. Here he is with one of the New Hampshire Reds. They're getting big aren't they!
So, finishing the roof adding final touches and a paint job are about all that's left. The chickens might move in before the paint job.


 There was a board going across the frame, and it finally rotted. It looked like it was put there by some Japanese rice farmer 20+ years ago.
  Anyway, I may be qualified to be called "farmswithjunk jr." I took one of our other baby cribs and stole some wooden slats to make a new battery platform.

 Hope to get another 20 out of it. Hahaha.