Marcle
Silver Member
- Joined
- Jun 13, 2012
- Messages
- 151
- Tractor
- Iseki 2140
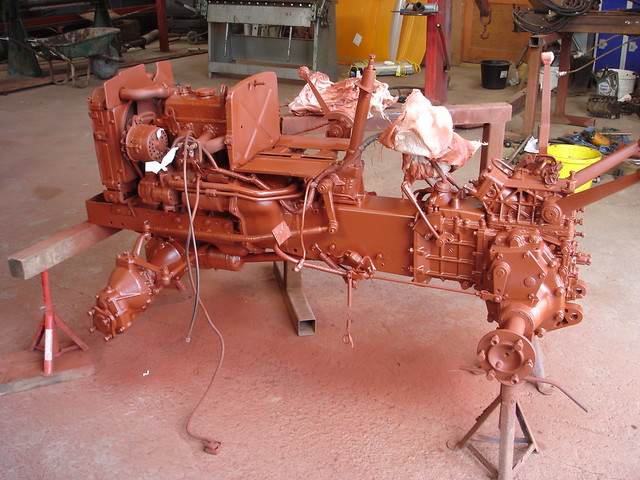
Have you considered getting all the painted bits hot galv dipped?
Have you considered getting all the painted bits hot galv dipped?
 DSC02813 by chrismac2012, on Flickr
 DSC02816 by chrismac2012, on Flickr
 DSC02815 by chrismac2012, on Flickr
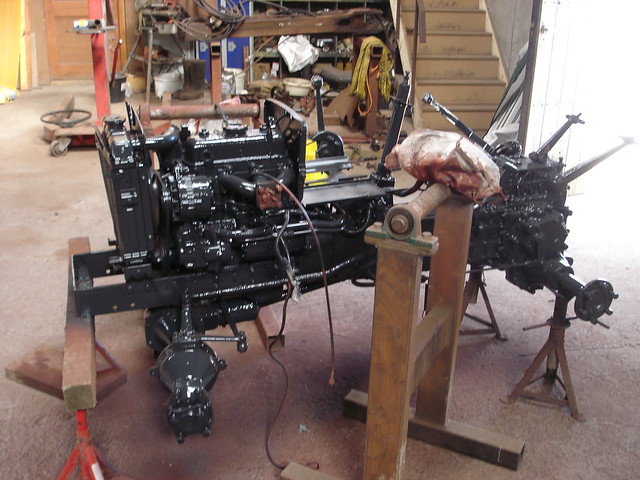 DSC02817 by chrismac2012, on Flickr
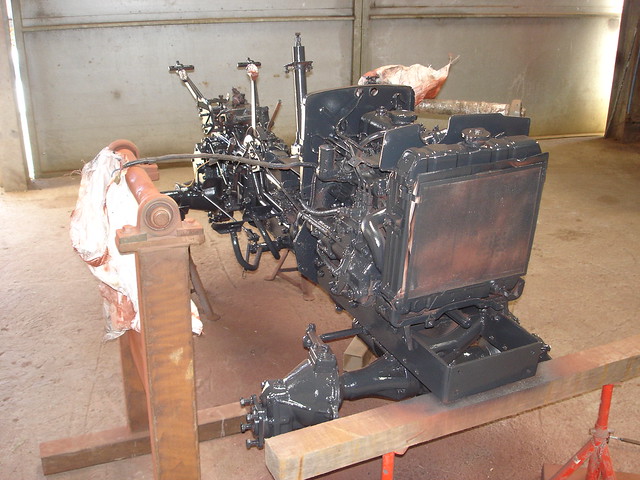 DSC02818 by chrismac2012, on Flickr
 DSC02819 by chrismac2012, on Flickr
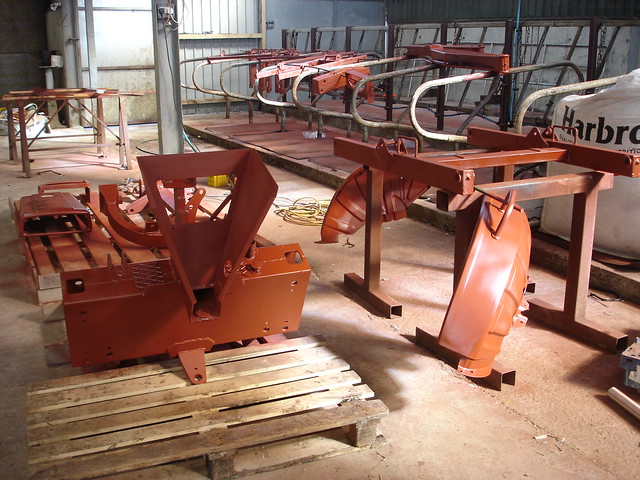 DSC02821 by chrismac2012, on Flickr
 DSC02822 by chrismac2012, on Flickr
 DSC02824 by chrismac2012, on Flickr
 DSC02825 by chrismac2012, on Flickr
 DSC02826 by chrismac2012, on Flickr
 DSC02827 by chrismac2012, on Flickr
 DSC02828 by chrismac2012, on Flickr
 DSC02829 by chrismac2012, on Flickr
 DSC02830 by chrismac2012, on Flickr
 DSC02831 by chrismac2012, on Flickr
All looks good. Can you post a photo of the side facing the tractor (DSC02829). Oil tank of backhoe. So I can advise on ports for hydraulics, or are you now sorted on what goes where.
 DSC02840 by chrismac2012, on Flickr
 DSC02841 by chrismac2012, on Flickr
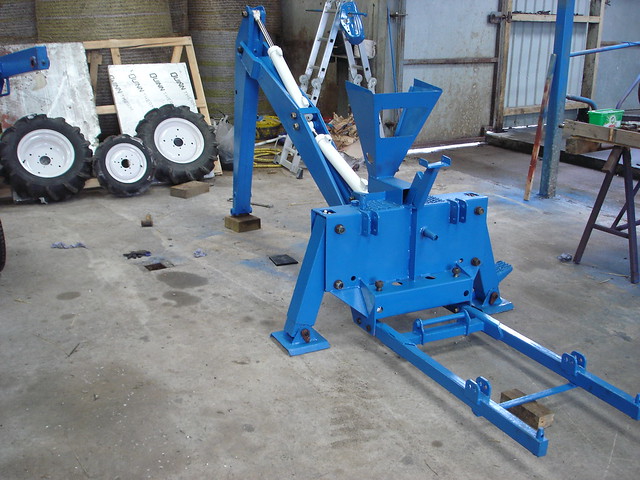 DSC02842 by chrismac2012, on Flickr
 DSC02843 by chrismac2012, on Flickr
 DSC02844 by chrismac2012, on Flickr
 DSC02845 by chrismac2012, on Flickr
 DSC02846 by chrismac2012, on Flickr
Looks brilliant!!
How did you get the engine/chassis part done? Do you have a sand-blaster in the house or something?
May i ask how you did degrease? Just throw a lot of wd-40 at it?
I am asking because i bought this 40 year old Ursus C360 tractor. In everything 4 times the size and power of my little iseki's (3000kg, 4cylinder 3 liter diesel, 60HP). But everything is wrong with it, i will have to take it totally apart. If i can handle this, i want to do the same like you did on the iseki.
 DSC02847 by chrismac2012, on Flickr
 DSC02849 by chrismac2012, on Flickr
 DSC02850 by chrismac2012, on Flickr
 DSC02860 by chrismac2012, on Flickr
 DSC02861 by chrismac2012, on Flickr
 Untitled by chrismac2012, on Flickr
 Untitled by chrismac2012, on Flickr
 Untitled by chrismac2012, on Flickr
 Untitled by chrismac2012, on Flickr
Last photo already looks pretty awesome Chris!
") I rubbing it down with P600 wet and dry. then P1200 then P3000, the paint took about 3 weeks to dry enough for me to get on it with the wet and dry, its turned ouy pretty good, for an old tractor and a meer amature like me. The red oxcide part is a weld repair on the cross beam, it was cracked and I never noticed until I went to reassemble the loader.
I rubbing it down with P600 wet and dry. then P1200 then P3000, the paint took about 3 weeks to dry enough for me to get on it with the wet and dry, its turned ouy pretty good, for an old tractor and a meer amature like me. The red oxcide part is a weld repair on the cross beam, it was cracked and I never noticed until I went to reassemble the loader.  DSC02864 by chrismac2012, on Flickr
 DSC02866 by chrismac2012, on Flickr
 DSC02867 by chrismac2012, on Flickr
 DSC02868 by chrismac2012, on Flickr
 DSC02870 by chrismac2012, on Flickr
 DSC02871 by chrismac2012, on Flickr
 DSC02872 by chrismac2012, on Flickr
 DSC02874 by chrismac2012, on Flickr
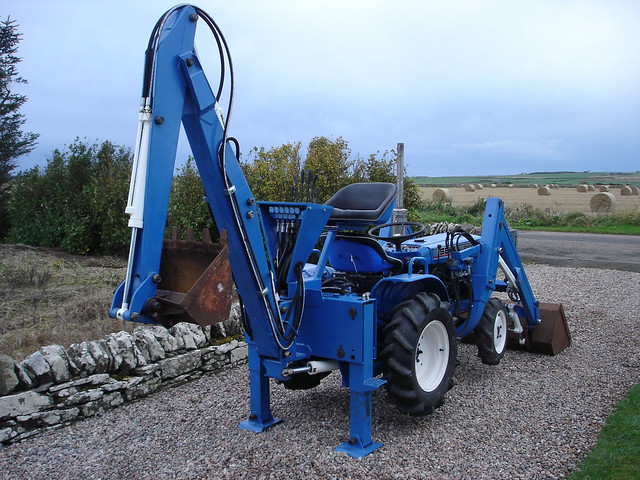 DSC02875 by chrismac2012, on Flickr