Step 13: Interior Stall Walls
With all of the exterior sliding doors hung, the barn is finally all dried in (except for two sets of dutch doors, but I'll ignore those for now
")
). The next step is the tongue and groove lumber for the interior walls. My plan is to do all four walls of all five horse stalls with it, as well as the three walls of the wash rack and the aisle-facing walls of the tack rooms. In other words, every wall of the barn visible without actually going inside the tack rooms.
The first step was just getting the materials. I need somewhere around 4200 linear feet of 2x6's for this job, which I had estimated at around 6000 lbs. After getting it all loaded on my trailer (actually my neighbor's trailer that I borrowed), the guy at the lumber mill informed me it was actually somewhere north of 8000 lbs! Luckily it's a 10k trailer, but that's definitely pushing the weight limit for my Silverado 1500. I have helper springs and a brake controller, or else I wouldn't have attempted this in one load, even when I thought it was only 6k pounds. Anyway, I would have preferred it to be loaded a little further forward on the trailer, but I managed to get it the 55 miles back to my place without any major incidents.
The price was pretty good; I paid $4.68 per 12' board ($0.39 per linear foot), and it's nice stuff. It's got a good side with v-match bevels and a not-as-good side without the v-match. The back side has some defects on many of the pieces (loose knots, gouges, chips, bark, etc.), but since that's the side that goes up against the studs, who cares. The exception to that is the partition walls between the stalls. In that case, there are no studs. The wall is simply one solid stack of 2x6's, so you get to see the good side from one stall and the not-as-good side from the adjacent stall. There are only four such walls total in the barn, so it's not too challenging to pick out boards that are pretty good on both sides.
As I mentioned in a previous post, the bottom board in all cases is pressure treated so it can contact the ground or the concrete or the stall bedding. In the stalls I actually recessed the bottom board a few inches into the rock screenings. This turned out to be quite a process because the screenings were quite wet when I put them in the stall. It's been really cold ever since, so now the whole stall area is frozen as hard as concrete. When it's not frozen I can dig a trench in the stuff with my bare hands, but in its current state I had to work my butt off with a pickaxe. Swinging really hard from over my head, I could only dig in a half inch or so with each hit, and I'd often see sparks fly when it impacted. Needless to say, I spent a lot of energy just digging out enough to do two walls. It's supposed to finally warm up above freezing for a few days later this week, so maybe I'll install all of the bottom boards while it's thawed.
Bottom board notwithstanding, putting the remaining ones up on the walls is relatively straightforward, though a little more tedious than I'd hoped for. Every board has to be cut to length and pre-drilled for screws. Most of the inevitable warping and twisting can be fixed just with a little pulling or tapping with a hammer and a scrab block of T&G wood. Occasionally I find that I have to use a pipe clamp to really squeeze a board into place until I can screw in it. Also, it's a little more critical to use straight boards for the partition walls since there are no intermediate studs to which I can screw them. Luckily the warping seems to be random enough that by the time you put a whole wall's worth of boards together, the distortions all sort of cancel out and you're left with a nice straight wall.
Anyway, I've only just begun, but here are some pics of the progress so far.
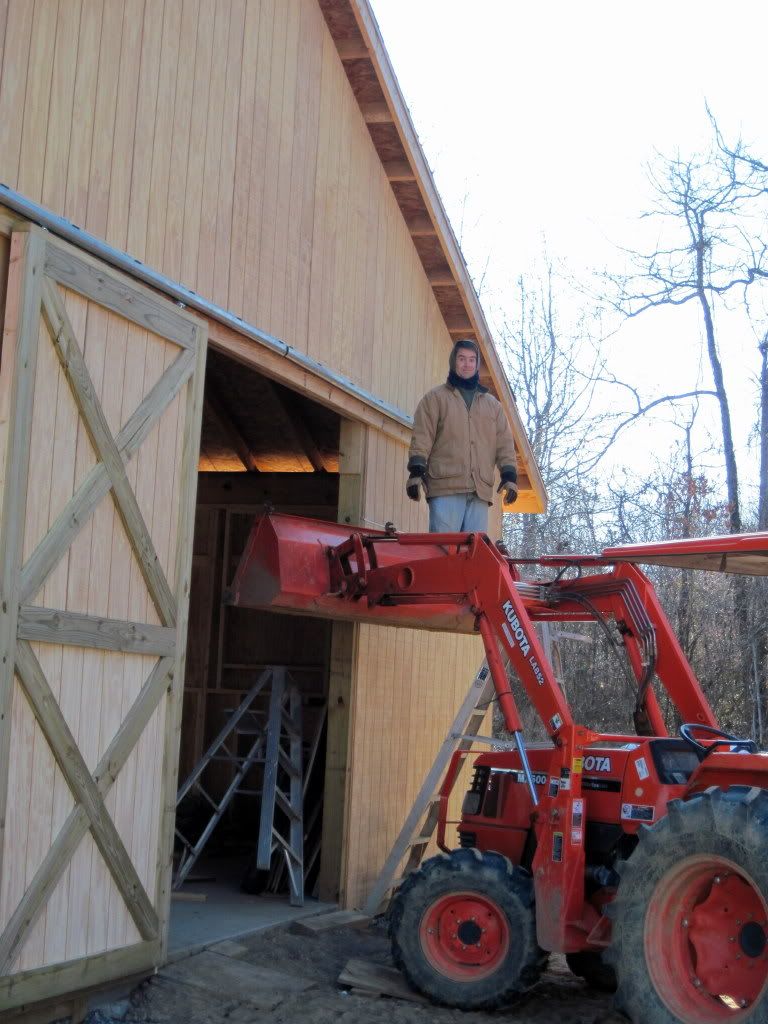
First a shot of me finishing up hanging the last set of doors:
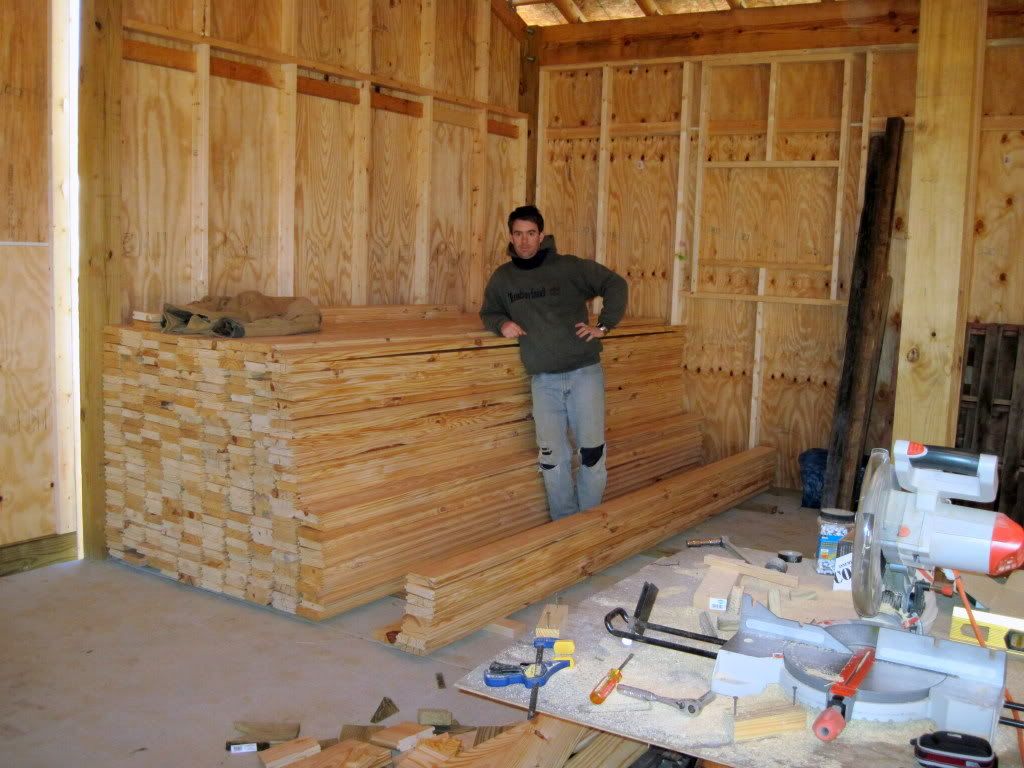
A shot of most of the lumber stack. As always, the picture doesn't really do it justice, but having unloaded, moved, and stacked every piece of that stuff by hand, I can assure you that it's a LOT of lumber!
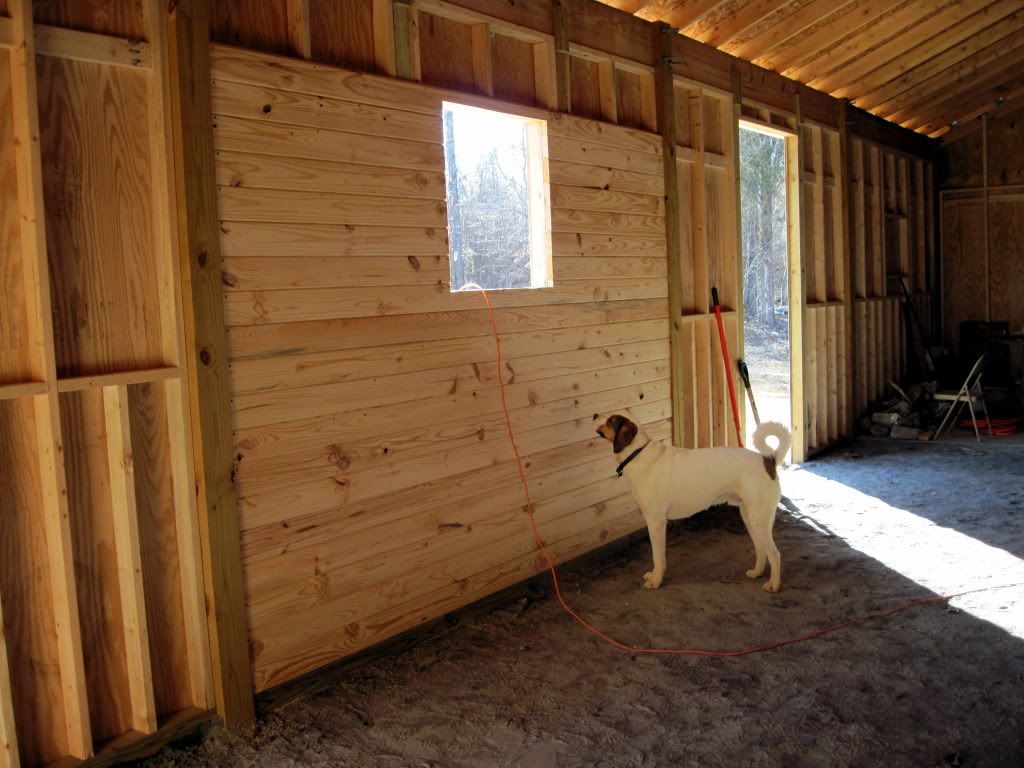
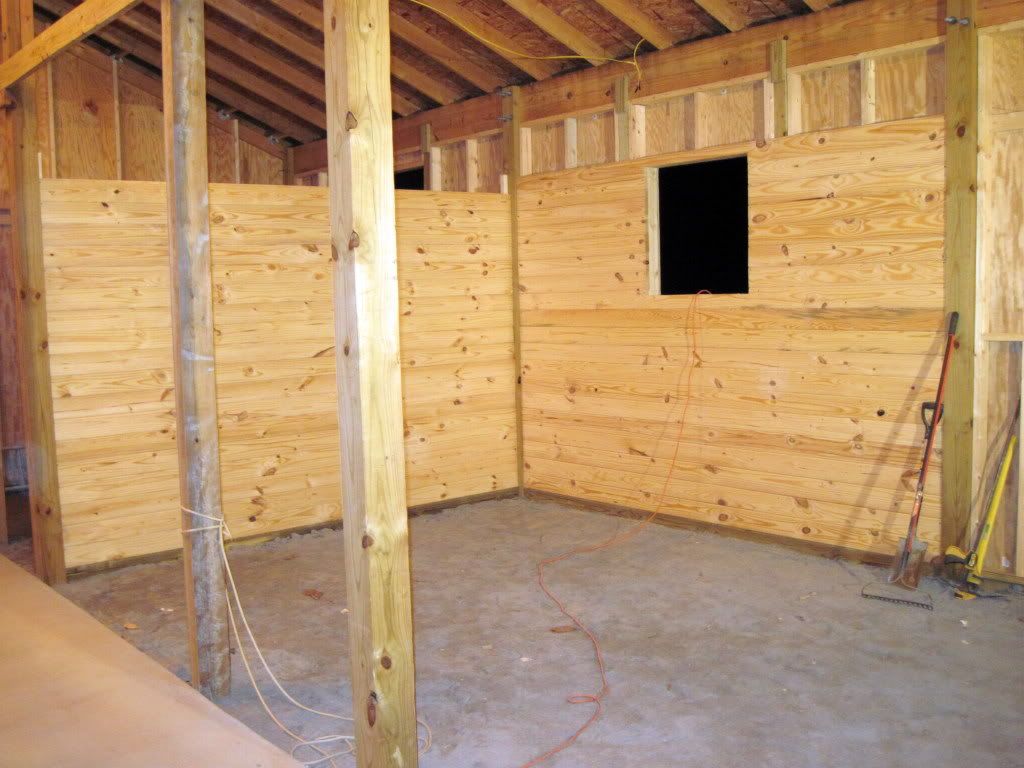
The first wall complete. The T&G goes up about eight feet.
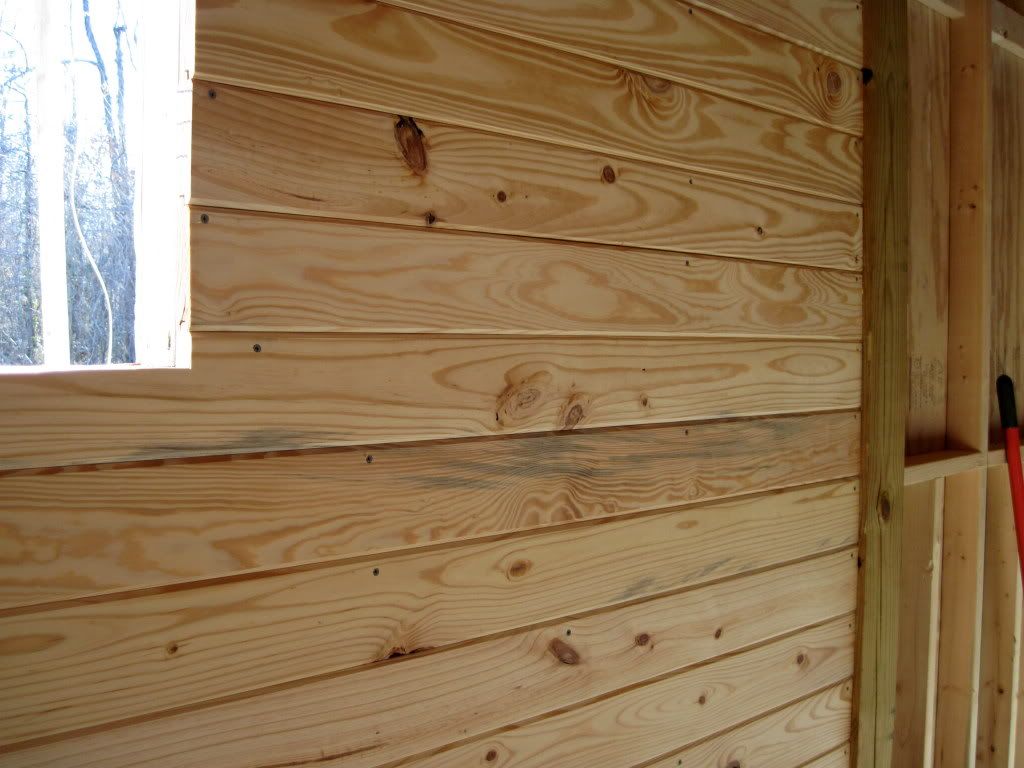
A closer look at the T&G profile.
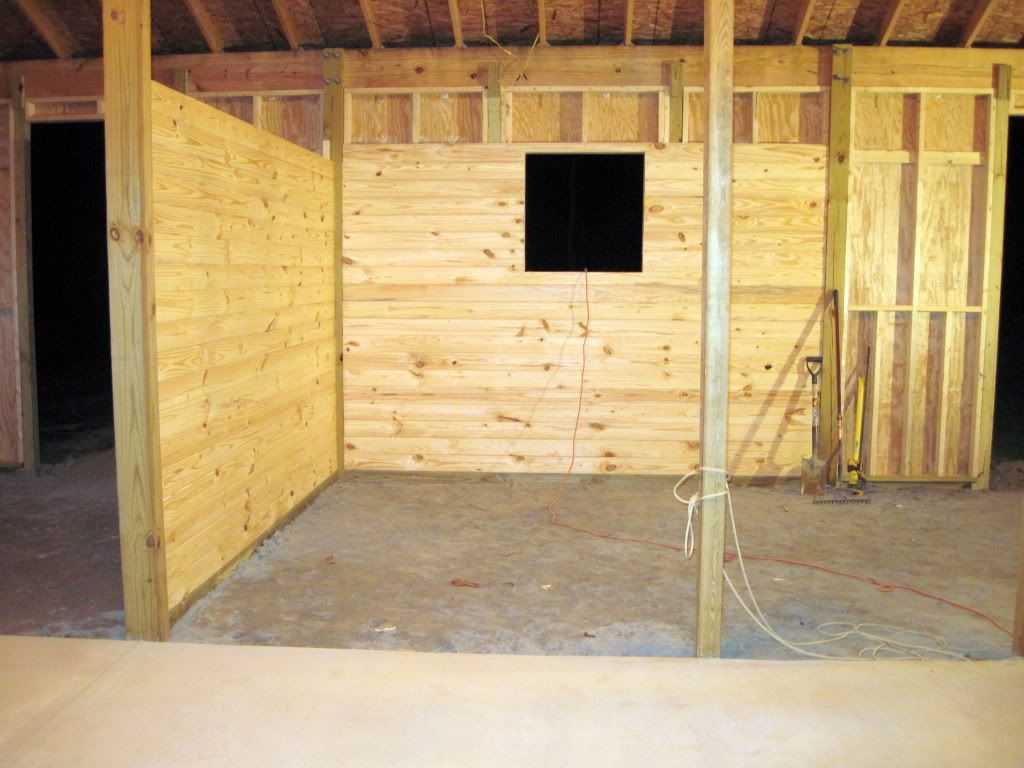
The first partition wall in place.
Another angle.
A shot with the main gable doors in the background. Things should really start looking nice once the stall fronts are all done.