OP
Wishbonez51
Bronze Member
- Joined
- Jun 14, 2018
- Messages
- 78
- Tractor
- LS XG3025H
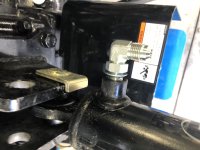
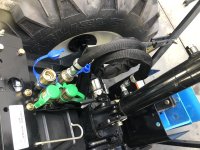
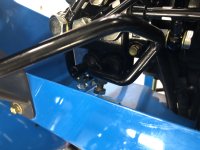
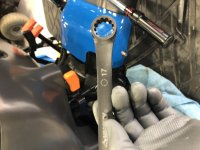
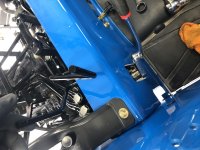
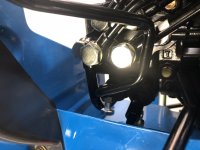
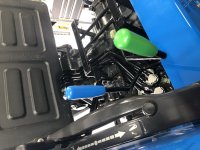
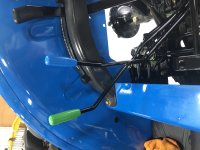
Step 10. Now its time to install the levers. I started with the bolts which have jam nuts, make sure you put those on first. Once they are on I started with the inside lever which is closes to the seat. You will need a 17mm wrench for this and after you install the lever you can now tighten down the bolt, than the jam nut.
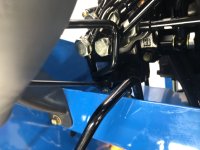
Last thing to do is install the color coded lever handles.
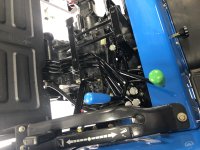
Step 11. Re install the seat and make sure you don't forget to re attach the sensor.
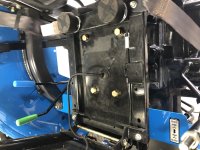
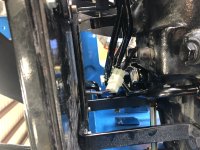
Step 12. Re install right rear tire and top off with fluid. Start tractor up to reach operational temperature. Shut back down and connect your rear implement. Start tractor back up and check operation. Once completed. Shut tractor back off, relieve pressure from system and check and top off fluid once again.
CONGRATS on the install. total time for me was roughly 3 hours


Last thing to do is install the color coded lever handles.


Step 11. Re install the seat and make sure you don't forget to re attach the sensor.


Step 12. Re install right rear tire and top off with fluid. Start tractor up to reach operational temperature. Shut back down and connect your rear implement. Start tractor back up and check operation. Once completed. Shut tractor back off, relieve pressure from system and check and top off fluid once again.
CONGRATS on the install. total time for me was roughly 3 hours
