Started to learn to use my tractor today!

   / Started to learn to use my tractor today! #21  
dieselfuelonly, Welcome!

Now that have have found the bleed screw (Same way I found it 20+ years ago) you can realize it's better to check the fuel level and add some, then risk running out and having to bleed the air. Not that it's a huge job, but, after you run out of fuel, acres away, and have to trudge to the garage for a wrench, it will be less likely to happen. (Ask me how I know this?) :rolleyes:

Going back to your original posts in this thread about shifting to 4WD.
Might I suggest keeping the tractor in 4WD for that type of work?

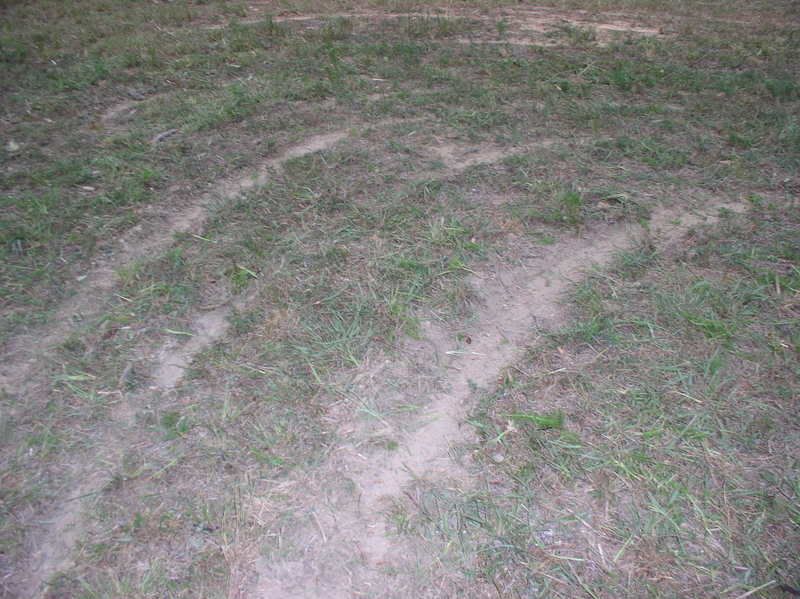
If you are running around on hard packed surface, where the traction isn't needed, then keep it in 2WD, but if you are in that loose soil and pulling the dirt/sand around, shift it into 4WD and leave it.
Your Engine won't strain quite as much, you'll be more productive, and the tractor characteristics will be consistant. (You might get longer clutch life too).

The only warning to give about 4WD is don't run it in 4WD on pavement or your packed driveway or other non-forgiving surfaces. If you were grading your driveway, and keeping in straight-line, then 4WD may be OK, otherwise it's not recommended to strain the drivetrain/diff by leaving it in 4WD all the time. Turning on Hard surfaces is what you really want to avoid in 4WD.

In your yard, or on loose dirt, etc. it's fine to put it 4WD and work it.
4WD increases your Drawbar Horsepower (pulling).

That's my 2-cents, otherwise, it looks like you are getting your hours in, and with that, comes experience. I'm a firm believer in learn-by-doing. Books and Internet are great sources of information, but nothing fully replaces time in the saddle.

Have Fun, Be Safe!
 
   / Started to learn to use my tractor today!
  • Thread Starter
#22  
In keeping with my "tradition" of learning to use one implement per day, today was time for the bush hog. I had previously removed the bush hog when I was working on the tractor and so that I could drive it around easier. I had tried to put it on earlier, but the PTO shaft had pulled too far apart and I was having a hard time getting it on. A couple days ago I had managed to get it somewhat on the shaft, but it binded up and would go no further, and I could not pull it off by hand. So today, I wanted to try out the bush hog. I figured that I would have to first pull the shaft back apart because as far as I could tell it was NOT going to go on that way, even though it appears that as long as the 3 channels on the shaft line up it should slip on anyway. But apparently that was not the case. Very awkwardly I managed to get the shaft on the PTO on the tractor. After another starter grinding adventure I got it started just fine. Started out in first gear low range and drove forward. Shaft didn't want to come apart and it drug the bush hog a little bit. Then I put it in first gear high range and got a little more aggressive on the clutch and it pulled right off. Then I tried putting the shaft back together by trying each channel on one half in each channel on the other half. Apparently it worked because I must have lined it up right because it slid on there perfectly. After a little bit of trouble hooking the bush hog up, I got it all hooked up and drove out to the area where the horses get ridden (thankfully not by me, I am not too fond on getting on one of those animals, though I really enjoy having them around) and decided to clean that area up so that the whole area could be ridden in instead of just the small path that I cut with the riding mower before I bought the tractor at a PAINFULLY slow pace.

Anyway, I got right to work. Had a little trouble deciding whether to use low range 3rd gear or high range first gear. After a few "laps" in LR 3rd, I noticed that the little 3cyl diesel was chugging along happily without bogging the least, so I tried out HR 1st and it worked great. I didn't want to go any faster in the riding area faster because the grass was pretty tall (well, by my standards, not unlike some of you guys who mow stuff and the only thing you can see is the front of your tractors hood) and I didn't know what was under there. Thankfully I could see pretty well and the most solid object I hit was some extremely dry piece of wood that chipped off a log that made a nice little CRACK as it was blown into 10000 pieces by the bush hog blades.

The thing that is going to take some getting used to for me is how the bush hog swings in the turns, unlike how the mower on the riding mower follows in the middle. Took a little getting used to. The bush hog is a tiny bit wider than the rear tires, I think it is a great fit for the tractor. Otherwise I had no problems except for what you will see in the following picture, where the bush hog would drag on the ground in some areas (mainly when turning) and would tear it up pretty good. I wasn't sure how to adjust the lift just right, I'm sure that some manual adjustment on the lift is what I need, so maybe one of you guys can help me out. If I had the lift up too far, the wheel on the bush hog would come off the ground quite a bit, and if it was too low I would start dragging the front on the ground. Do I need to let the top center arm on the lift extend some more so that the bush hog sits a little differently?

P1010012-3.jpg


On to the rest of the pictures, sorry I got a little "trigger happy" with the camera today.

P1010006-4.jpg

P1010007-3.jpg

P1010009-3.jpg


The troublemakers, Kaz and Dana.

P1010008-3.jpg


Didn't mow the whole area, just the main part. Will finish it up when I have time, it was getting a little dark and I was worn out so I decided that it was in my (and safety's) best interest to call it a day.

P1010010-3.jpg

P1010011-3.jpg

P1010013-3.jpg


This area will most likely still be mowed with the riding mower. You can see my "sandbox" by the deck.

P1010014-3.jpg

P1010015-3.jpg


The following pictures are from the pasture where the horses graze the majority of the day. Since it has been so dry lately and the horses chomp chomp chomp all day long I really don't think I need to mow much of this right now.

P1010016-3.jpg

P1010017-3.jpg

P1010018-3.jpg

P1010019-3.jpg

P1010020-3.jpg


And finally, just one last picture. Thought it was kind of pretty.

P1010021-4.jpg
 
   / Started to learn to use my tractor today! #23  
Dont worry the dragging is mandatory for the first few bushhogging experiments, you will get the top link adjusted eventualy and the drag marks will grow back. Have a fun weekend playing I mean working on your new toy I mean tool.
 
   / Started to learn to use my tractor today! #24  
One thing I found extremely helpful with hooking up 3pt implements is to get a set of Pat's easy change. I would have to bang, kick and make about 10 trips to the tractor to get it hooked up. With the Pat's I can disconnect and re-connect to a different implement in about 3 minutes. Oh and congrats on the new toy (I mean tool).
 
   / Started to learn to use my tractor today! #25  
Dieselfuelonly:

You are doing fine :D! I like your pictures as well :). Trailing wheel divots are part of the learning curve (I have been there and done that quite a bit in 20+ years.). It does appear that you have to "fine tune" the top llink adjustment slightly (try shortening it slightly and there should be a 1"-2" cutting height difference between the front blade-ground height and the rear blade-ground height with the rear blade higher than the front when the deck is level). I will also add that the more you get to learn the lay of your land the more you will be able to anticipate those rises that will cause scalping and/or divots and you will raise the 3 point hitch accordingly. One thing that will really stress the tractor/rotary cutter during mowing are ant hills :eek:. You are doing everything correctly. Keep the posts coming- Jay :)
 
   / Started to learn to use my tractor today! #26  
One lesson I thought I might add, since reversing the dirt scoop was mentioned, is that three point hitches and the lift arms are made for pulling, not pushing. You can push with them, but be warned that they will bend and once bent, are a pain to fix, and worse to pay to replace. If you reverse the dirt scoop, just be careful that you don't try to overdo it. The dirt scoop isn't the only thing to be careful on that with. Backing into something with the bush hog, or trying to backgrade with a box blade also will do it. Just remember that the lift arms, or the uprights on your implements are made for pulling, and when you put the tractor in reverse, you need to be careful with just how much pressure you put on it. Most tractor owners do push with the lift arms, but experience goes a long way and I just thought you should be warned of the dangers of the reverse gear.
David from jax
 
   / Started to learn to use my tractor today! #27  
Good point sandman2234 :)- Jay
 
   / Started to learn to use my tractor today! #28  
Dieselfuelonly:

There are good suggestions above. My technique for putting on implements is to back up close and just move the implement around with a digging bar (sometimes called a spud bar). The bar is so useful that I keep it on the tractor.

I have a Bush hog on my Ford 1320. The scalping problem was due to the side digging in, and the final adjustment that worked best on this rig was to lengthen the top link so that it was cutting higher in front than the back. In other words, you are going to have to fiddle with the fore-aft tilt and the tail wheel height to find the best setup for your tractor-mower combination. The only other suggestion is that if you are mowing a field occasionally (not a lawn) it looks better when if not cut too short.

Steve
 
   / Started to learn to use my tractor today! #29  
Looks like you are having fun with your new tractor :)

You will soon work out how to stop the RC from digging in. Try to watch what actually happens when you turn and then change things a bit.


You will also soon be hooking up the RC quickly. When I am trying to get big implements on tractors that I can't possibly push around I try to back up completely sqare to the implent and then bring the lower link down to rest on the pins. Then, get out of the tractor and use the link extensions to get the pins on. Then I put the PTO shaft on and finaly the top link.

I know how annoying it can be sometimes when it just won't go on :mad:

Spiveyman :

I notices in an earlier post you said you put a finish mower behind the 6610. That must be one of the most powerful ride on mowers ever :D How big is the finish mower?
 
   / Started to learn to use my tractor today! #30  
I used Grrr's method for many years. loosen the rear links, raise them, back-up to the implement, lower the links and try to get them to fall down onto the pins. if they are loose enough, you can then dismount, and wrestle the last inch or two.

jbrumberg's post was a good one for how your Rear Cutter should be, from a height perspective. I'll add a few thoughts to Jay's.
You have 2 static adjustments and 1 dynamic adjustment.

-Your Toplink is static, once it's adjusted it stays.
-Your rear wheel height adjustment is that metal bar with the holes drilled in it, that bolts to the back of the deck. It allows you to adjust the rear height.
Looks to me from the pic it's set to it's lowest setting. If you raise your 3PH so the deck is level, how far off the ground are your skids?

-The dynamic adjustment is your 3 point hydraulic lever, which can be adjusted "on the fly".

As Jay was saying, try to adjust you toplink and rear wheel aduster, on a flat level surface. Set you 3 PH hydraulics so you have a few inches of up and down to play with while out in the field. Try to get the front to sit a little lower than the rear. Just guesstimating , set the front skids about 3" off the ground and the rear skids about 4 1/2" inches off the ground.
Where did i get these bogus measurements?? you ask?
Front is 2 piece of 2x4 laid flat, the rear is 3 peices laid flat. ;)
(This is for a small cutter, like a 4 footer)

Ok, now you are ready to hit the field. Try to remember where your hydraulics are postioned, as you will always be able to bring yourself back to your HOME adjustment. Some hydraulic levers will have indicator marks for this purpose, or you can even use a Marker or masking tape.

Once in the field, if you know there is an area where you dip and drag, just move the hydraulic lever so that it lifts your front an inch or so UP. Once through that piece of terrain, you can set the lever back to the HOME adjustment.

Hope this makes a little sense, sometimes difficult to write it down.

The most important thing is to understand the initial set-up on a flat level surface, once you see the things that keep the deck at the correct height, you will be -good to go-. If you don't have the owners manual, it would be a good idea to get one, they typically give you step-by-step for setting up the Cutter.

Also, sound like the PTO shaft on the cutter could use some greasing.
Grease both U-joints (with a grease gun). Slide the PTO shaft apart, and grease the inner-outer surfaces of the sliding shaft. Greasing the shaft should make it slide easier for coupling onto your tractor's PTO.

Your doing great! The pics are nice and you have a very nice homestead there!
 
 
Top