valley
Platinum Member
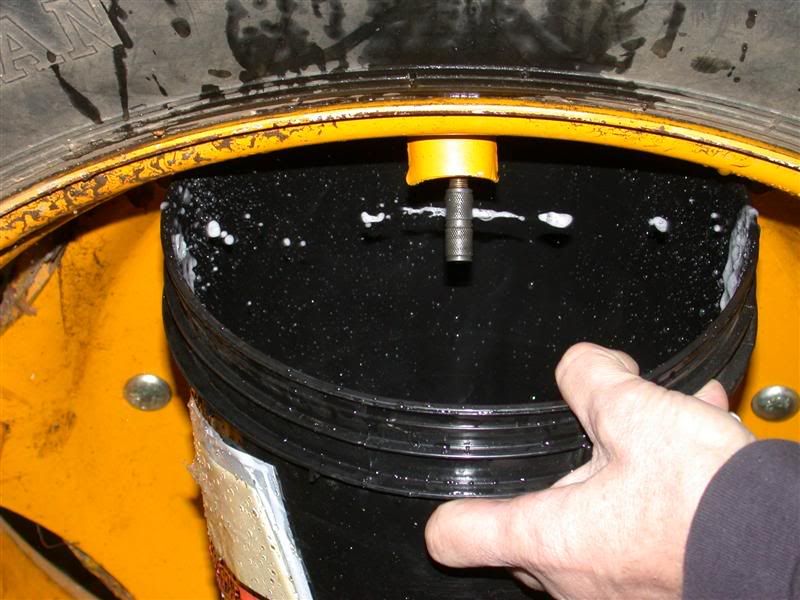
Rob, You said fill the tires, with what. I know some use calcium and others use water. Richard
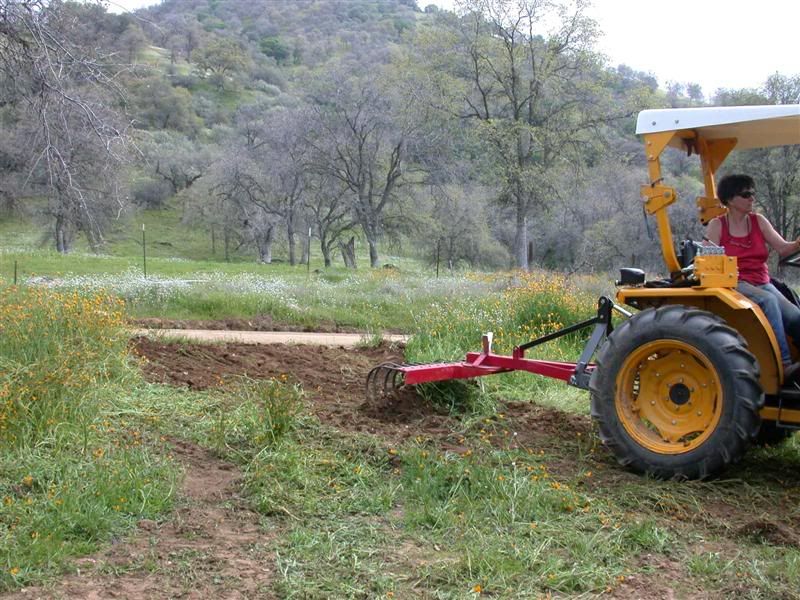
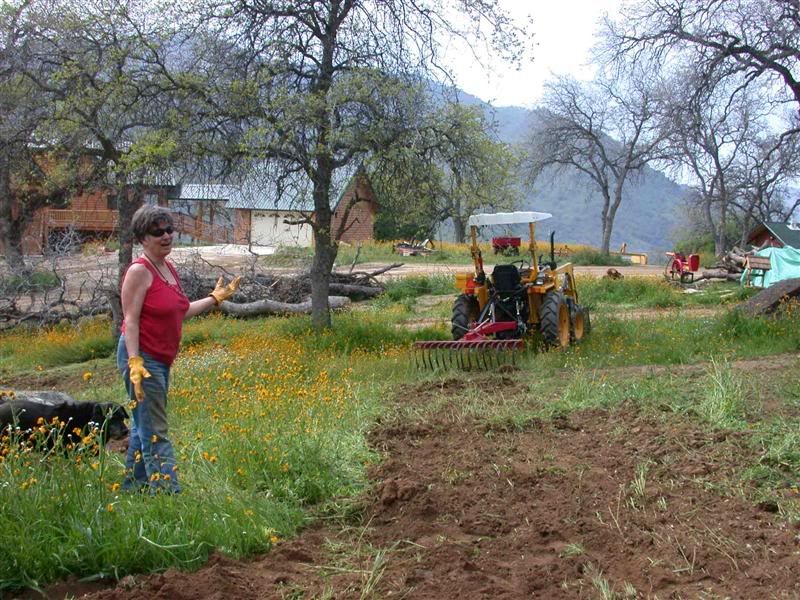
") so much for a relaxing vacation
so much for a relaxing vacation


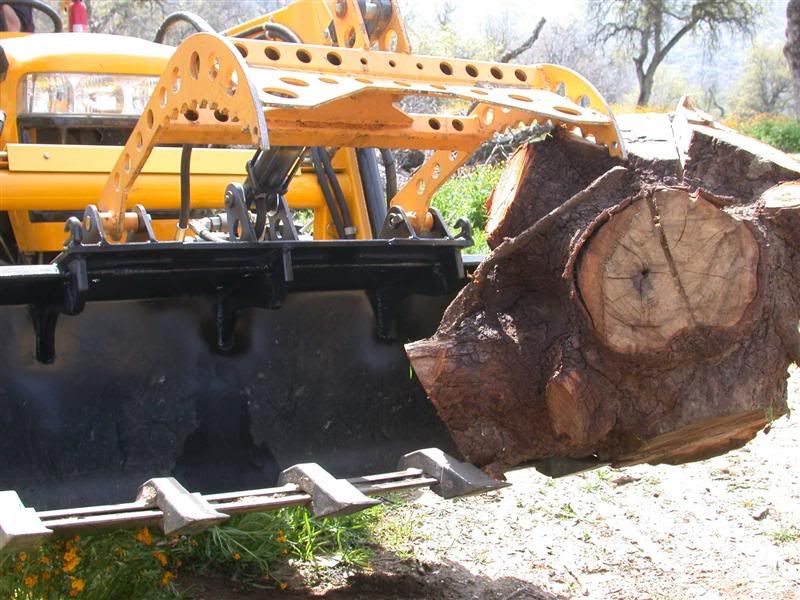
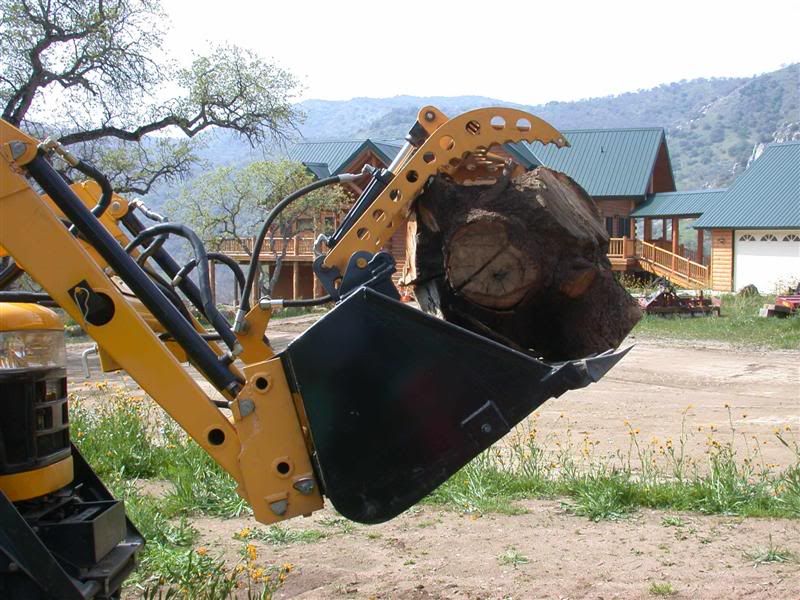
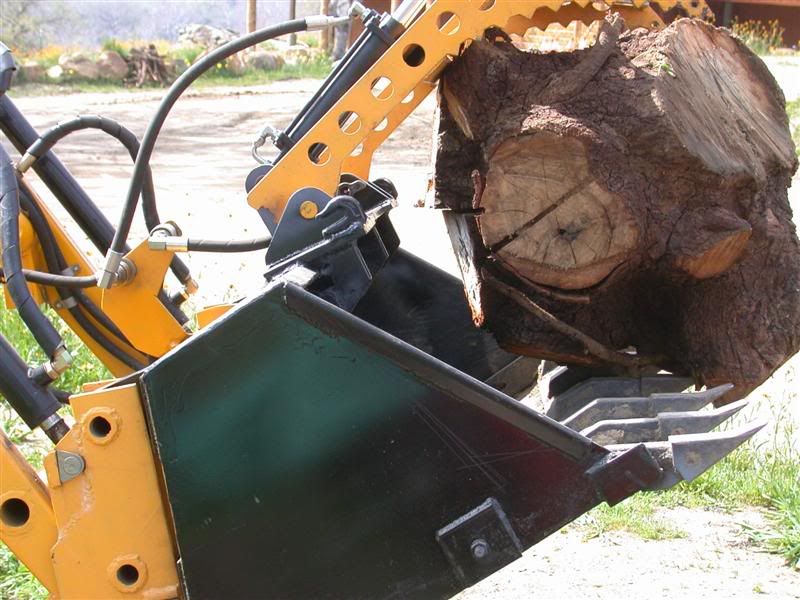
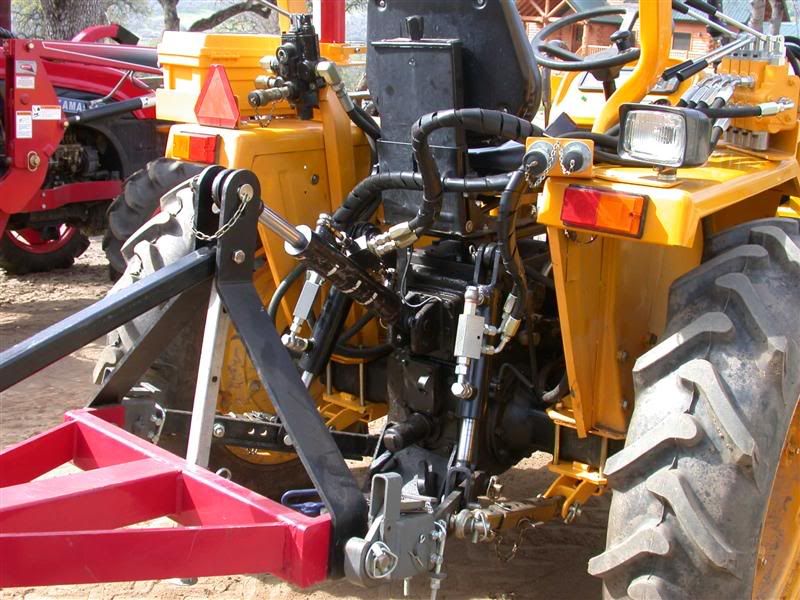
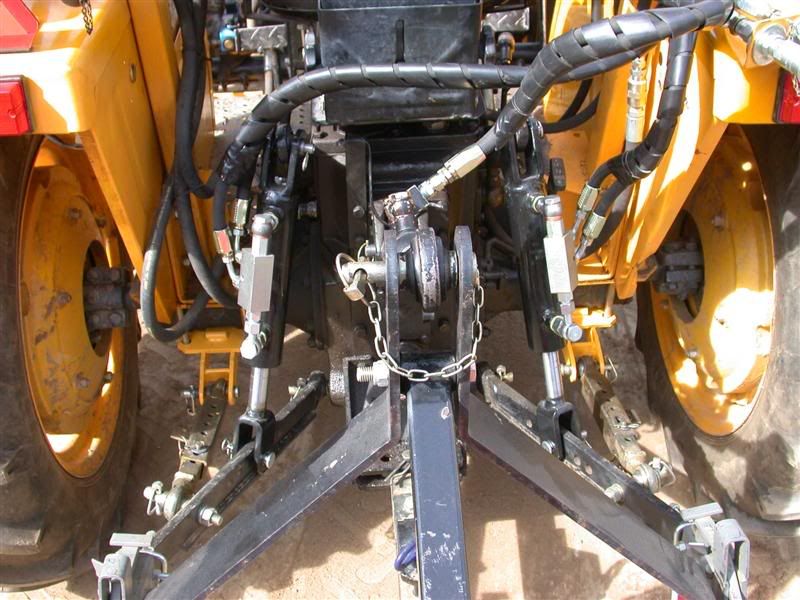
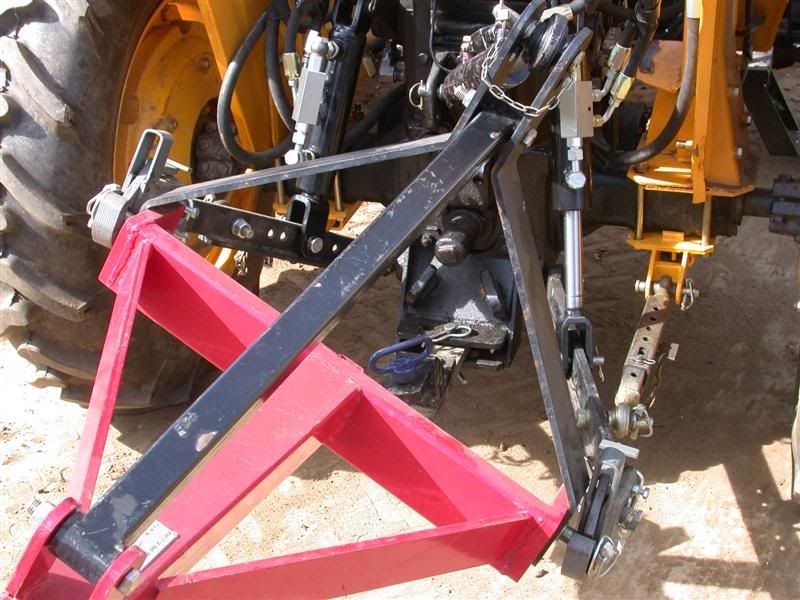
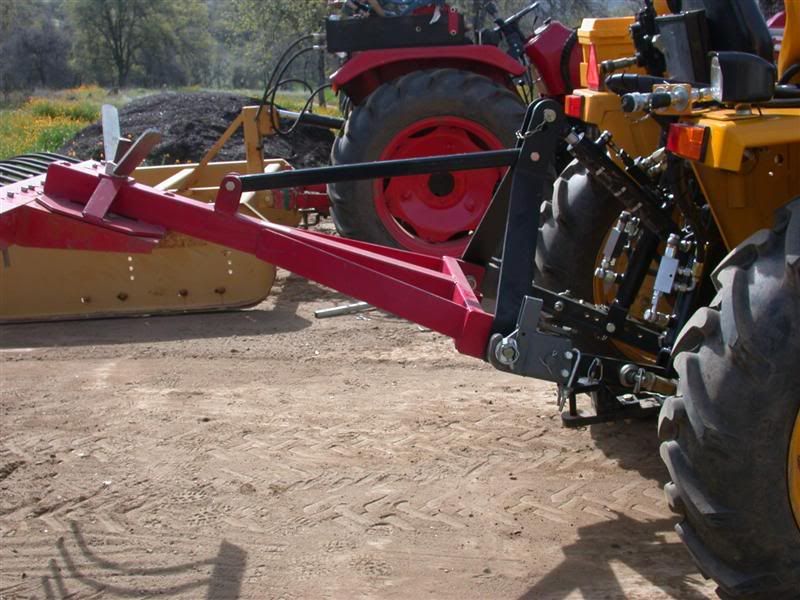
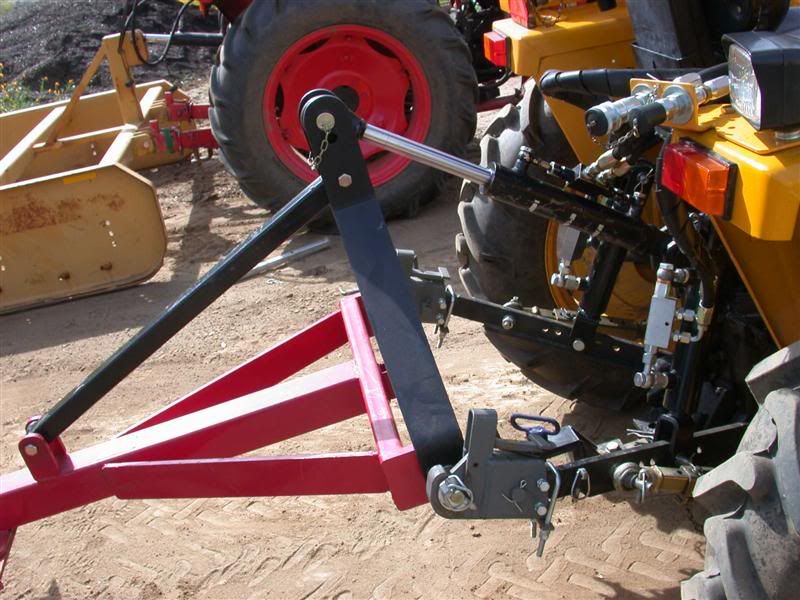
Hey Rob i was thinking about those hydraulic side links. They would be nice to have on my tractor, if our plans work out maybe i will put you to work.
Shane
Hi Shane,
See now, that's what I figured.
Promise me a relaxing vacation and then work my butt off. lol
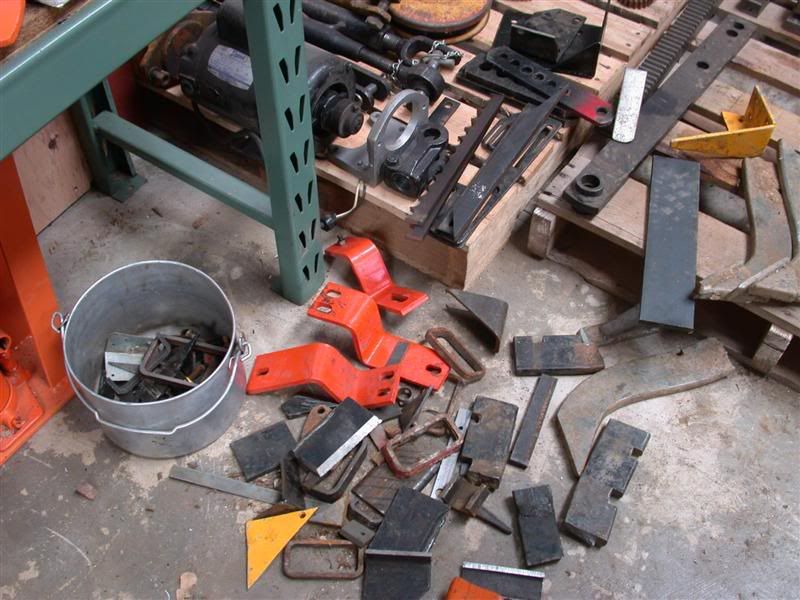
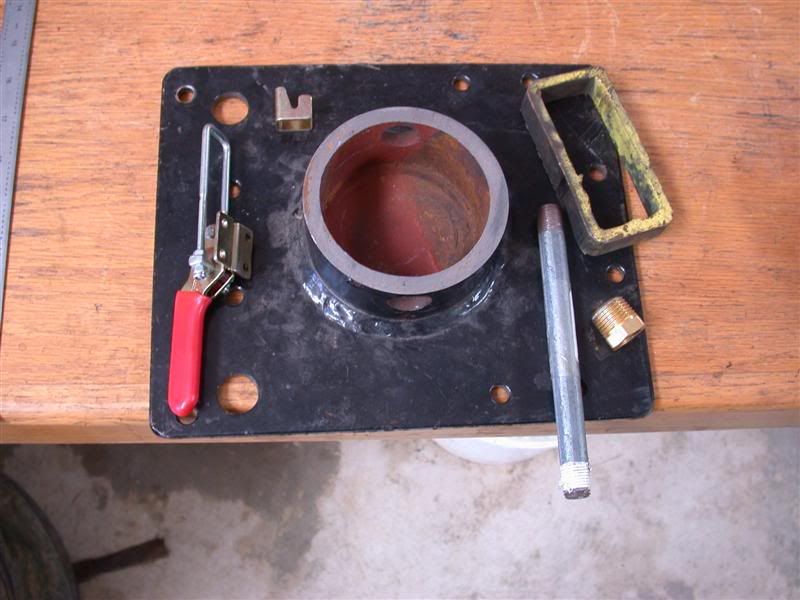
No really, that would be just as much fun for me (maybe more)? If that's what you want to do, you'll need to order all the components so they are there, ready to install. Do you have tools so we can make and weld brackets and all that? Some plate steel? Maybe a drill press, cut-off wheel, a saw and a welder? If you do, and have all the components, we can install it all easy. Even make our own hoses right in your garage with those re-usable hose ends.


But during the night, running the connections through my mind, it came to me.

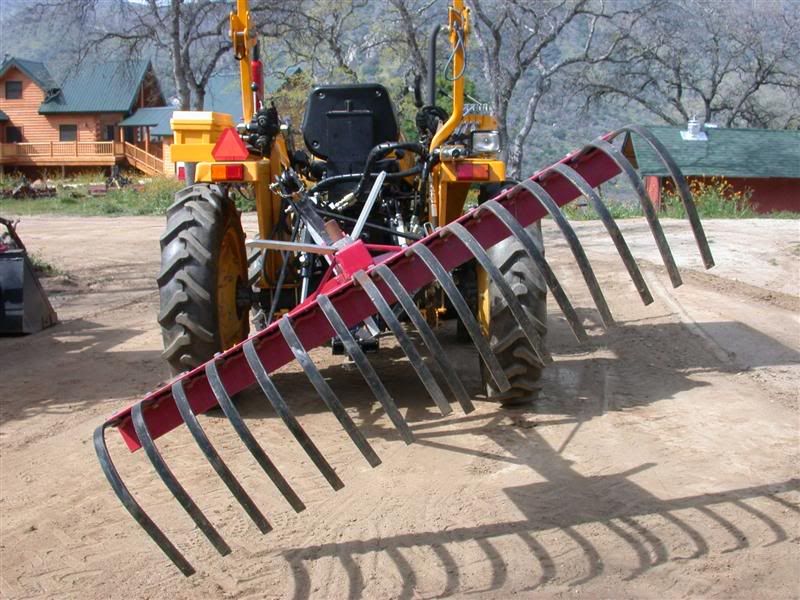
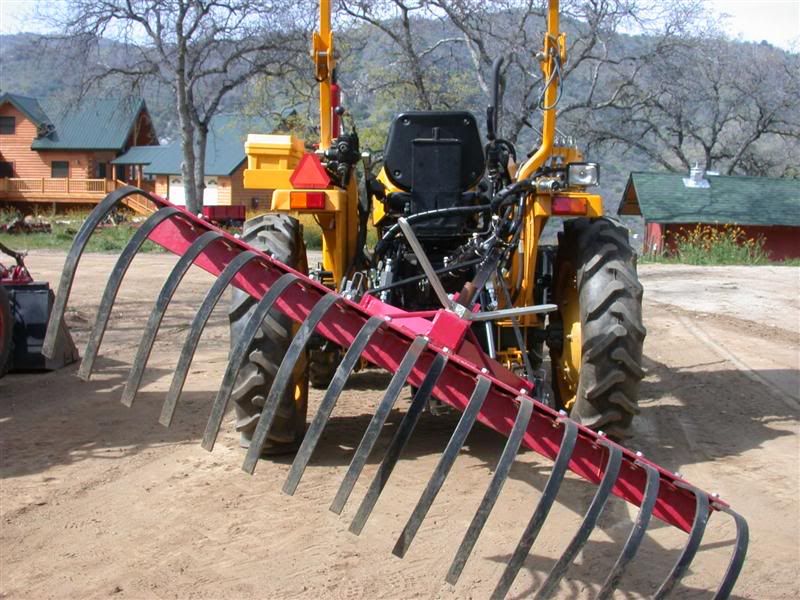
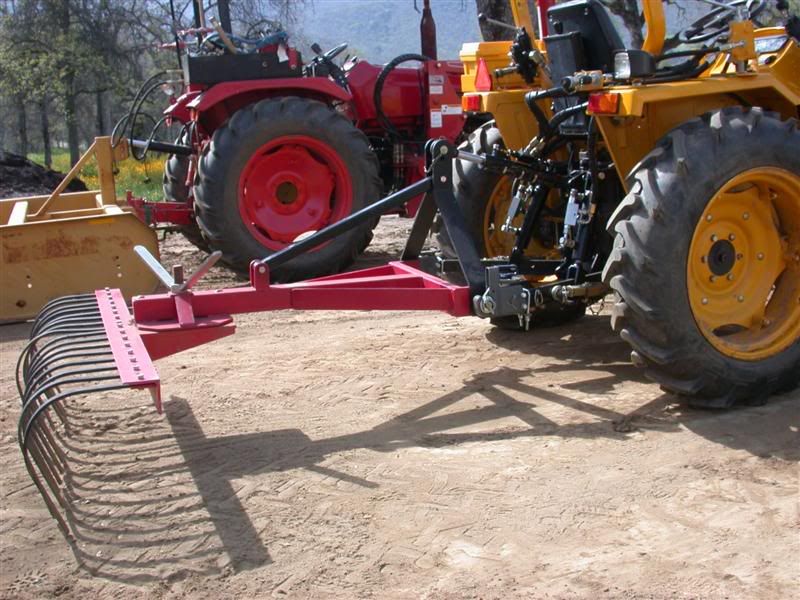
I do that too. Came out really nice, Rob. I am going to have to try some
of those reusable hose ends....