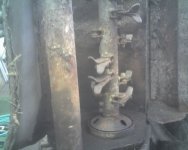
Locked up? Not sure what this means.
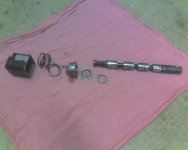
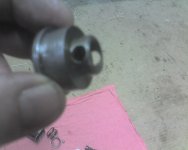
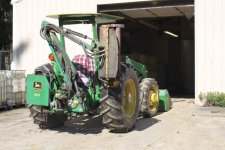
The three groves at the bottom of the spool are detent positions, but without the detent working properly, I havent been able to determine operation in each detent. I've been hesitant to pull up too hard or far yet. Currently, all the way down is off and pulling up on the spool rotates the mower head so that the lower side is moving toward the front of the tractor and the top side is moving toward the rear of the tractor. In the off position, the spool is the same height as the other valves are when in neutral. It seams as though there should be a lower position from off. I'll probably take it apart again and try to get another ball bearing and see how it works with two (one in each hole). I'll also try to get some pictures of the pieces so that my descriptions hopefully make more sense.
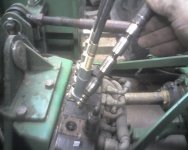
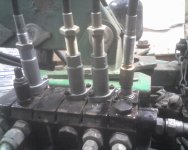
I've never torn open a hydraulic valve before so this is quite the learning experiance. Not having any parts breakdown to show what should even be there makes it a little more challenging yet.
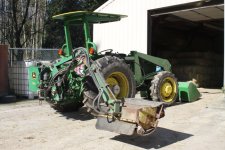
I asked about the operation of the spool because the three detents make it seam like it could have a reverse, but my operators manual only mentions on/off for valve operation. I don't know enough about spool design or operation to make any type of real conclusion.