woodsmith
Bronze Member
I am working on an Electric Toyota MR2 project but to learn more about how EV's work I started a second little project.
I've nowhere to drive it and no land to need to use it on but it will be both fun and good for shows.
So in some sort of chronological order of making the (very) brief tale starts here:
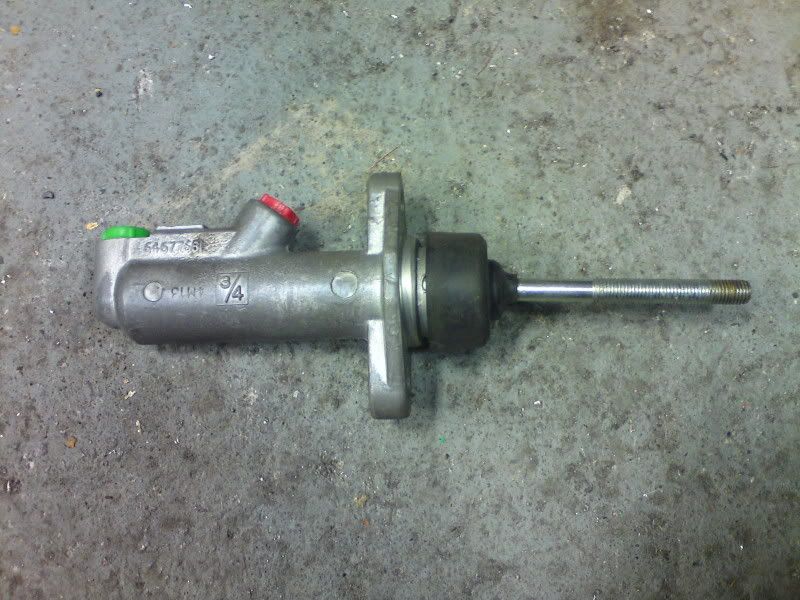
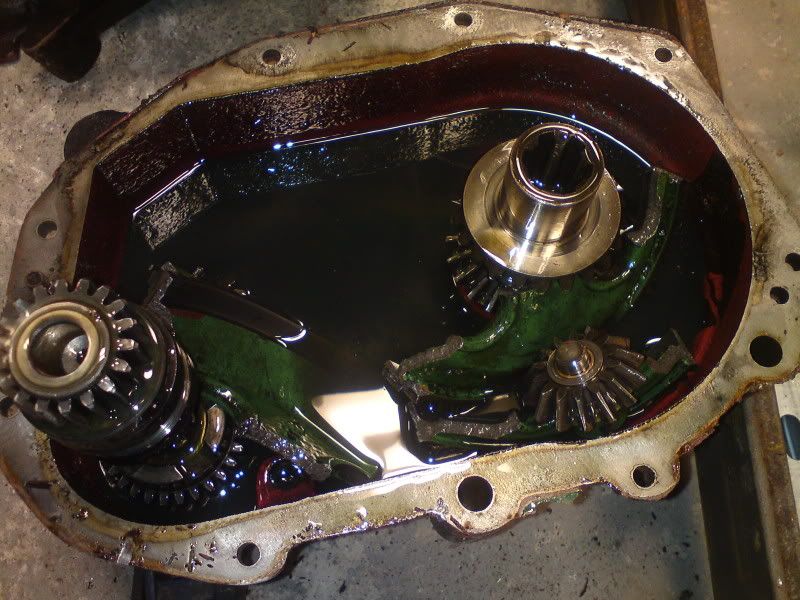
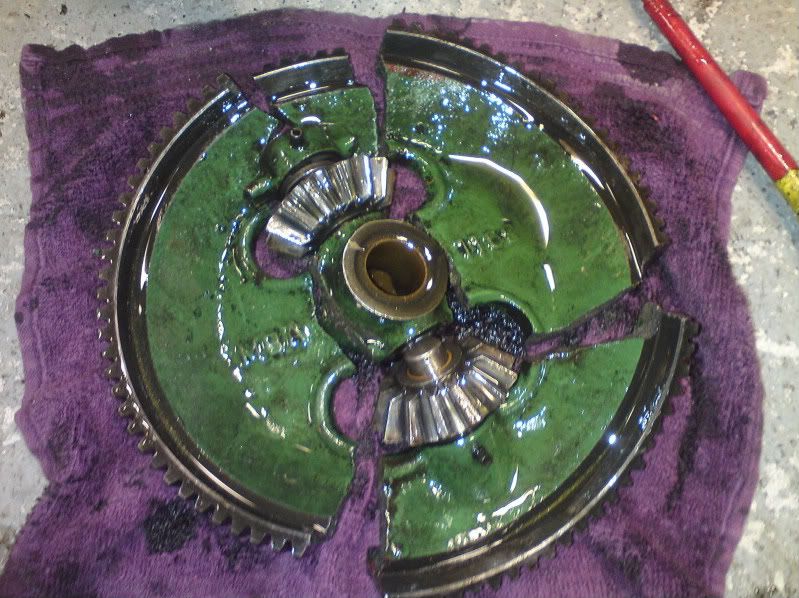
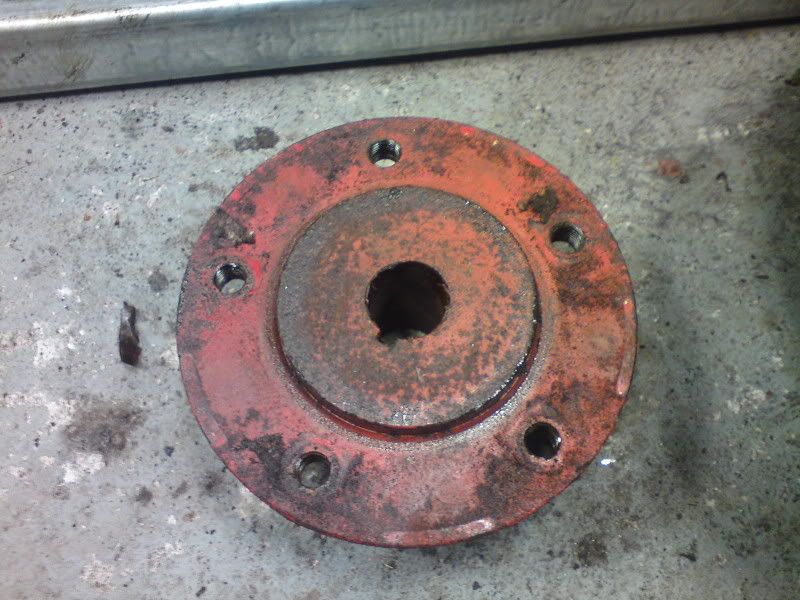
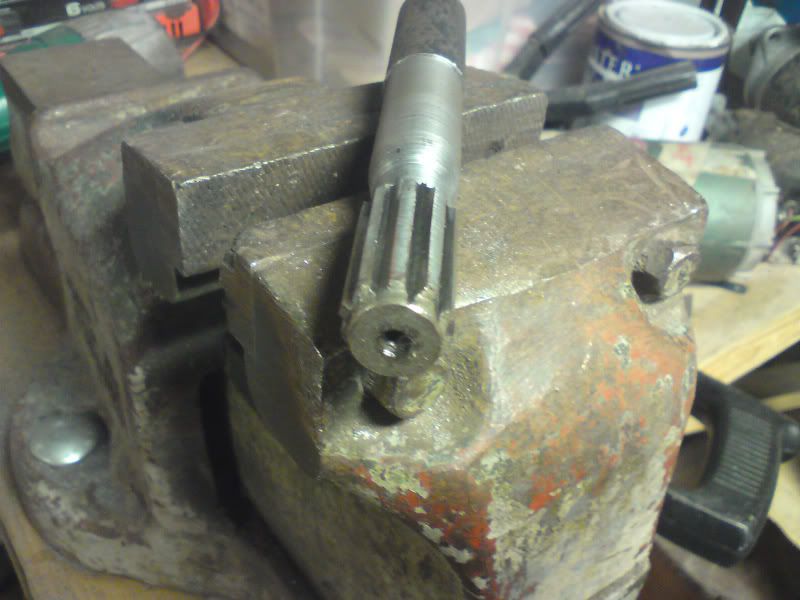
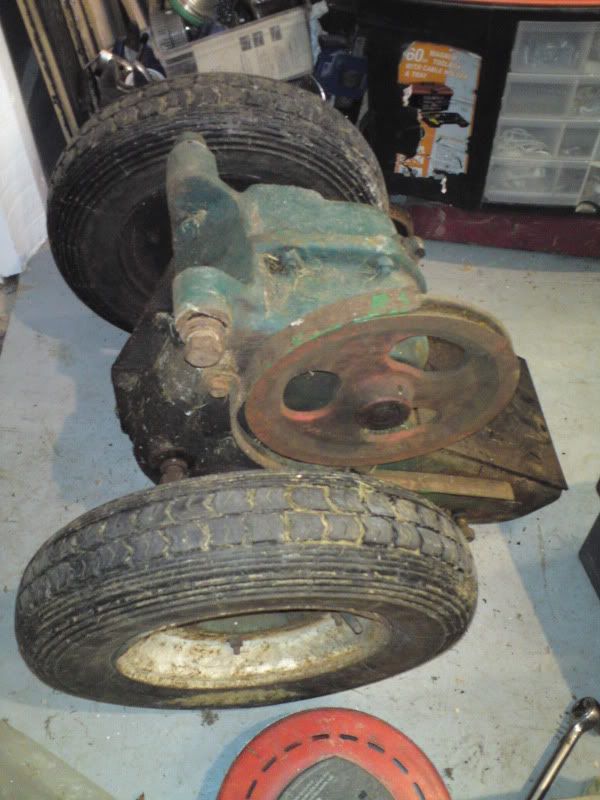
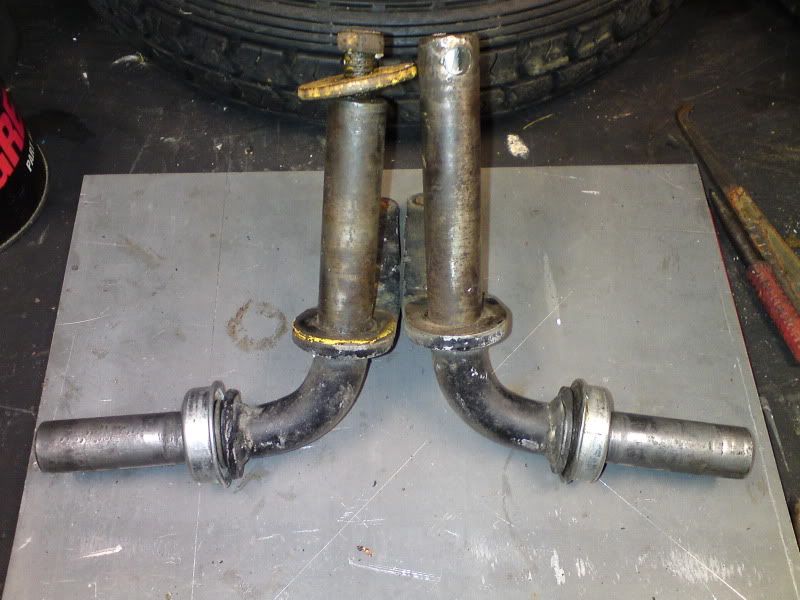
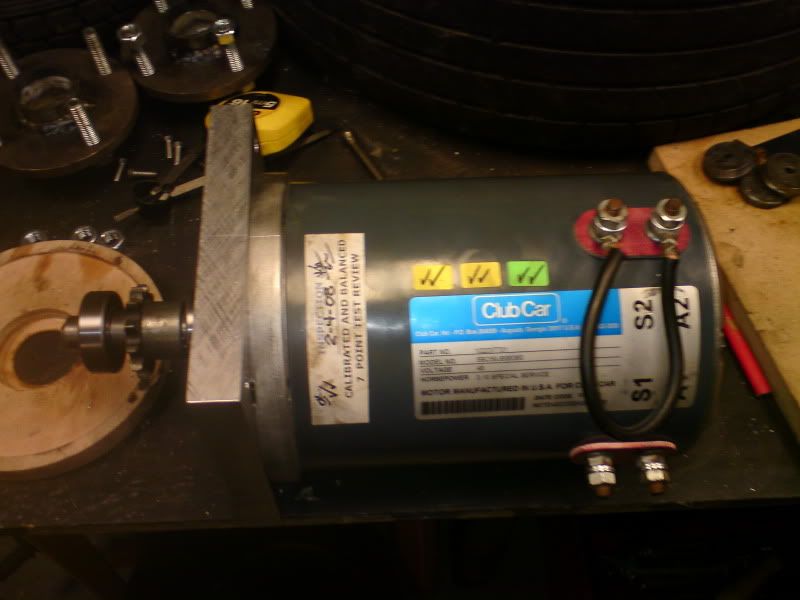
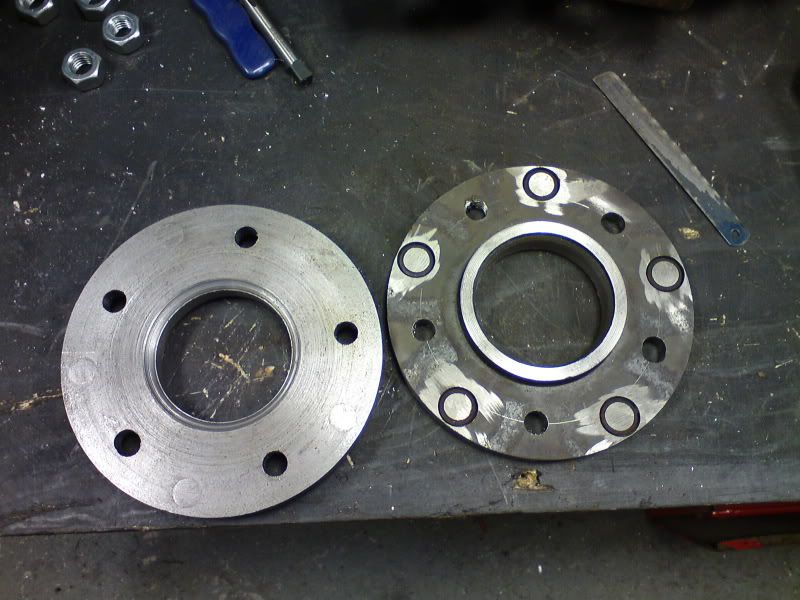
I was gifted one of these.
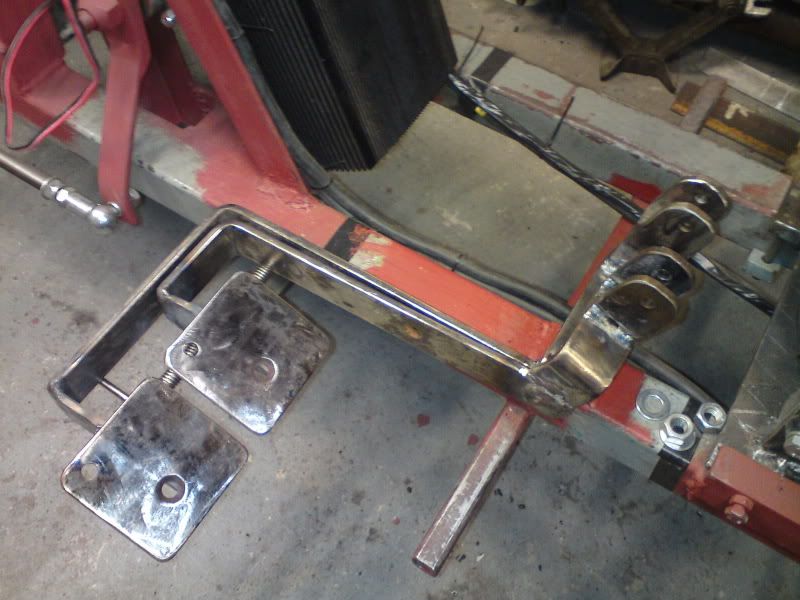
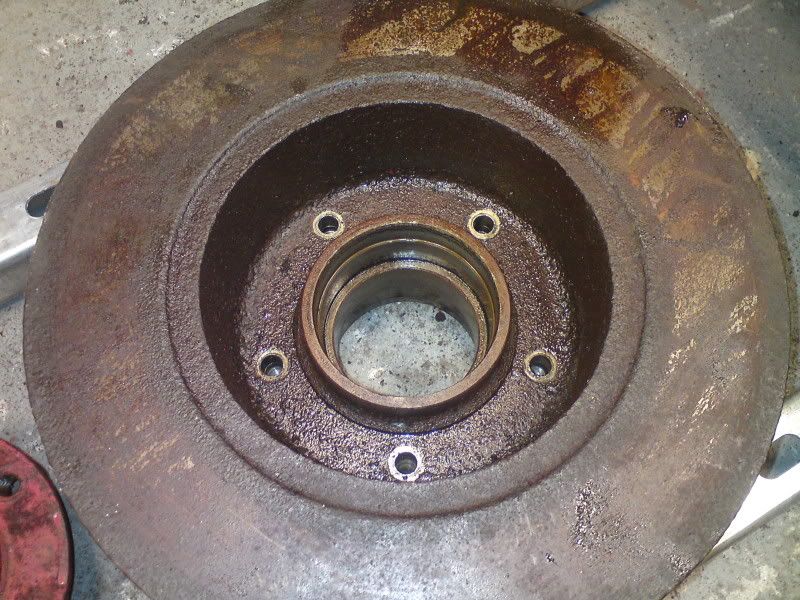
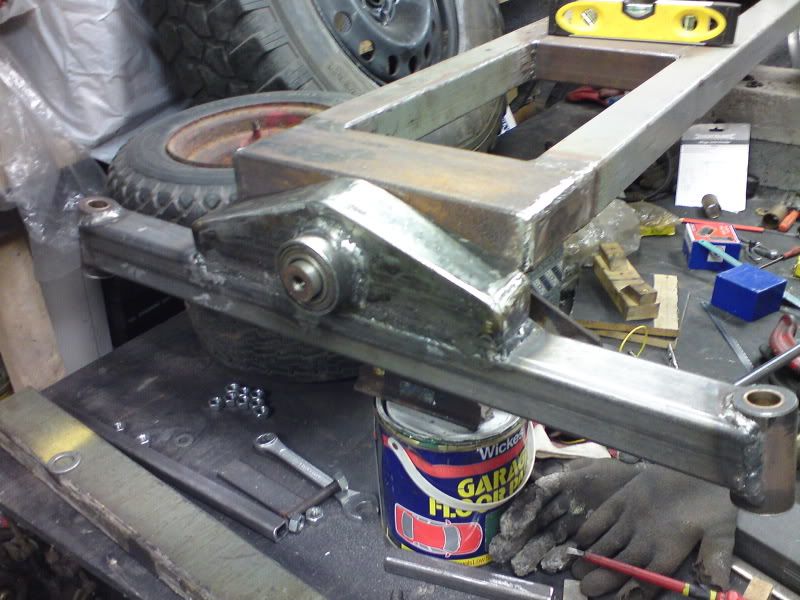
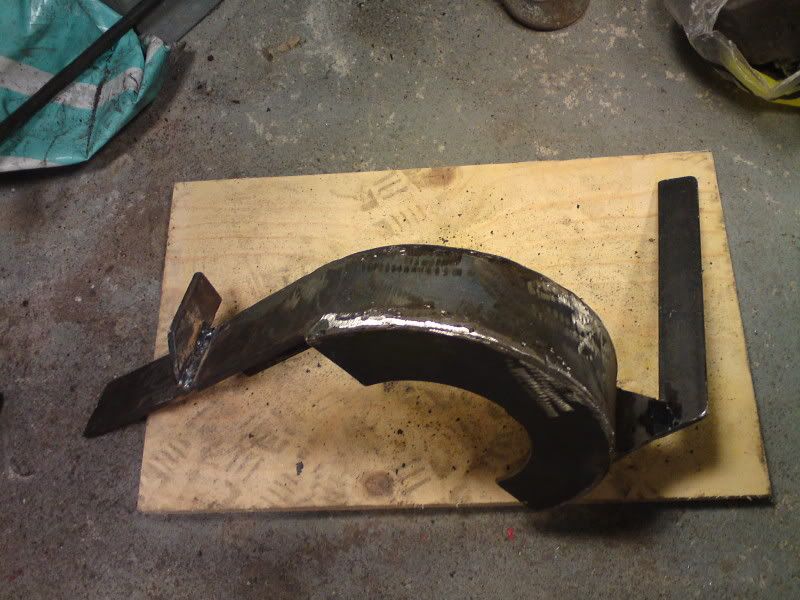
Made one of these to match.
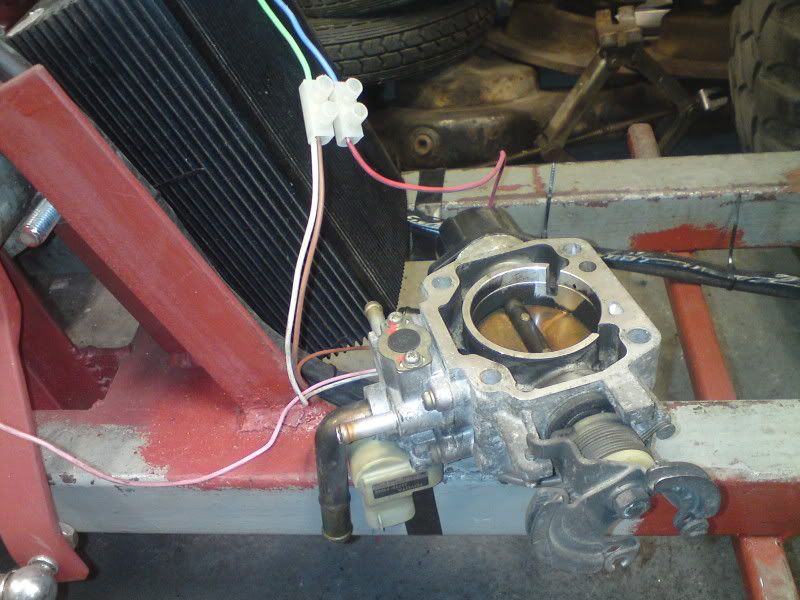
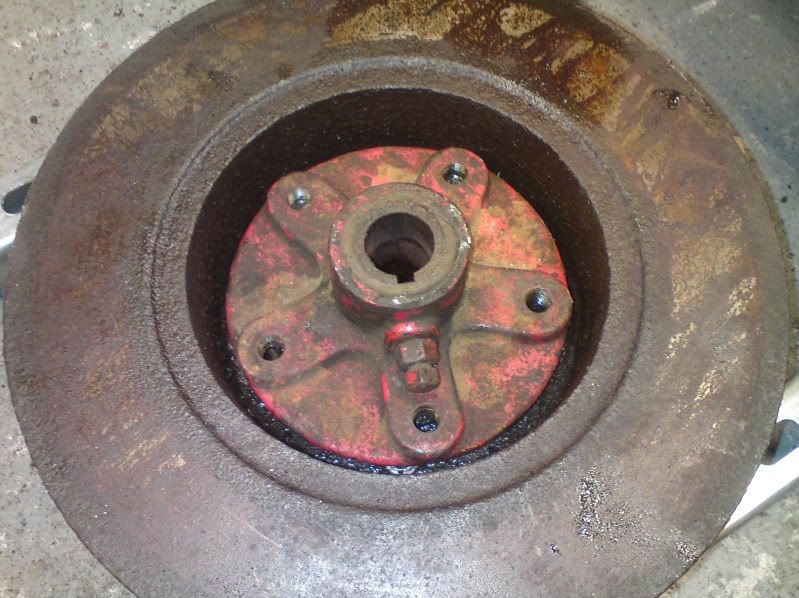
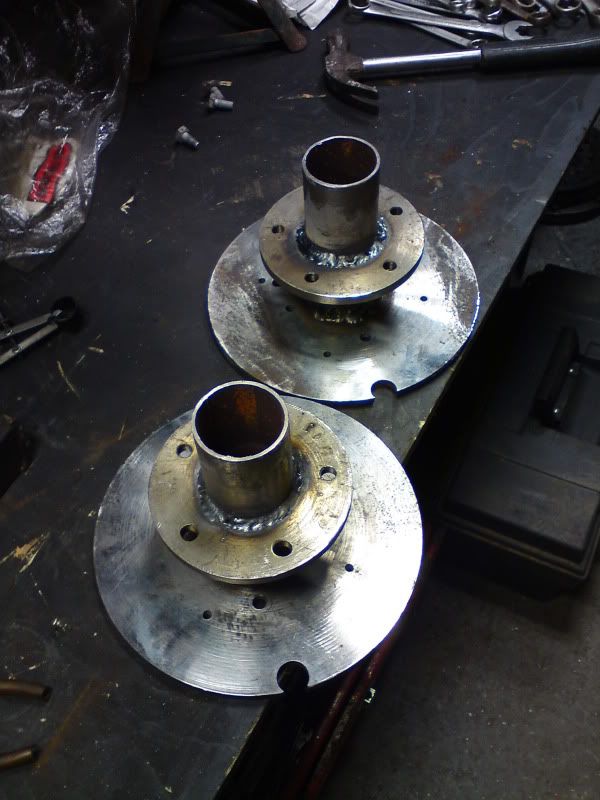
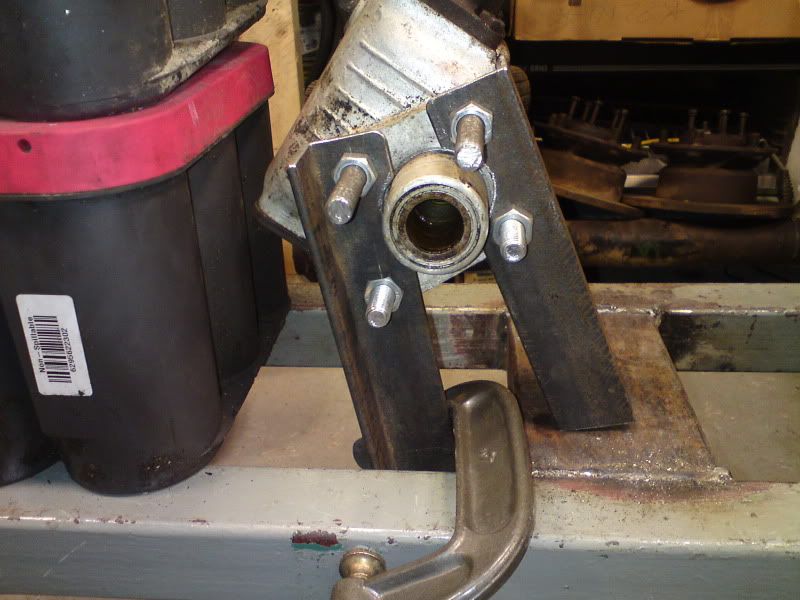
Added one of these.
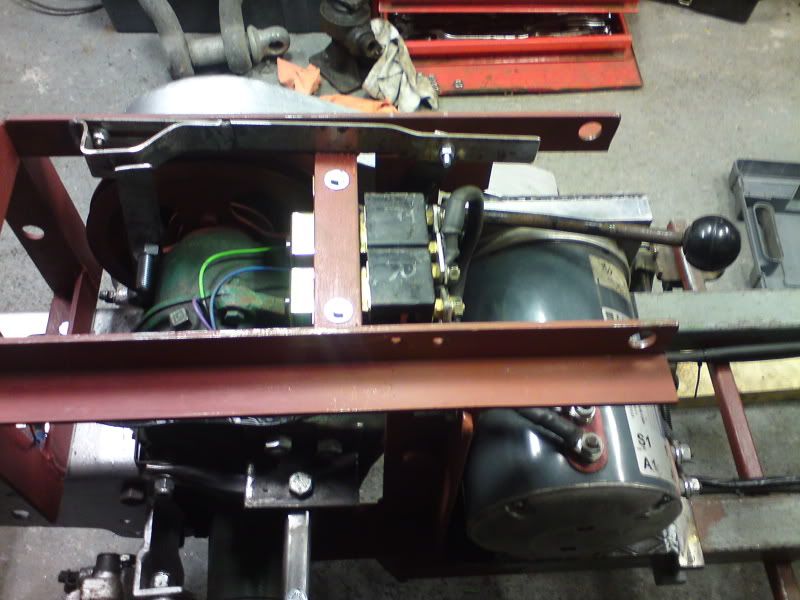
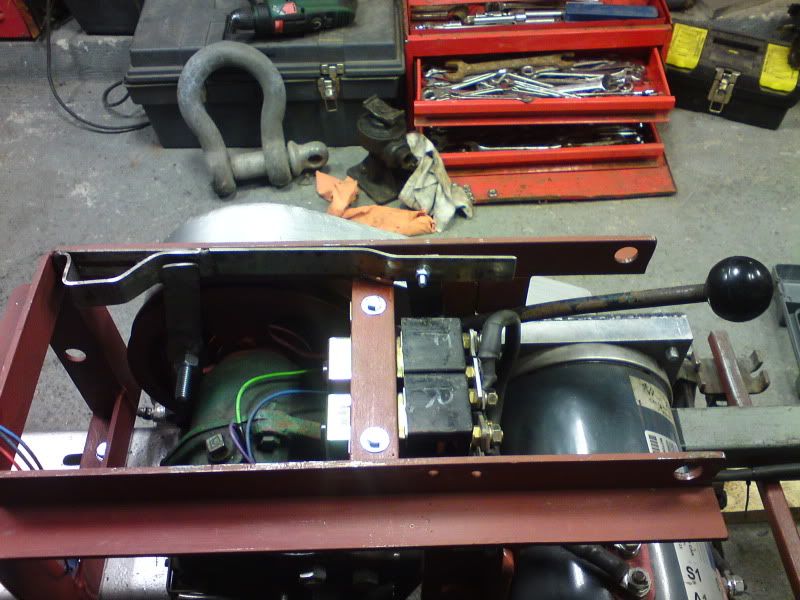
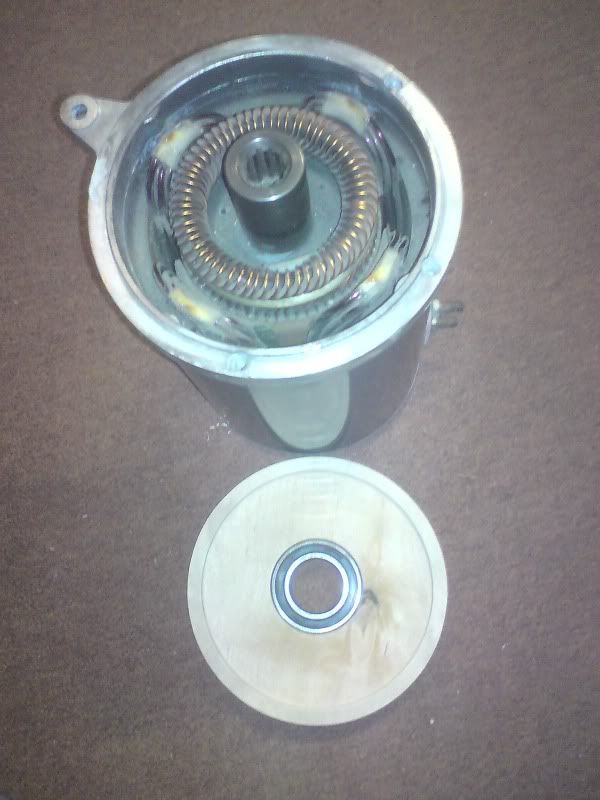
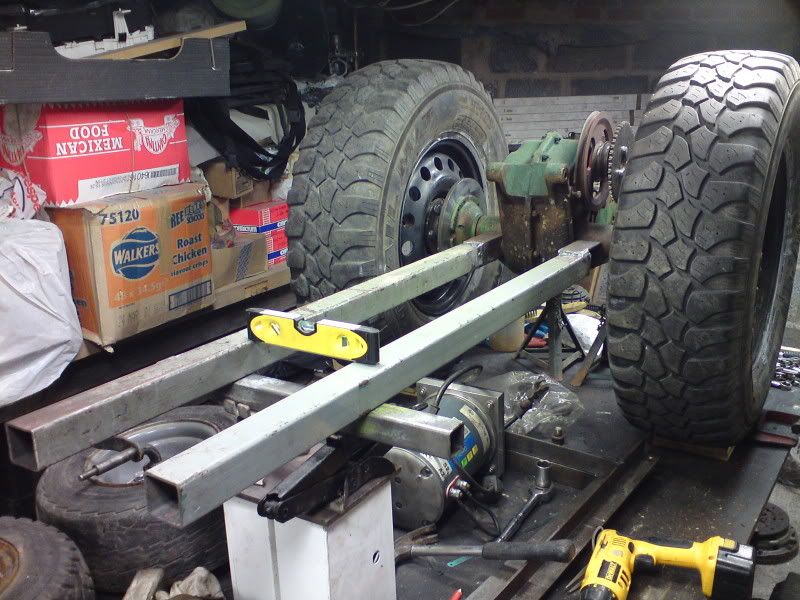
Mock up.
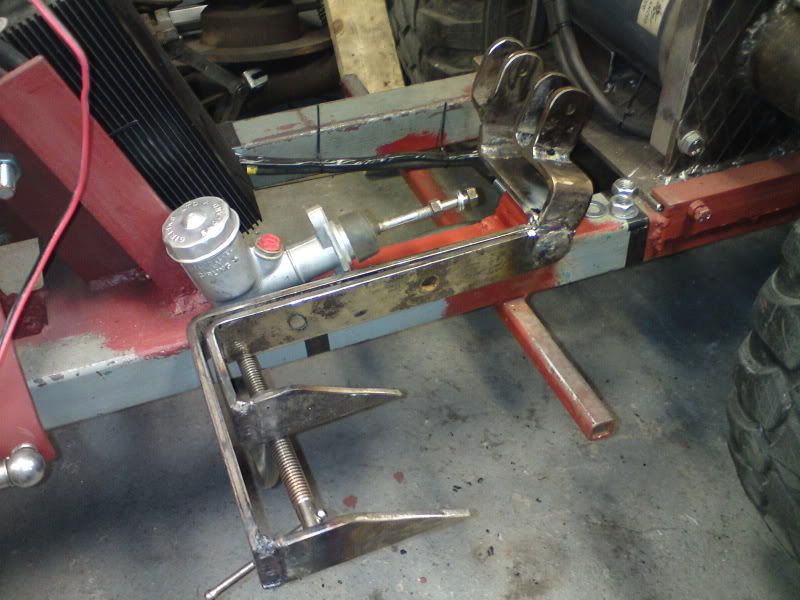
Remade one of these.
Got these gifted from an EV friend in the States.
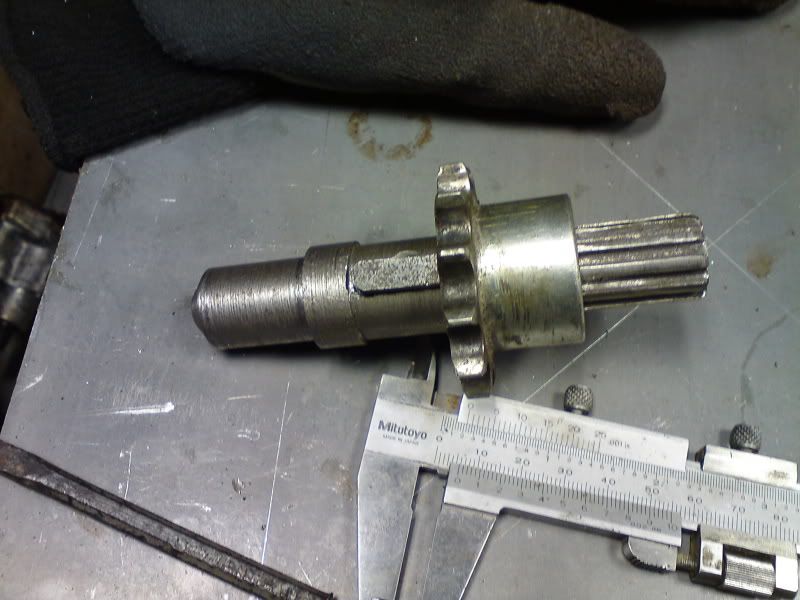
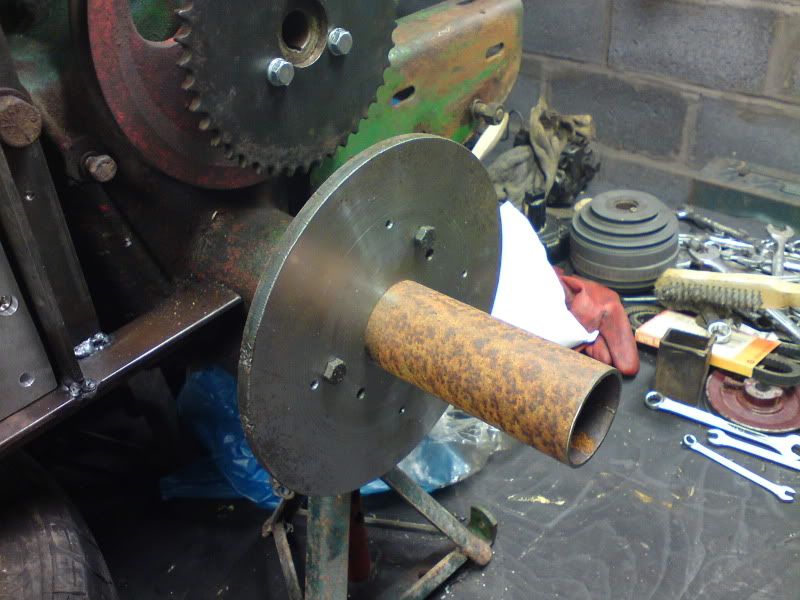
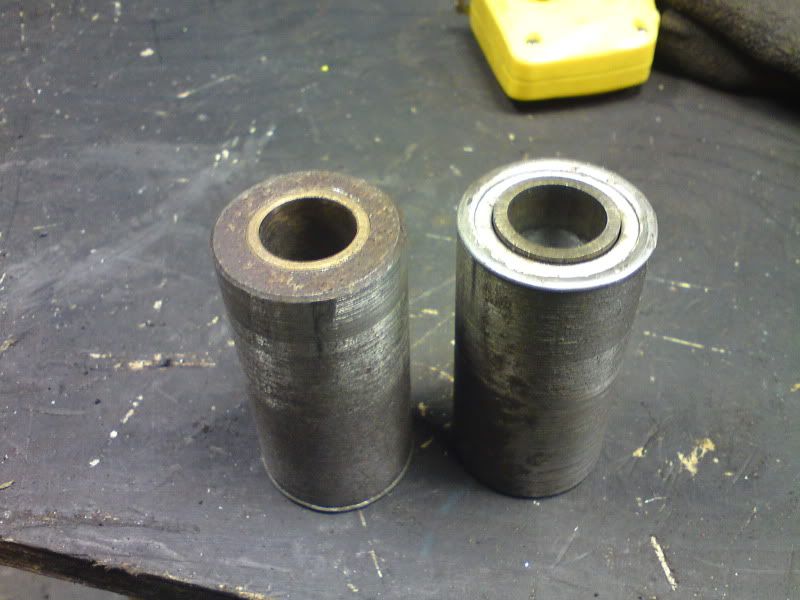
Turned these...
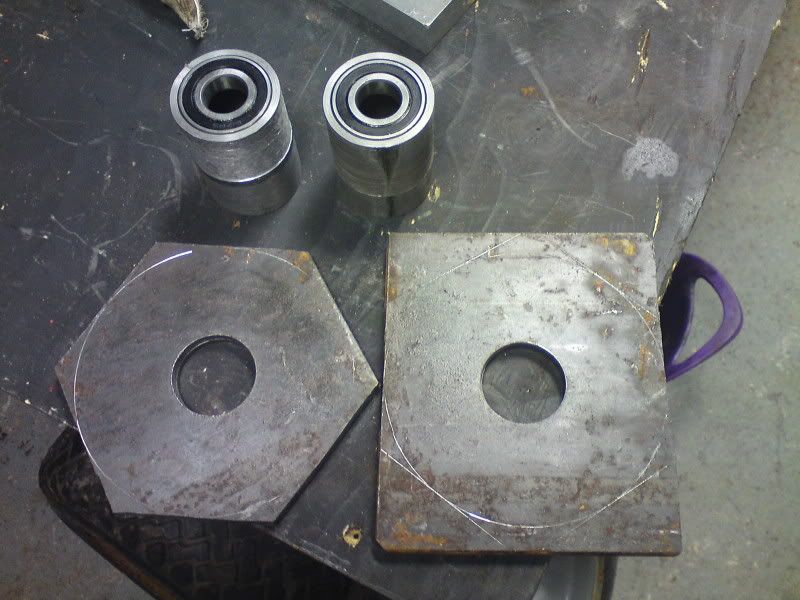
Into these.
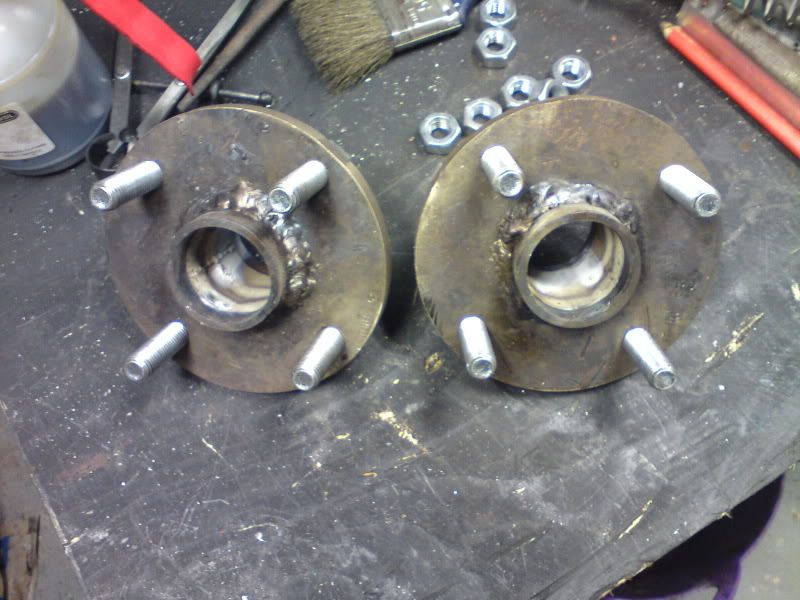
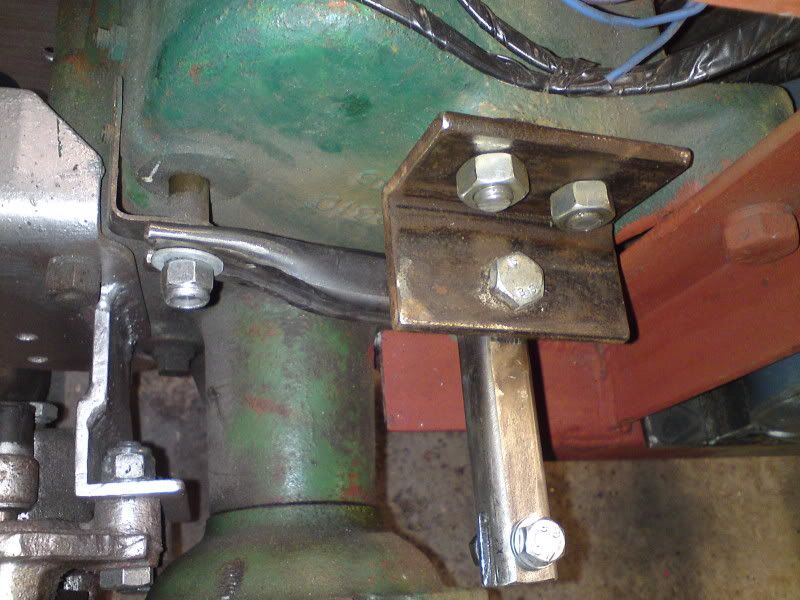
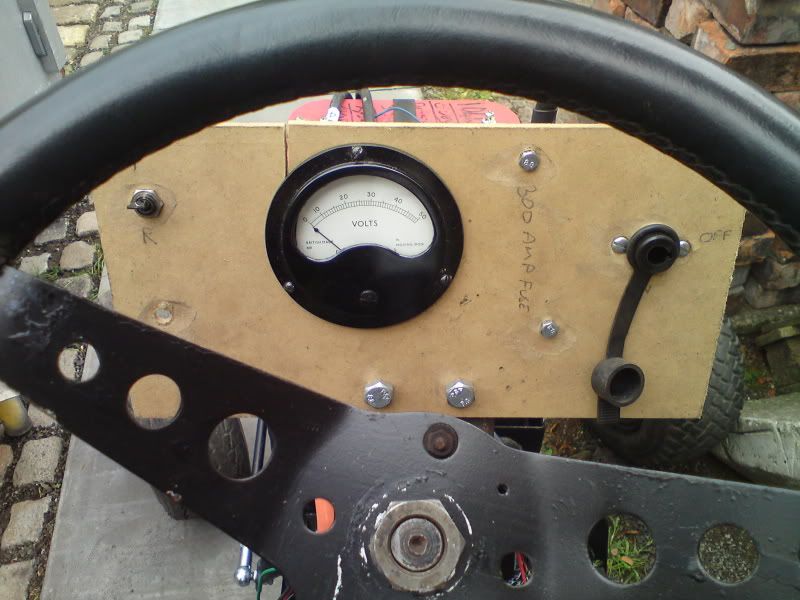
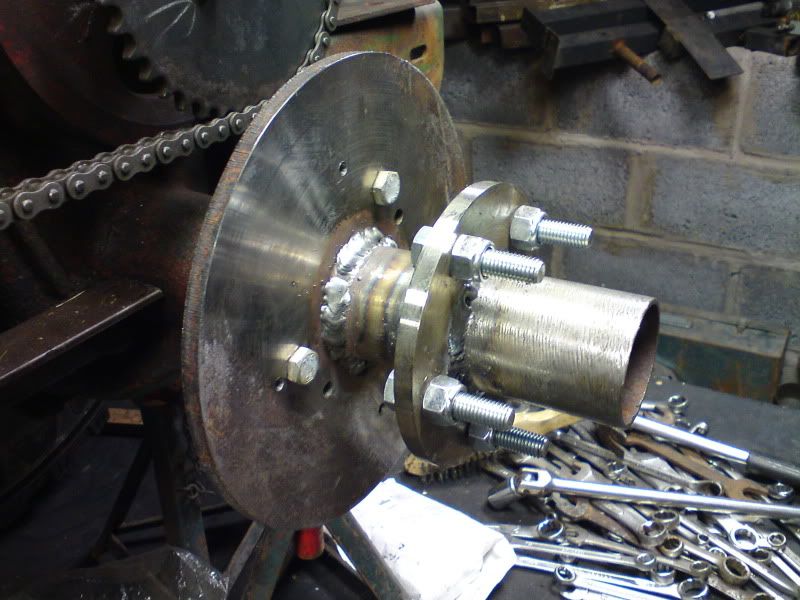
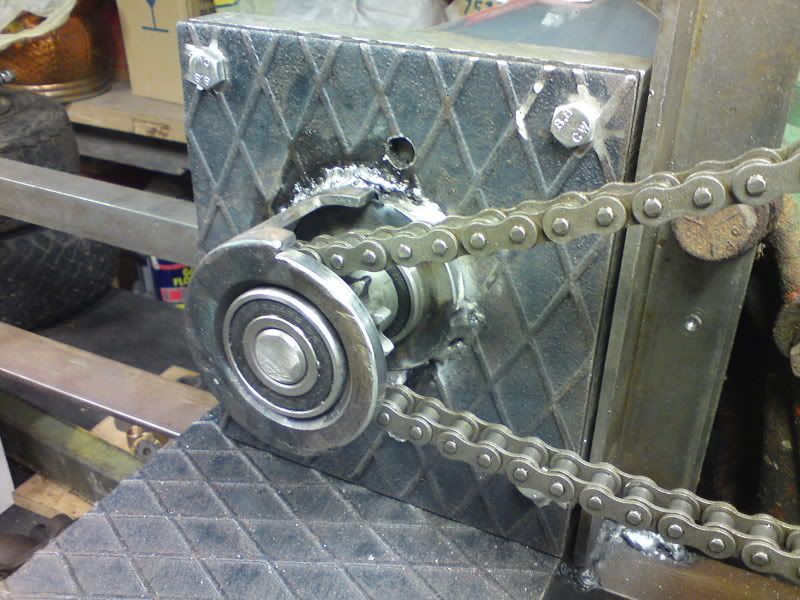
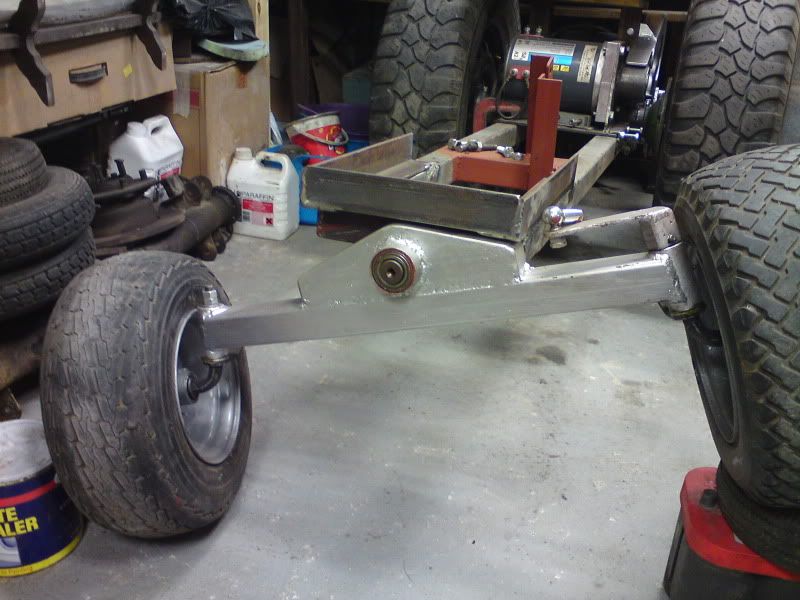
Made one of these
To fit like this.
And like this.
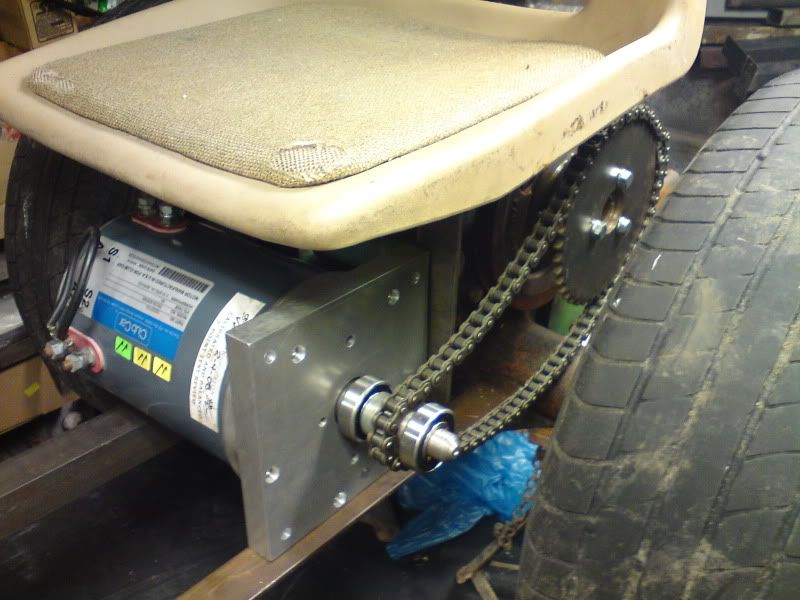
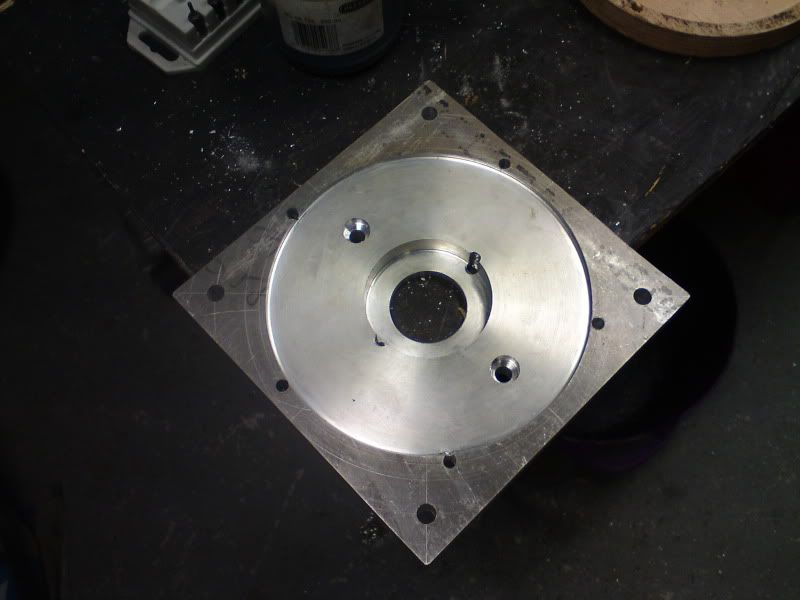
To give this.
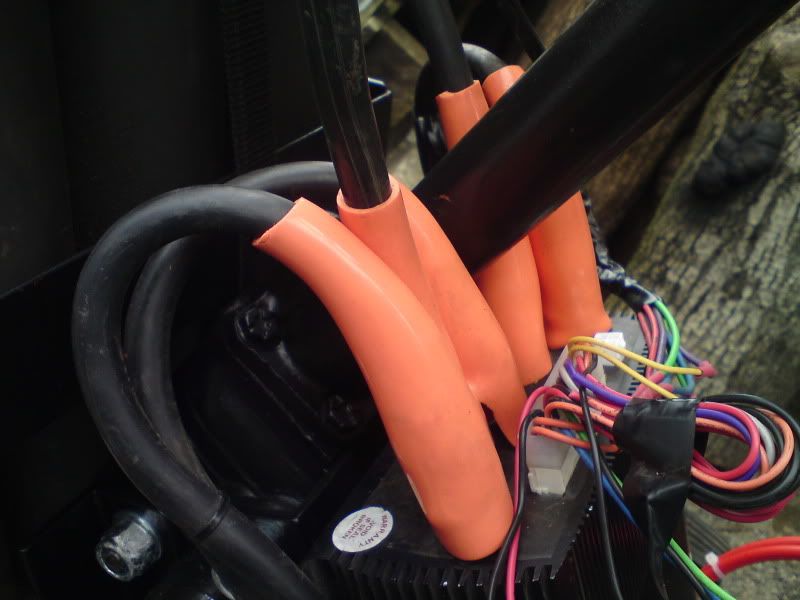
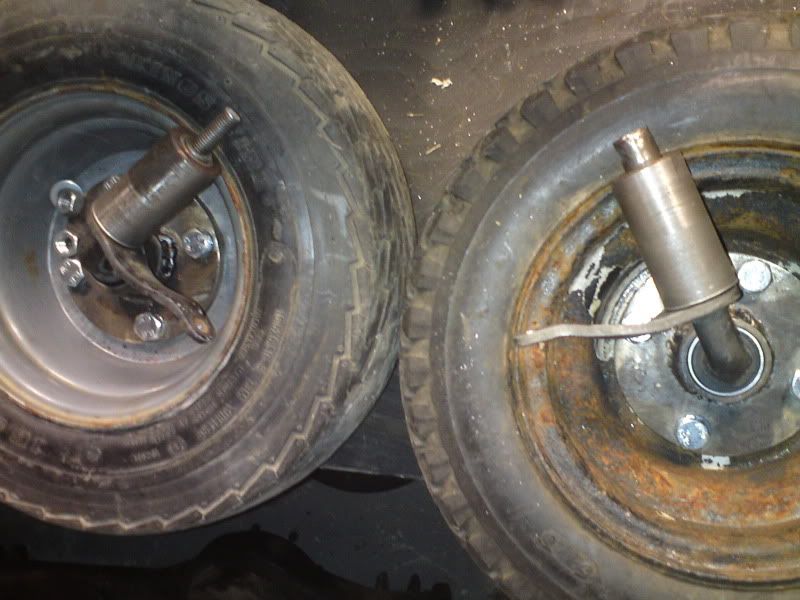
Then found these.

And made these.
And these.
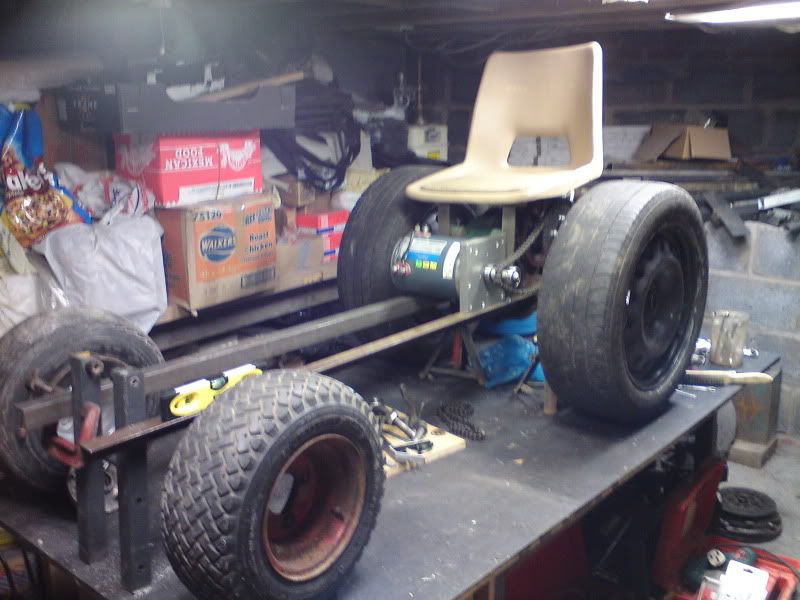
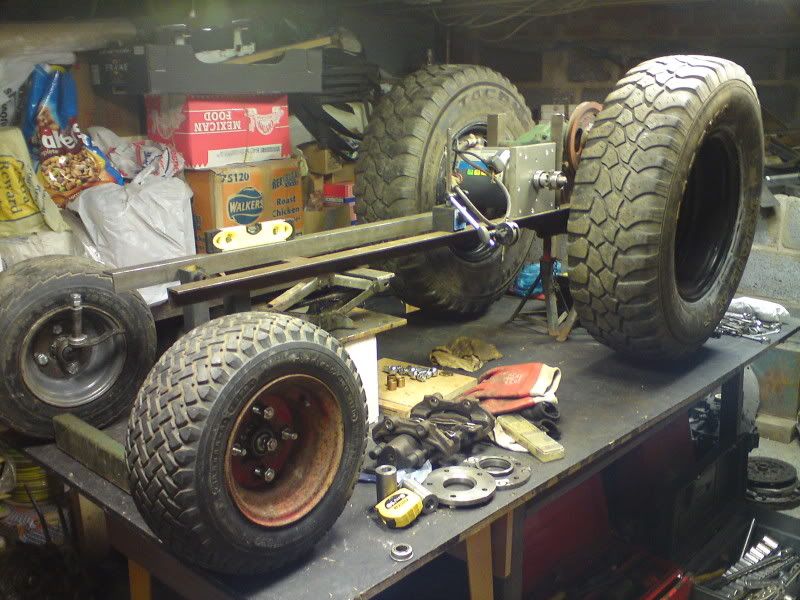
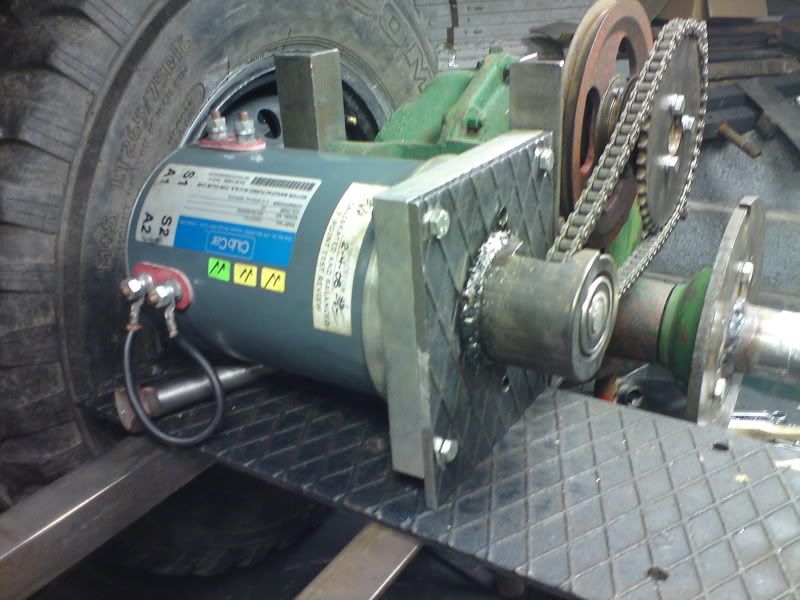
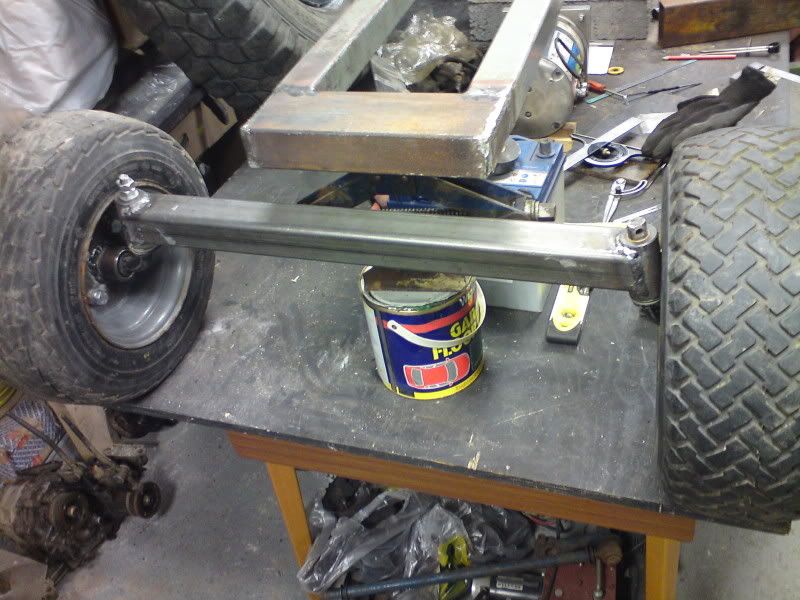
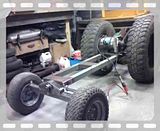
And we have this.
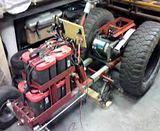
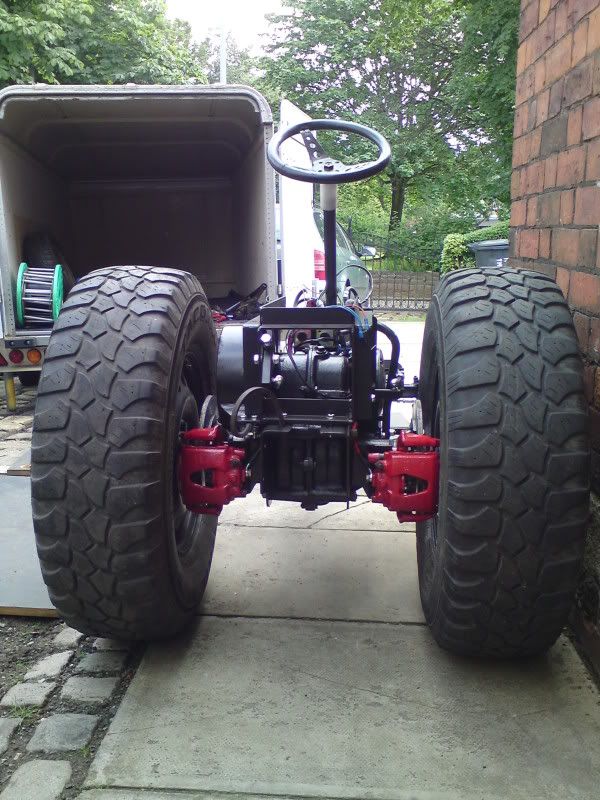
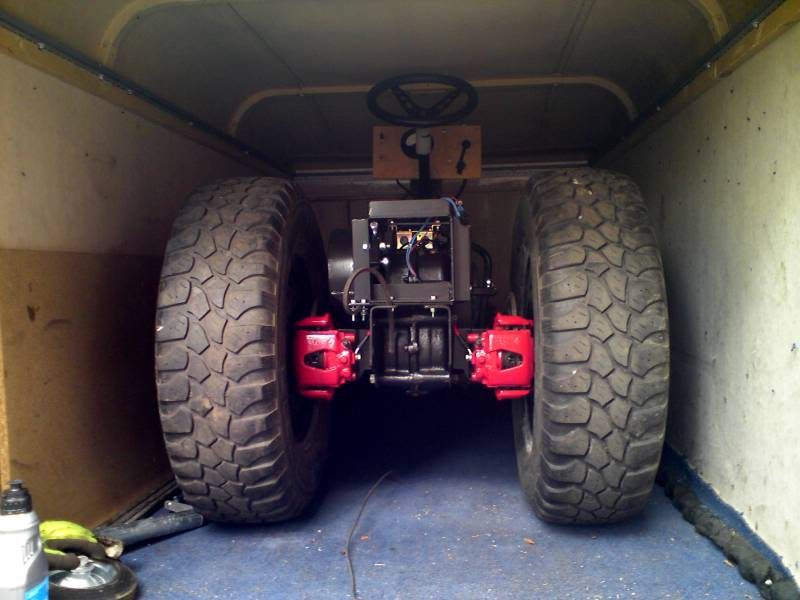
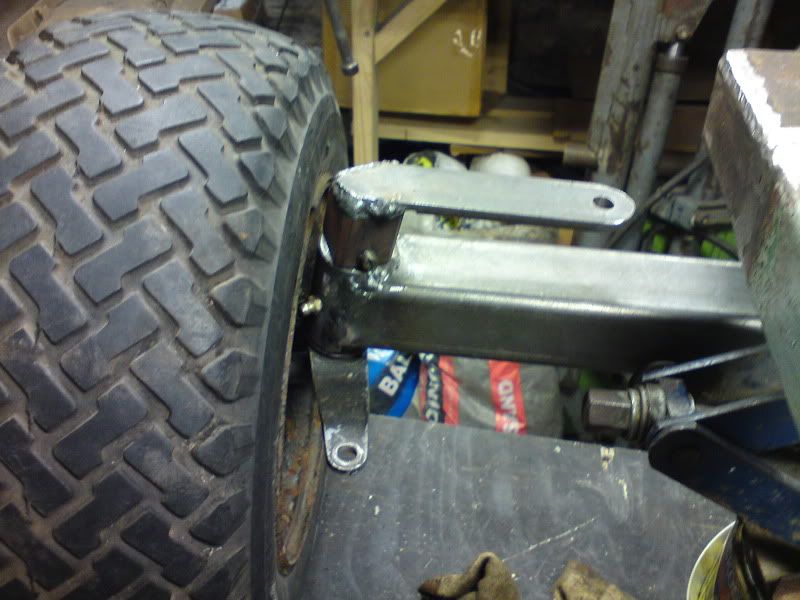
Then it grew some bigger rubber!:thumbsup:
Had to do this.
So that this could happen.
And this.
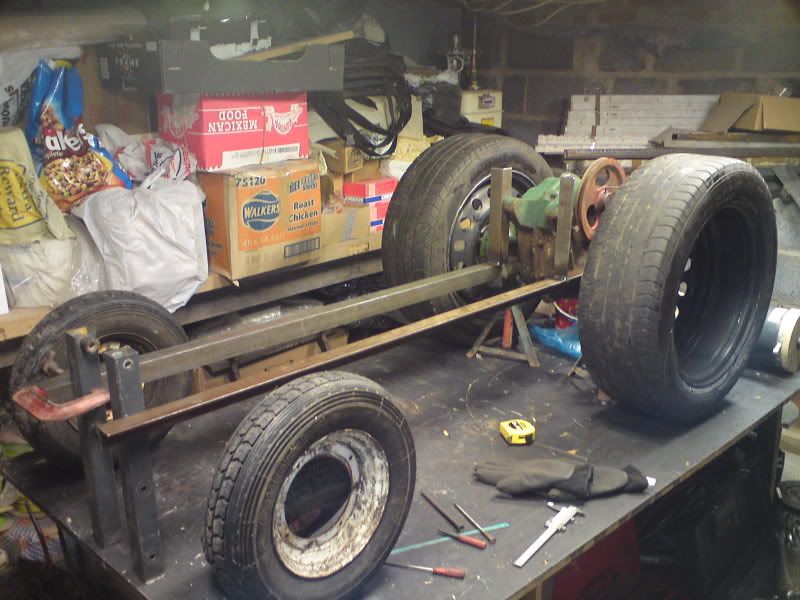
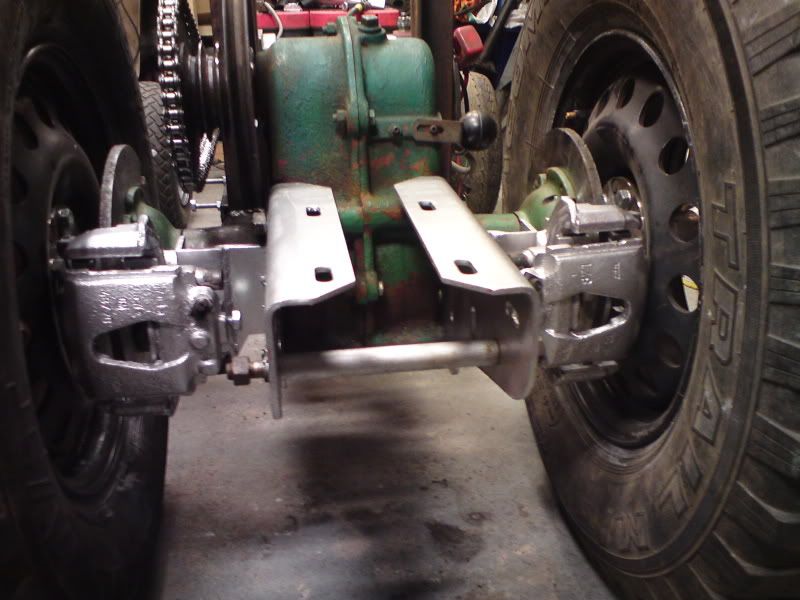
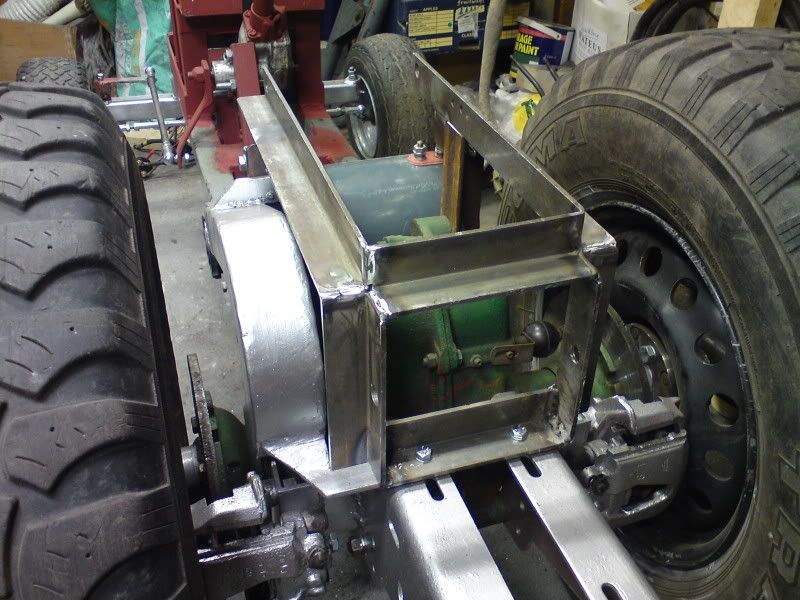
A quick chassis upgrade.
Made these.
To get this.
And then made this.
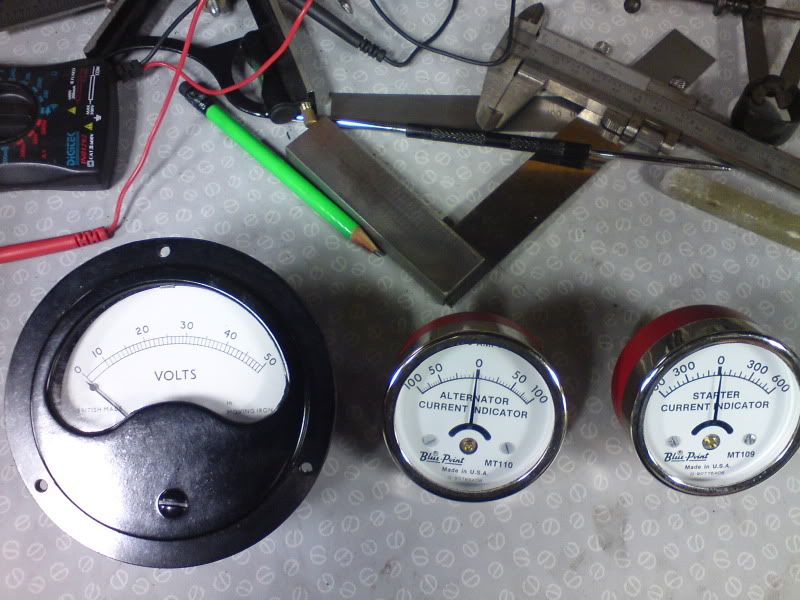
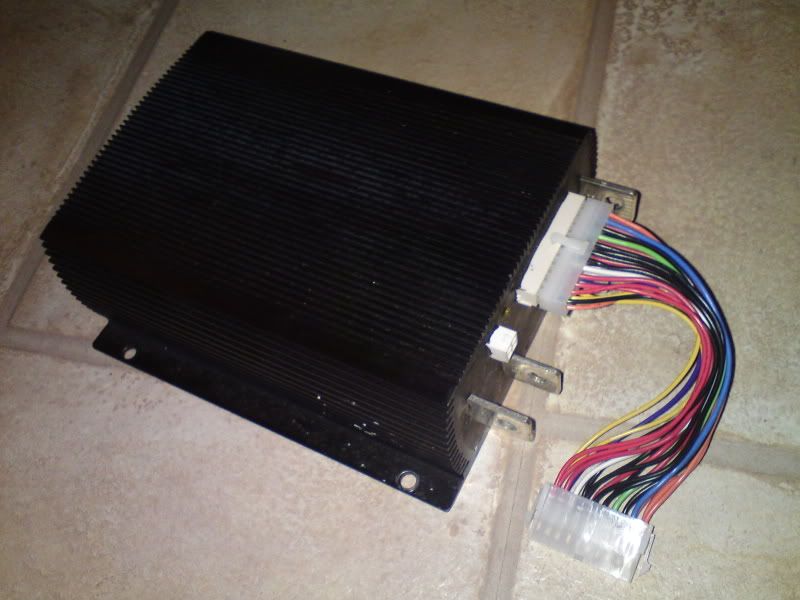
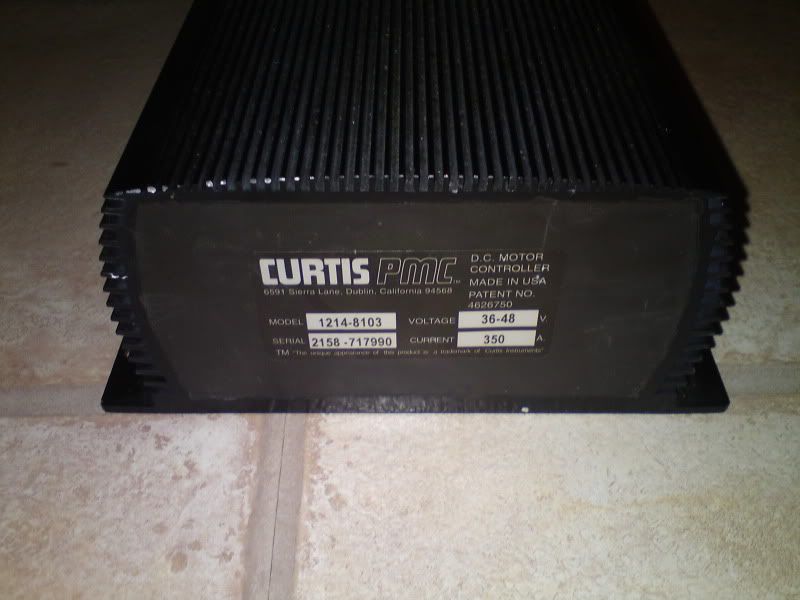
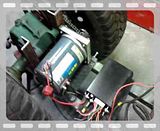
Got one of these.
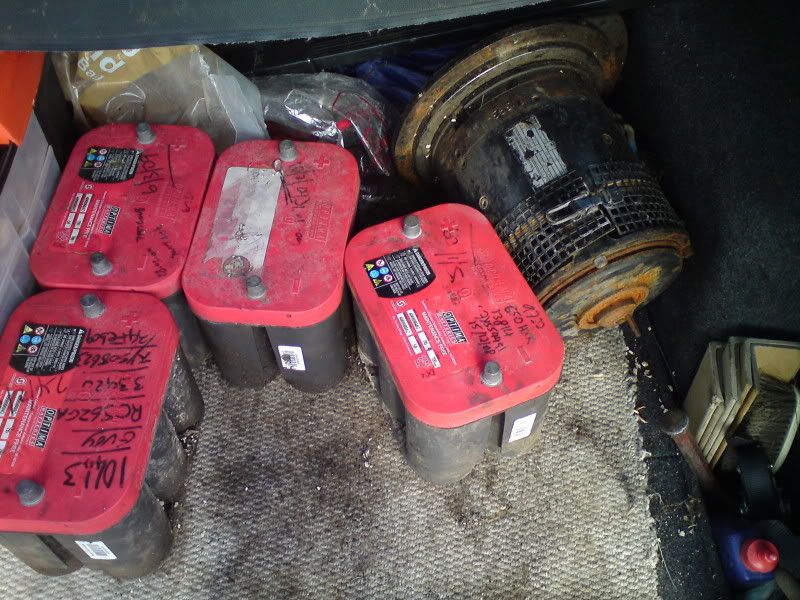
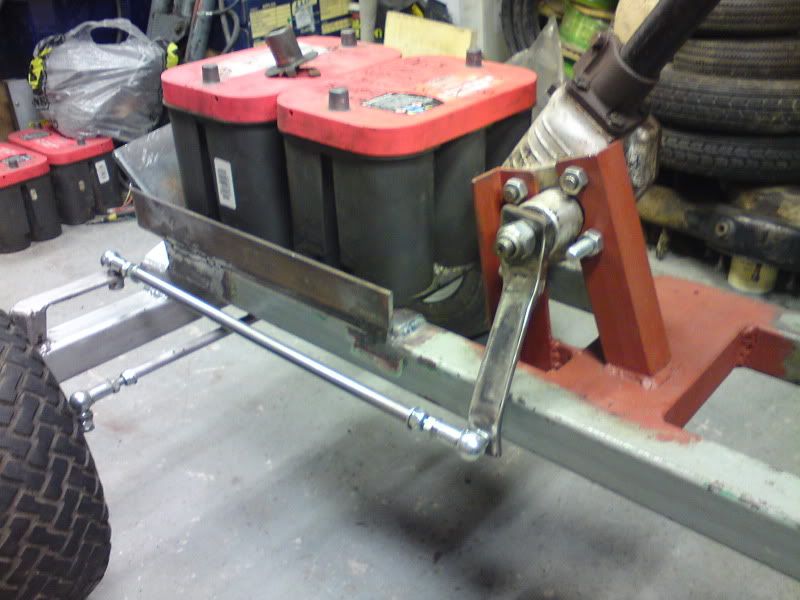
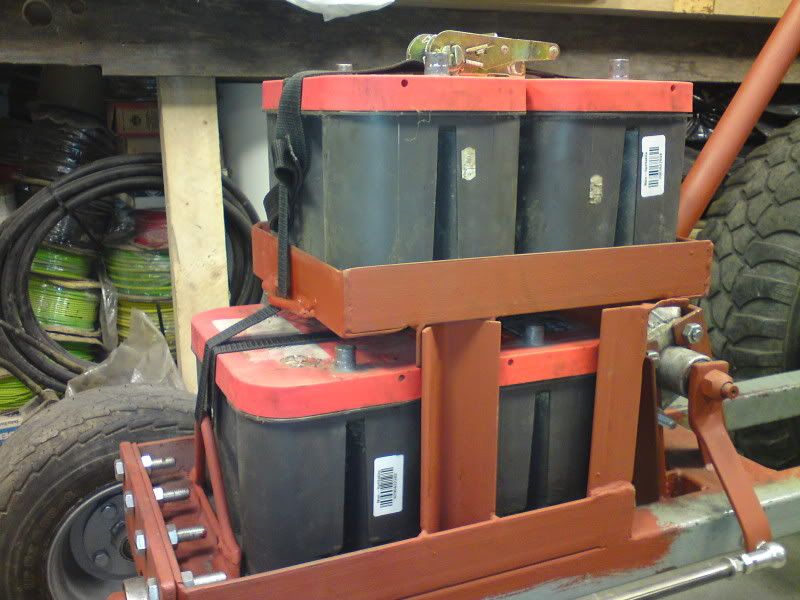
And was gifted four of these.
Made some more of this.
Pulls little wheelies with 12v!
Proper test.
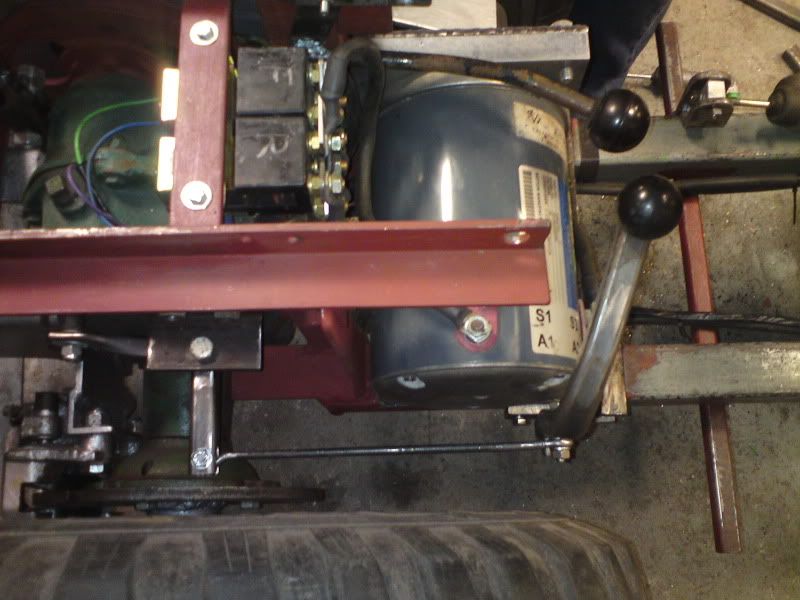
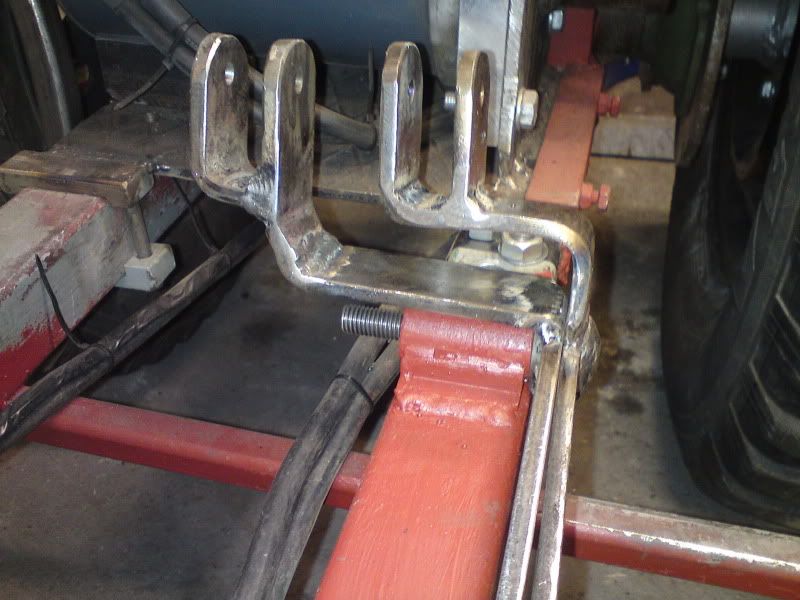
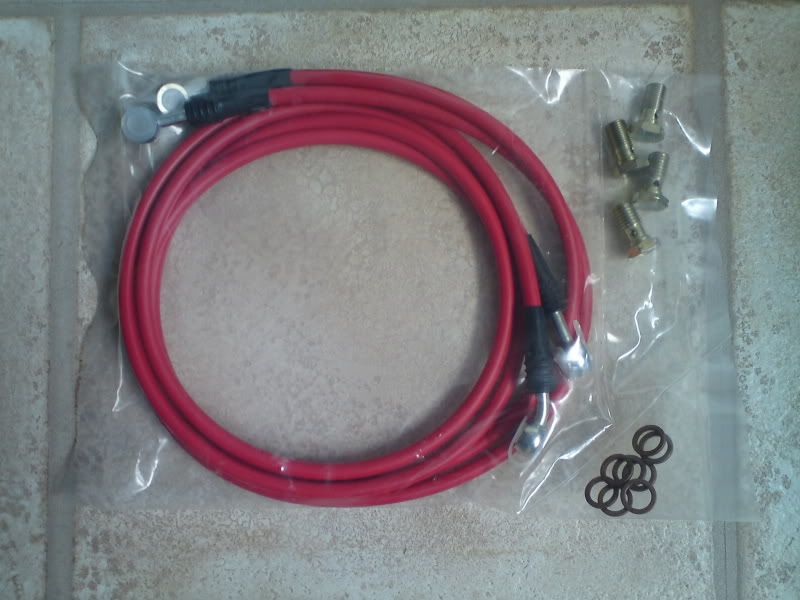
It moves so it needs these.
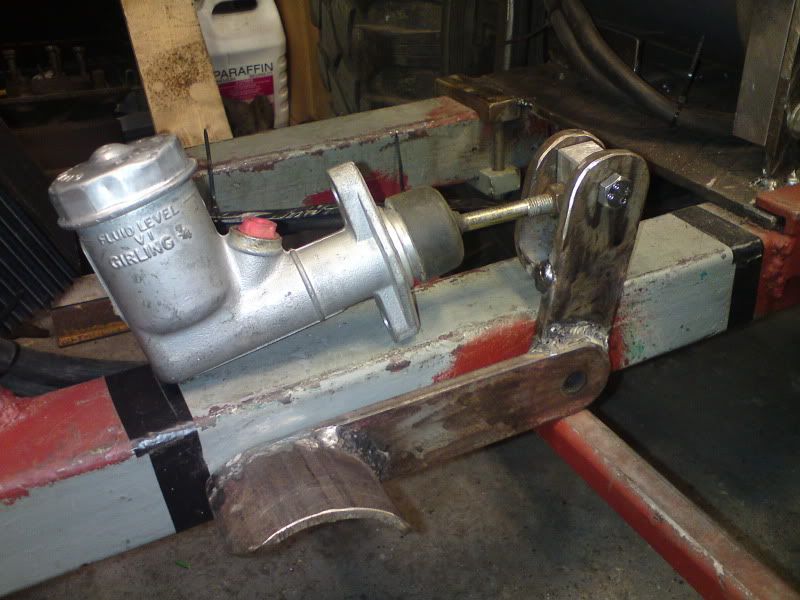
Made this.
For here.

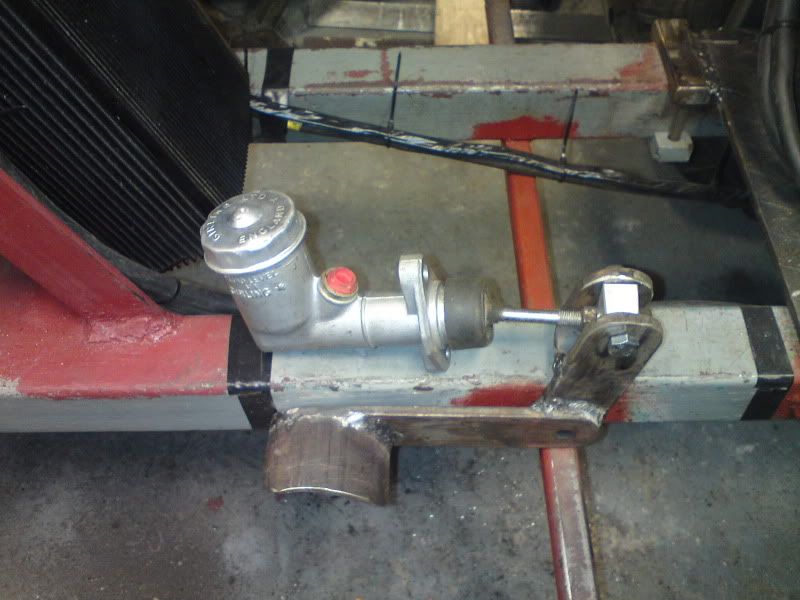
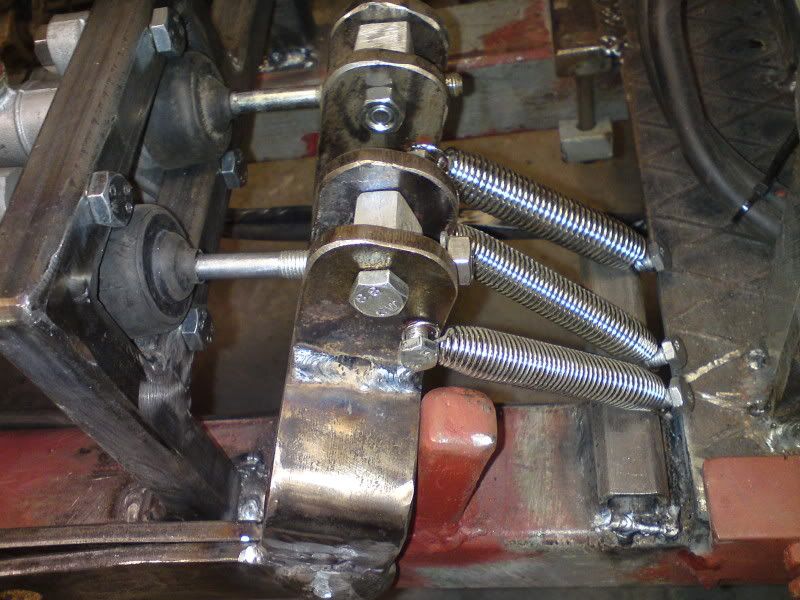
Then this bit.
Because straight roads are boring.
As are flat ones.
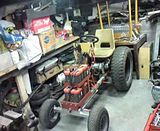
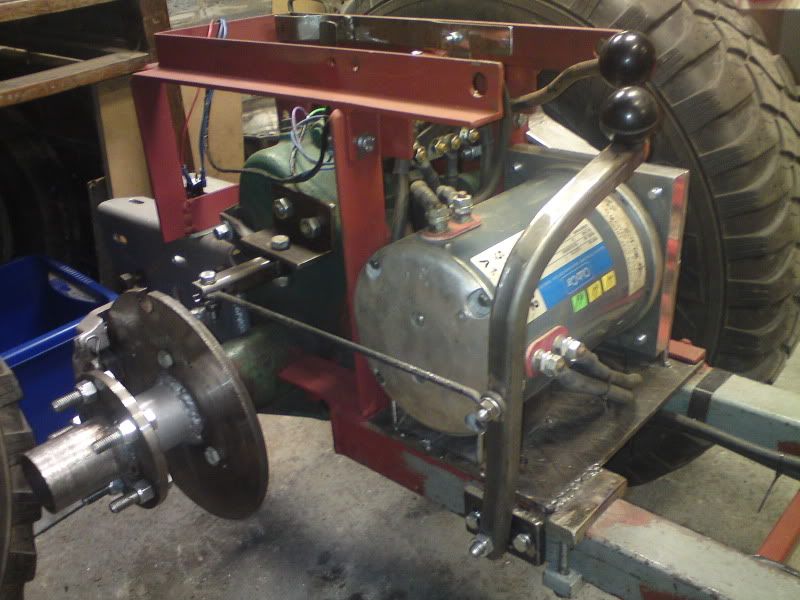
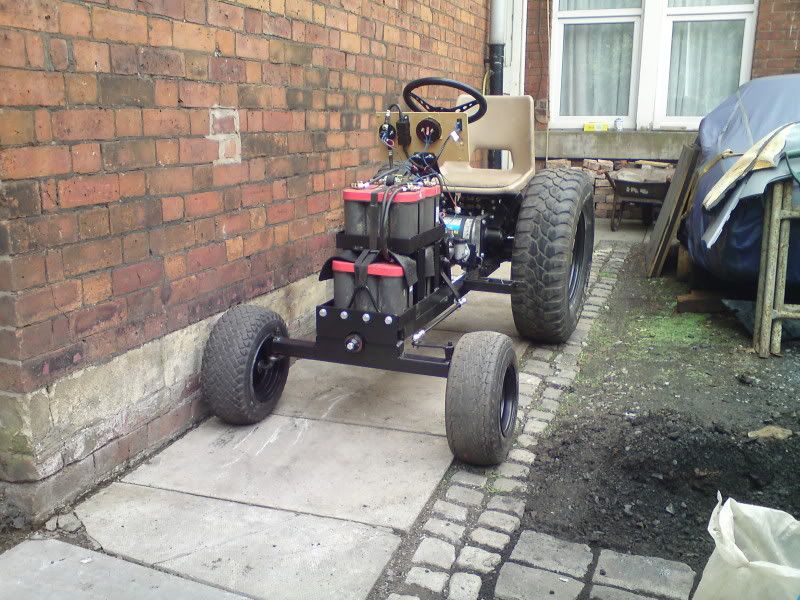
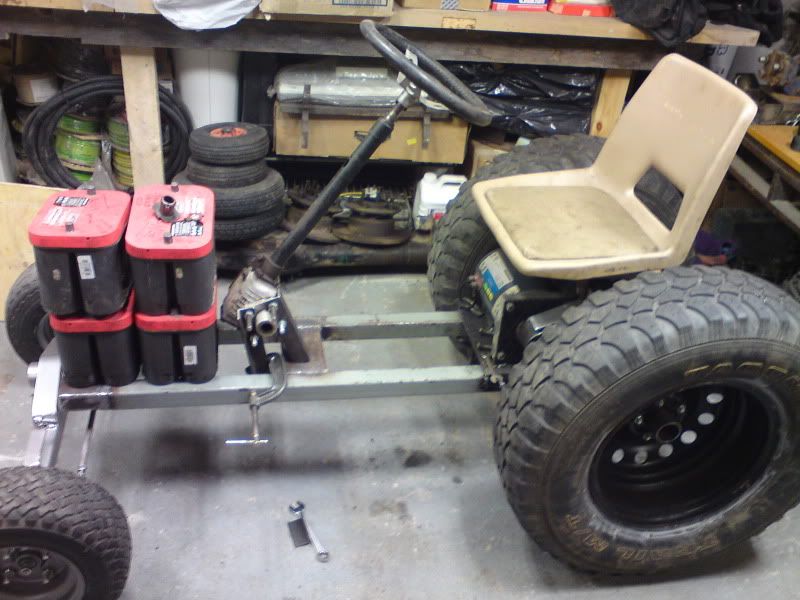
Looks a little like this now.

But Optimas live like this.
How about a big 12" motor?:laughing: Nah, that can go in my MR2 EV.")
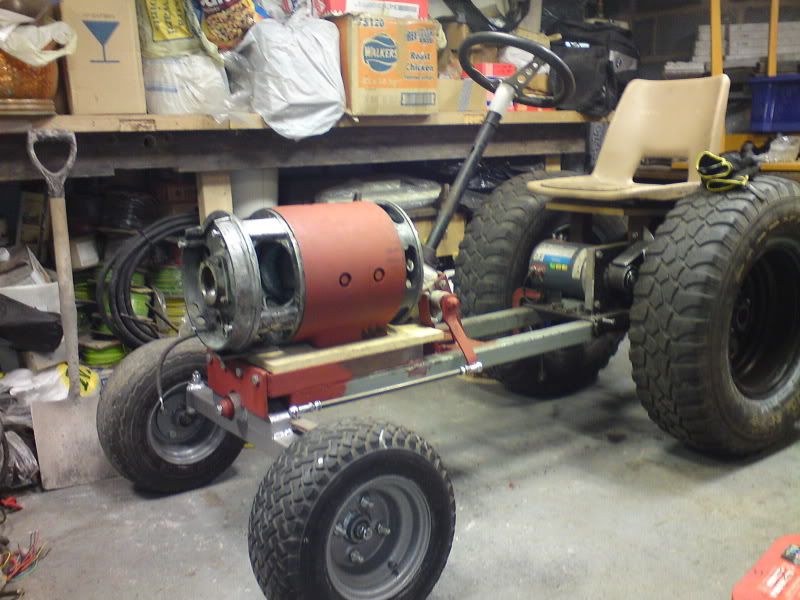
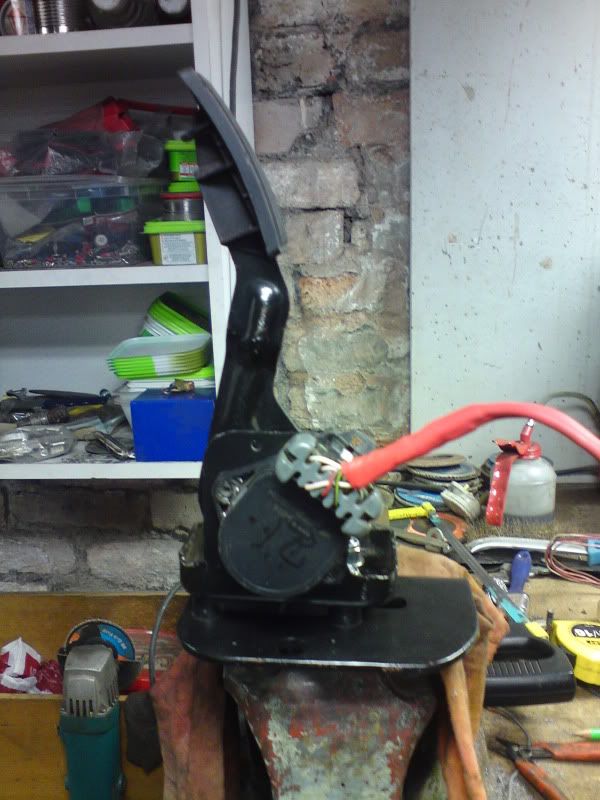
Just added a seat mounting.
Underseat controller=budget seat heating!
This whole project has been made from gifts, dirt cheap Ebay finds and raiding the scrap metal yard on the way to work.
There is a full write up here. Woody's Tractor Project - DIY Electric Car Forums
I've not driven it yet, no seat (the plastic one is temporary) or controls fitted. And it is on a basement workshop so no space to go anywhere until it is rebuilt outside. Then I will try and get someone to video it.
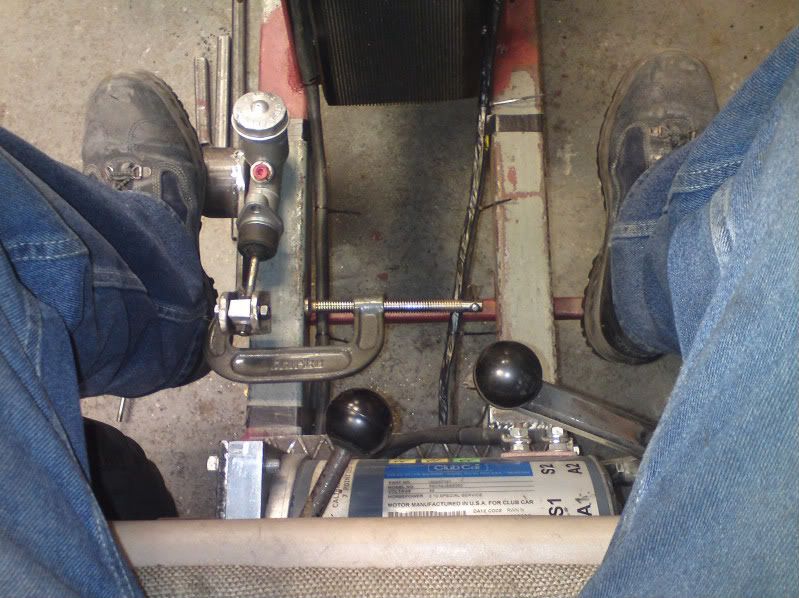
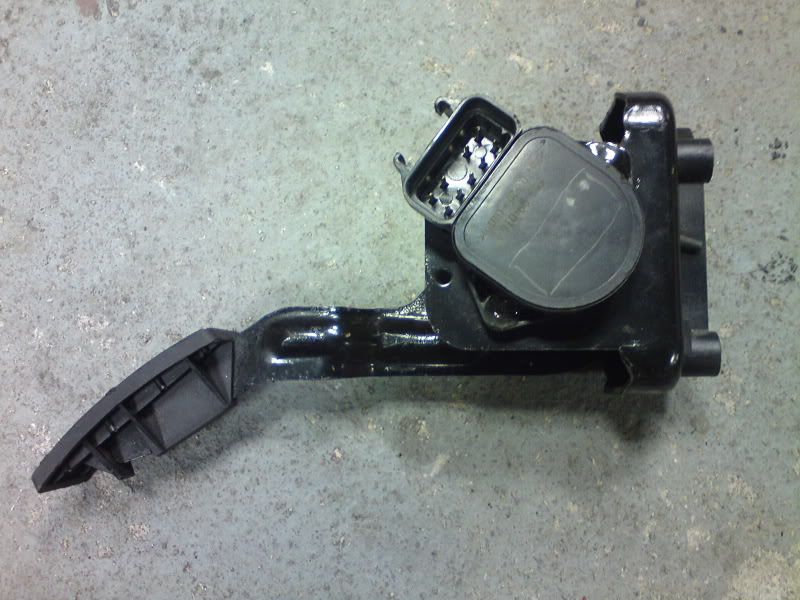
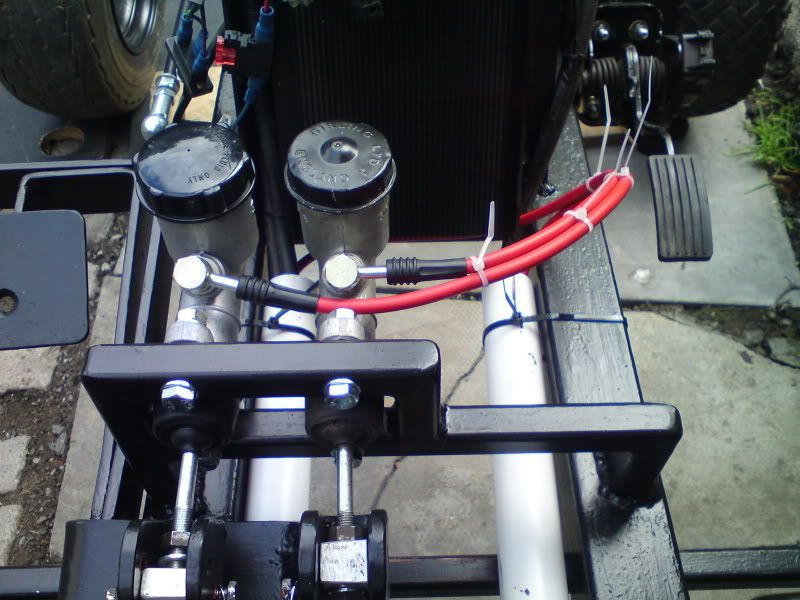
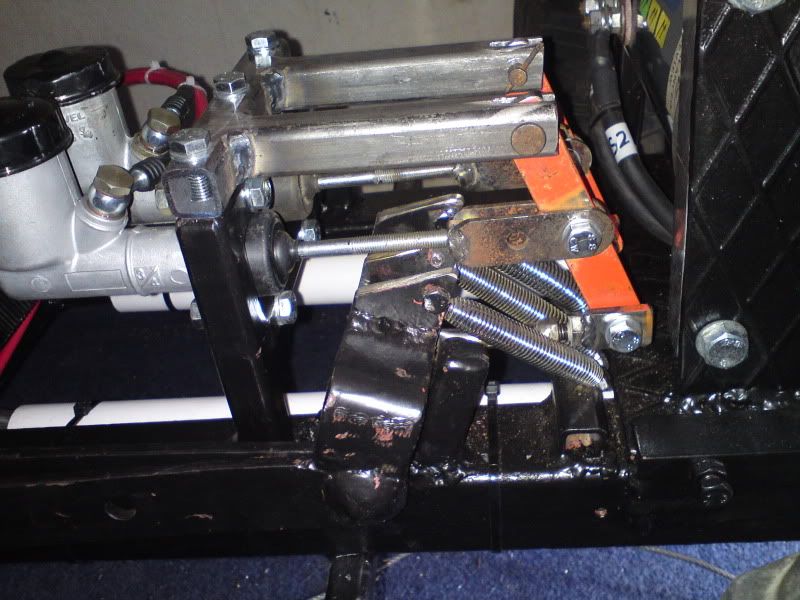
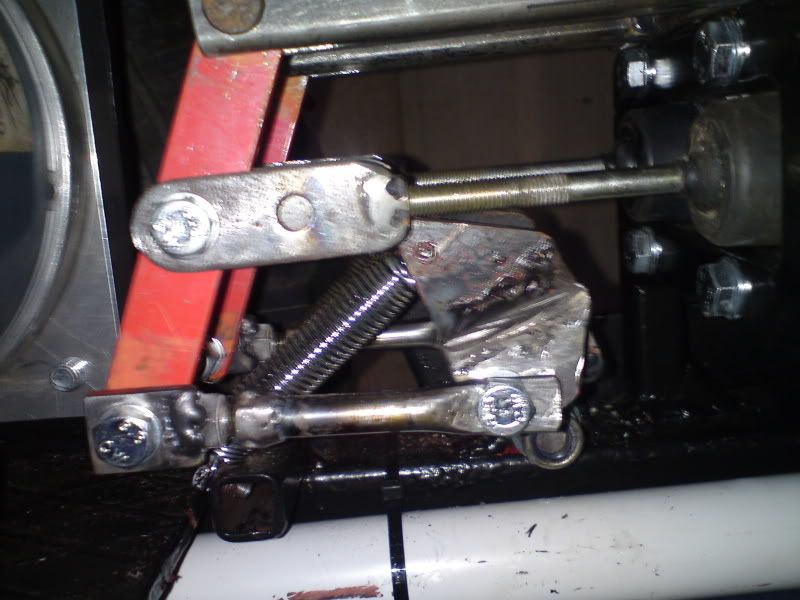
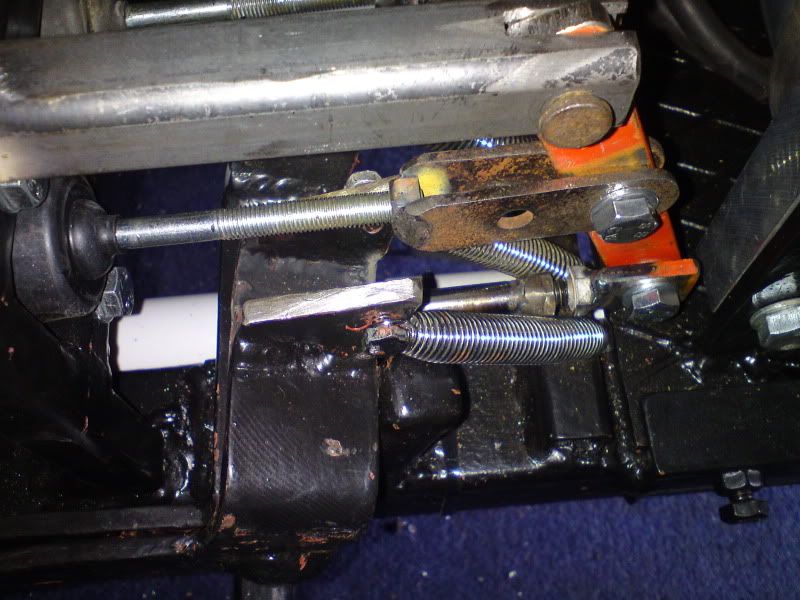
I am planning on using a fiddle brake system on it. Right foot throttle and service brakes, left foot steering brakes. I have to get the seat sorted before I can work out the ergonomics of the controls. I might continue to use the slider pot (in the vid) for a throttle as it works and is there.
The plan is to make it work and clothe it in a wooden body and seat to show off my cabinet making skills.
I've nowhere to drive it and no land to need to use it on but it will be both fun and good for shows.
So in some sort of chronological order of making the (very) brief tale starts here:
I was gifted one of these.
Made one of these to match.
Added one of these.
Mock up.
Remade one of these.
Got these gifted from an EV friend in the States.
Turned these...
Into these.
Made one of these
To fit like this.
And like this.
To give this.
Then found these.
And made these.
And these.
And we have this.
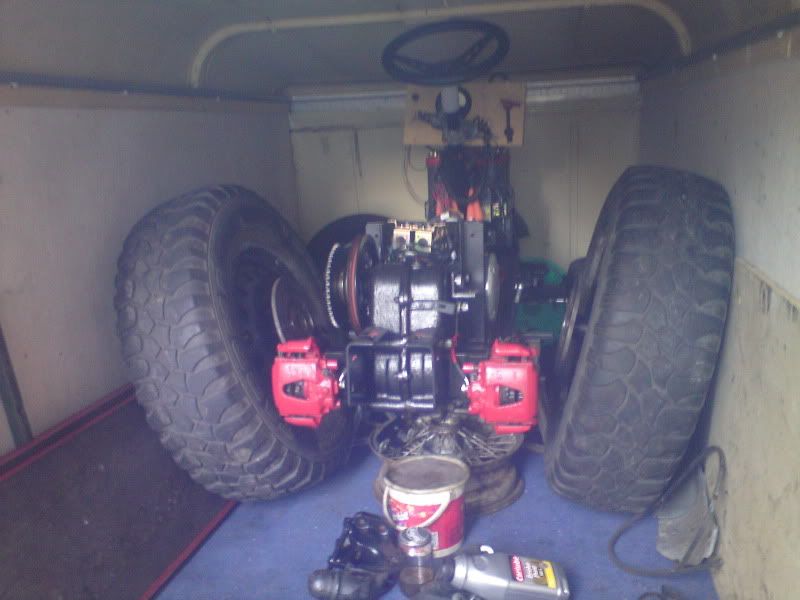
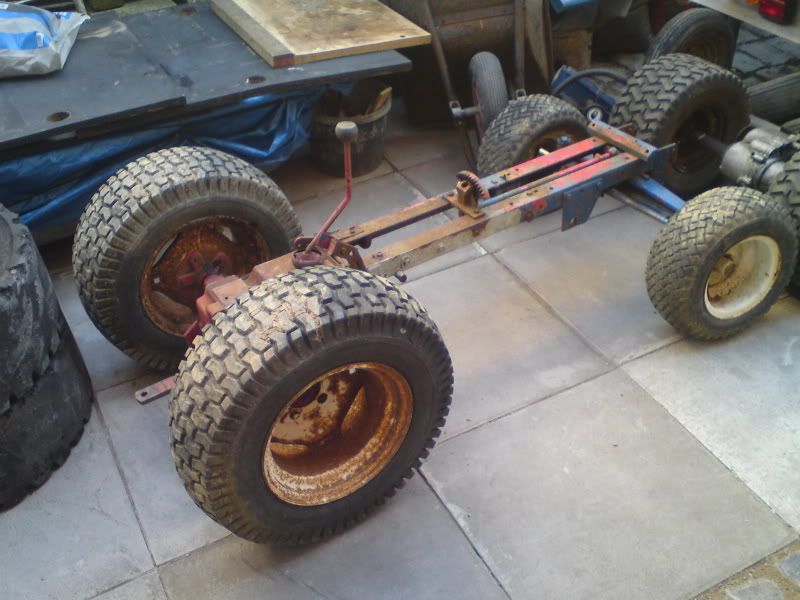
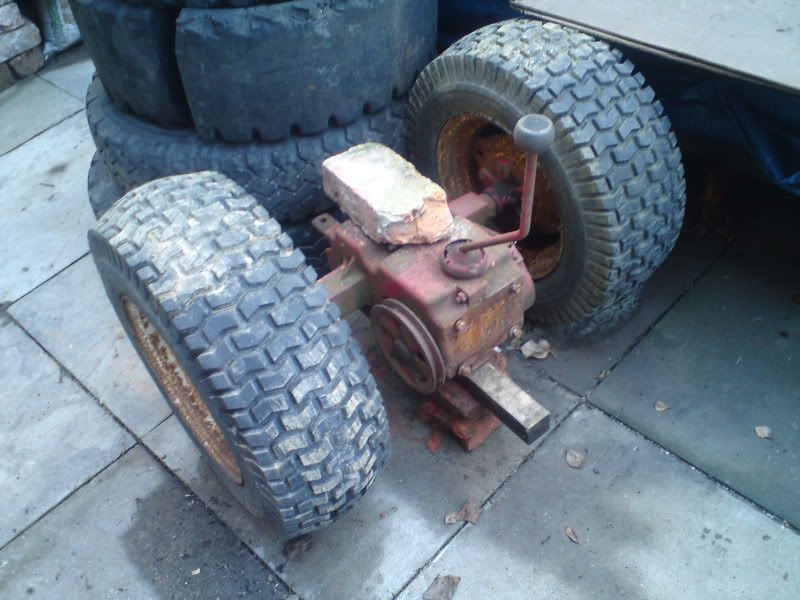
Then it grew some bigger rubber!:thumbsup:
Had to do this.
So that this could happen.
And this.
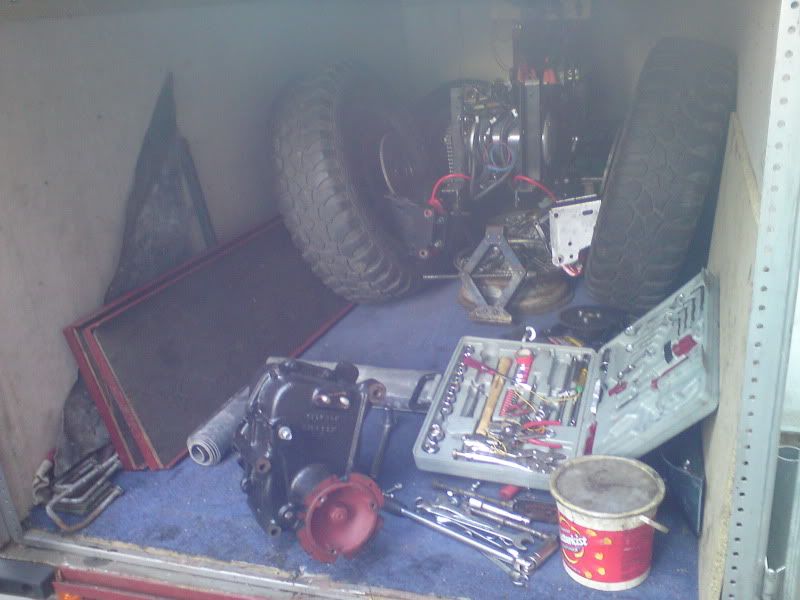
A quick chassis upgrade.
Made these.
To get this.
And then made this.
Got one of these.
And was gifted four of these.
Made some more of this.
Pulls little wheelies with 12v!
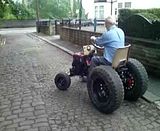
Proper test.
It moves so it needs these.
Made this.
For here.
Then this bit.
Because straight roads are boring.
As are flat ones.
Looks a little like this now.
But Optimas live like this.
How about a big 12" motor?:laughing: Nah, that can go in my MR2 EV.
Just added a seat mounting.
Underseat controller=budget seat heating!
This whole project has been made from gifts, dirt cheap Ebay finds and raiding the scrap metal yard on the way to work.
There is a full write up here. Woody's Tractor Project - DIY Electric Car Forums
I've not driven it yet, no seat (the plastic one is temporary) or controls fitted. And it is on a basement workshop so no space to go anywhere until it is rebuilt outside. Then I will try and get someone to video it.
I am planning on using a fiddle brake system on it. Right foot throttle and service brakes, left foot steering brakes. I have to get the seat sorted before I can work out the ergonomics of the controls. I might continue to use the slider pot (in the vid) for a throttle as it works and is there.
The plan is to make it work and clothe it in a wooden body and seat to show off my cabinet making skills.