3RRL
Super Member
- Joined
- Oct 20, 2005
- Messages
- 6,931
- Tractor
- 55HP 4WD KAMA 554 and 4 x 4 Jinma 284
Hi Tom,
Yup, cutting in gutters into your dirt road will sure help the rest of it. When your road dries out a little, cut them in while the sides are still soft. It will be a lot easier than when they harden up. If your road leaves ruts from water draining off of it, try to visually determine where the start is and get your gutters cut into those areas, channeling the runoff into/over the side in a lower spot, away from the rest of the road. It makes a big difference the following rainy season. It's still raining up at your place huh? It's rained here too, but not much. This last weekend we had a slight drizzle but hardly enough to get the road wet.
Hi Joe,
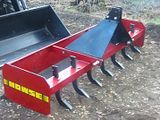
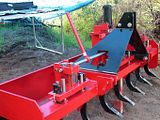
Can't get anything by your sharp eyes!. Funny you saw that because a fried of mine noticed the same thing, and I hadn't even noticed it myself until he pointed it out. I don't mind the wear so far, but when it starts creeping back farther I'll have to weld some plate to it. I know you've used the heck out of your boxblade bulldozing reverse. It sure cuts good that way.
Hi Dave,
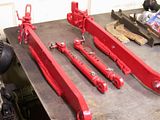
I'm glad you found the thread and photos of some help. To see what I did to my drag links, go to that post above "Pushing in New Trails and Roads". On post #12 and #17 shows what I did to reinforce the drag links. Mine are 1" thick by 4" tall and I still bent them. After straightening them out, I took 2 old scarifier shanks from my boxblade. They are hardened to some degree and are 3/4" thick by 3" wide. I welded them to the underside of the drag links ... making sure they were out of the way of the sway stabilizers and other stuff. I used 7018 AC stick with several passes each side to build up a 3/4" gusset. Now they are rigid as all get out.
Hi Brian,
I know where that is. It is just a little Northeast of Julian, right? I've driven into your area before and it is very nice country. You are still not that far away, because my city home is in Rancho Cucamonga. My brother lives in San Diego. There was a fire out there in Julian a few years back when we camped there. Did it get up to around your area? BTW, I've many of your posts and I know you use the heck out of your tractor and boxblade too. You have that heavy duty Gannon don't you?


