any toro groundsmaster fans on here?

   / any toro groundsmaster fans on here? #551  
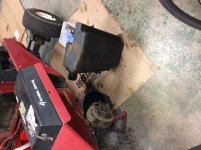
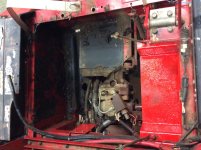
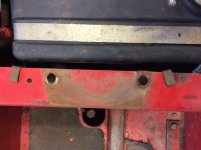
With the seat removed I found a few issues.
BB125C3B-0B60-43B1-855B-F521E378403F.jpeg

FD0174F6-D3E0-4BA0-BCF5-BA2323A45E89.jpeg

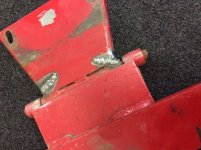
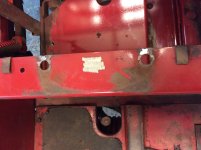
There are a few cracks in the seat mounting bracket and tractor frame. Will need to pull the fuel tank and weld these up.
45C5A97E-89F9-490B-B971-0892FEECB4F8.jpeg

3A12F9EF-A3C4-4A35-8CA8-46AB41577934.jpeg

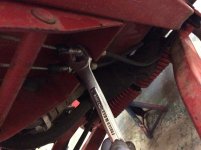
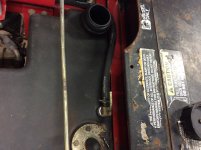
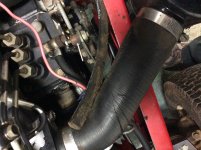
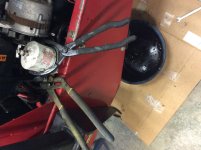
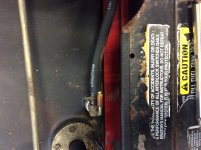
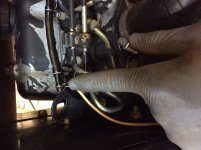
Found a missing hose on the fuel tank. Sure enough, the hose on the return line for the injectors was gone too.
B98D17C7-362C-4725-AFD5-CBDAC2143419.jpeg

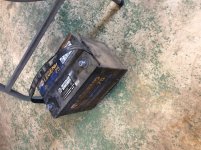
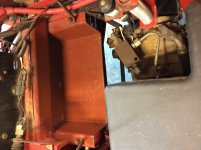
Pulled the battery because it keeps going dead. Looked at the date on it and it was 10 years old. New one is charged and ready to go in.
2D64B330-122B-4D0F-8A74-03259B59D92D.jpeg

Cleaned up the battery compartment and hit it with some primer.
CA2D4AEF-EC87-4F65-902A-3E15AE7E0F61.jpeg

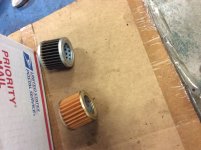
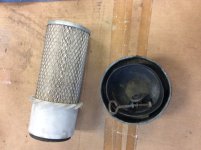
Pulled the air filter and it looks pretty good. Will keep it for a spare. The dust collector cup was filled to the top with water. I know the previous owner pressure washed it and must have got water in there.
C315C42F-728F-496A-AEAA-D60A27E6EB57.jpeg

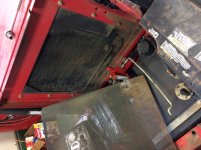
Pulled the debris screen and cleaned out the radiator and screen.
 
   / any toro groundsmaster fans on here? #552  
Some good progress last night.

0AA85888-60E6-4008-A191-846F1C51C10E.jpeg

Was having intermittent no crank problems. I found the positive terminal on the starter was loose and corroded. Cleaned and tightened everything.

64FC1500-E192-4D83-ABFF-11E9BBA93617.jpeg

Pulled the tires to inspect and adjust the brakes. Will be going back with 23x10.5x12 tires instead of the 8.5 tires it came with.

15BEA65B-0ED5-4D00-A649-412401AA7205.jpeg

C5F10F89-F27D-4F91-8D35-F60B9B173B30.jpeg

Getting the brakes cleaned up, cables lubed, and adjusted. It was a delicate balance of adjusting the star wheel and adjusting the cables to achieve the 1/2” to 1” of pedal travel per the manual.

211297C1-8780-4142-92ED-0A4B6FB5B0C8.jpeg

D3522F3D-4E34-4E19-AEF1-5FE4EFC03BA7.jpeg

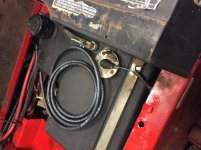
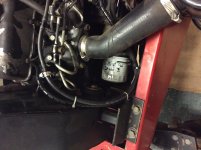
I have a question about a hose I have attached to the top barb of the fuel tank. I believe it is an atmospheric vent, but the hose is really long and travels all the way back to the engine compartment ending at the injection pump as shown. Does this hose attach to something? If not, why is it so long?

4A610F58-7F7B-46AA-9E9C-19D03B6DBAB1.jpeg

A99A9BD6-D198-4380-8CF5-BA33076A8B05.jpeg

Drained and pulled the fuel tank to weld up some cracks, and also clean out the tank as I’m sure it’s never been done before. What a pain in the neck/back getting this thing out. You have to remove the rear seat support bracket, all hoses and wires, retaining strap, and lower elbow fitting. Took me over and hour...grrr.

ACAE93E6-AA06-48E3-9AE8-E7D343E66132.jpeg

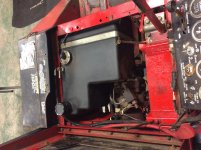
The fuel tank compartment is a grimy mess. Will give this a good cleaning before welding in here...POOF!
 
   / any toro groundsmaster fans on here? #553  
Some good progress last night.
---------------------------------------------------
I have a question about a hose I have attached to the top barb of the fuel tank. I believe it is an atmospheric vent, but the hose is really long and travels all the way back to the engine compartment ending at the injection pump as shown. Does this hose attach to something? If not, why is it so long?
-----------------------------------

Check your other machine, it should br the same.

I think it is long to keep the fumes away from the operator.
 
   / any toro groundsmaster fans on here? #554  
Will give it a look.

Got a bit done last night. Been slowly greasing all the zerks on the machine. I found five zerks that were either missing, broken, or wouldn稚 accept grease. Got that all straightened out.

49A2D30C-0A45-48D3-9410-6B0D28803092.jpeg

The return line for the lift actuator was too long and totally kinked over. Cut it shorter and straightened that out.

5FEFFBBD-ACD4-4DB3-820A-4BFF6FFED1D1.jpeg

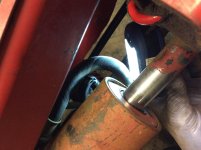
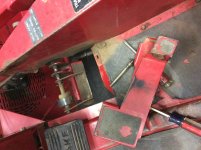
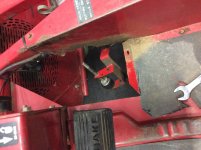
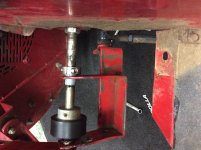
Foot pedal was complete worn out and flopping around. I removed the foot rest, and pedal to survey things.

0C9197AA-33A5-41E0-8289-8E654E3736A2.jpeg

Entire assembly removed. Found some egged out holes and worn bronze shoulder bushings.

B99B3B1C-0695-4BDB-984D-AD33EAF2310D.jpeg

I decided to modify things a bit to make it more user friendly for me. I removed the foot rest, as I was constantly fighting with it. The problem was the foot rest support bracket keeps the pivot shaft in line for the pedal. I used a split collar to solve that problem. Two new bushings and things are tight as a drum.

D522DCFF-B6FB-4EEE-A020-B9750314C809.jpeg

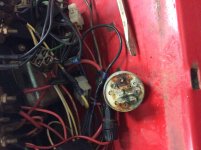
I wasn稚 going to replace the key switch on this 325, but after seeing the corrosion on here, history has told me this will not end well. Hopefully this will fix my charging issue, as I believe she is not charging.

You can see just above the key switch on the red wire where the mice have been chewing. From here on out she will be stored indoors in a mice free home :)
 
   / any toro groundsmaster fans on here? #555  
Been steadily making progress...getting close now.

F1FAB72E-38B0-4CB8-B4CF-AD67E8D3D530.jpeg

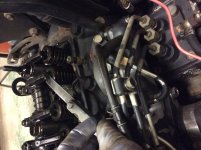
Adjusted the valves to .010” all around. 1&2 cylinders were pretty good, a thousandth or two off, nothing crazy. #3 was very tight, maybe 4-5 thousandths too tight.

B83255AA-CCA1-4673-B711-85E4BF142136.jpeg

Removed the carbon clean out plug from the exhaust. Will blow the carbon out of here on the first start.

8EF81375-CEF7-40DF-A872-480C068A8BBF.jpeg

2F4CFD30-C6A3-4AD2-AE67-E62E901AF609.jpeg

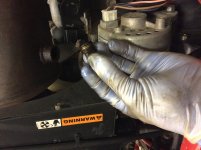
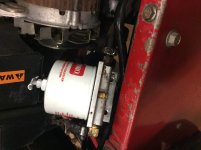
Changed the fuel pump filter and cleaned the magnet inside. Everything looked pretty clean, no major chunks or anything.

C83E47B9-5AFF-4669-8EF5-ABF015E1C38F.jpeg

5D4FBE31-CB18-4924-8728-384DA35BC59C.jpeg

The water separator was a giant pain. The filter was so tight I couldn’t get it off with filter pliers. I had to remove the whole assembly out to where I could get a better grip on it. It finally came off, but I’d like to have some words with the gorilla who put it on there.
 
   / any toro groundsmaster fans on here? #556  
Got the welding done today.

0B9E97B9-852D-408D-8E36-E02C8F9852C8.jpeg

FAC721F8-A48F-4E4E-BDDF-3D380CC0140A.jpeg

Just a quick mig job, nothing pretty.

3694395D-8263-40CD-9EBC-5D5058E043D2.jpeg

Slapped some paint on to prevent rusting.

Tonight the fuel tank goes back in!
 
   / any toro groundsmaster fans on here? #557  
You are having way too much fun. :laughing:
 
   / any toro groundsmaster fans on here? #558  
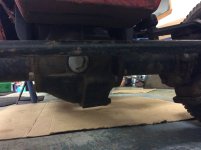
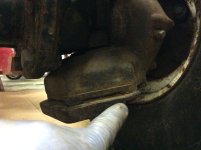
Need some help with the rear axle fluid change. I see where the fluid level check plugs are in the middle and left and right sides. I also see the drain for the center portion. My question is how do you drain the left and right sides? The book says there are drains there, but I’m not seeing them.

Also, which mounting bolts do you remove on the top to add fresh fluid to the side reservoirs?

888B394D-8A38-4C8B-AF6F-58CB3E2D786B.jpeg

Center section, the silver plug is the level check.

7E5597E2-5A13-42A2-A4EC-C8CBA4F62DDD.jpeg

This is the side reservoir area. I think the bolt I’m pointing to is the drain, but unsure?
 
   / any toro groundsmaster fans on here? #559  
Got a bit more done last night.

926A483D-F6AE-443E-92E5-70370BA69B6A.jpeg

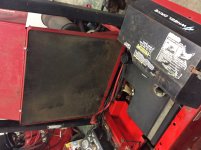
Fuel tank back in.

37D123C7-C084-4B1F-9447-708C1C1BAA93.jpeg

Debris screen back on.

50A45304-6A74-4884-B793-6A5DEEFB6241.jpeg

New injector return hose going on.

05109CE9-D60D-4D7A-9BEA-F563E229CFF3.jpeg

Injector return hooked up. Also spent some time wrapping many of the bare wires with spiral wrap, and zip tied everything tight.

921222CD-87B5-444D-97FC-07451BCF0547.jpeg

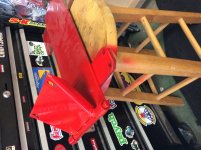
Rear seat support installed.

ABCDDB8D-15BA-462A-B7D5-870AE973E9B0.jpeg

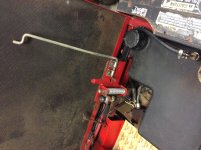
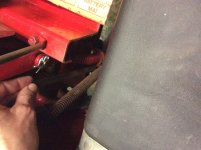
Adjusted PTO lever spring to 3 3/16” with lever engaged.

Hoping tonight to get the seat on, rear axle fluid changed, and fuel system primed.
 
   / any toro groundsmaster fans on here? #560  
Need some help with the rear axle fluid change. I see where the fluid level check plugs are in the middle and left and right sides. I also see the drain for the center portion. My question is how do you drain the left and right sides? The book says there are drains there, but I知 not seeing them.

Also, which mounting bolts do you remove on the top to add fresh fluid to the side reservoirs?

View attachment 577813

Center section, the silver plug is the level check.

View attachment 577814

This is the side reservoir area. I think the bolt I知 pointing to is the drain, but unsure?
I haven't drained one, and the service manual pictures are not very good.

check plugs.PNG


-----------------------------------------------------------------------------

drain plugs.PNG
 
 
Top