Herkypilot
Platinum Member
- Joined
- Oct 3, 2011
- Messages
- 566
- Location
- Meadows of Dan, VA
- Tractor
- Kubota M7060 HDC12, KX040 & L3540 HST
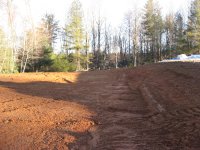
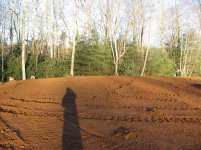
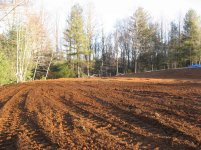
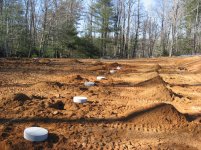
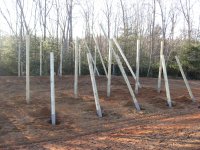
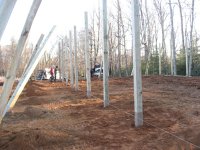
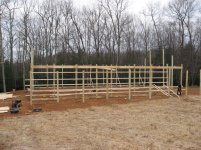
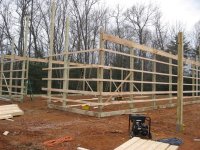
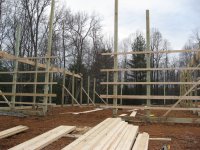
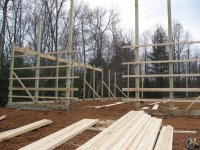
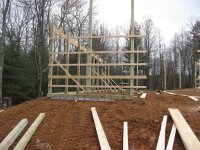
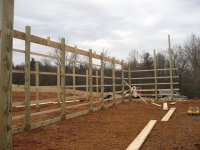
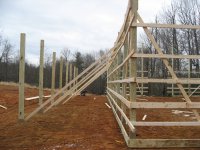
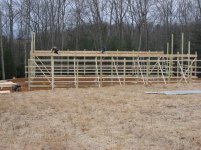
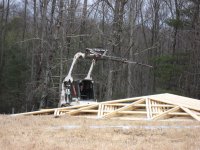
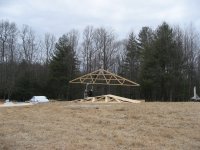
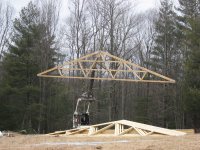
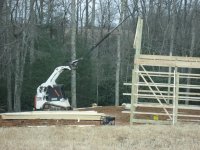
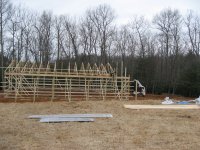
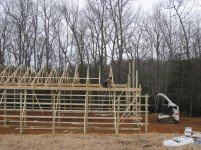
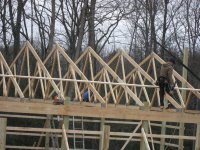
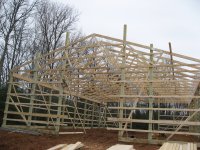
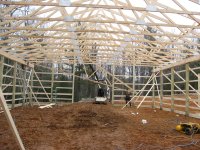
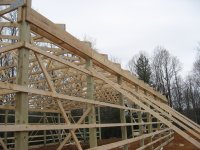
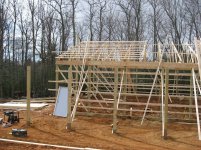
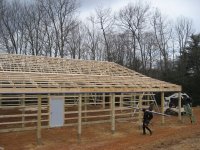
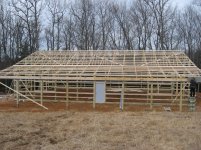
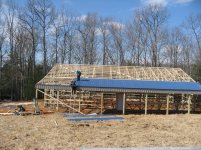
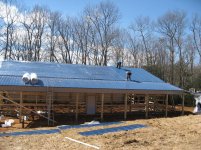
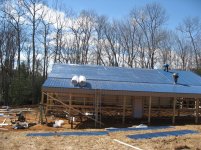
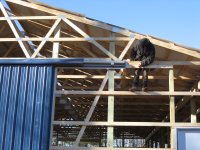
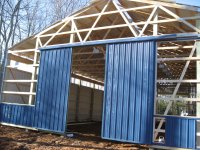
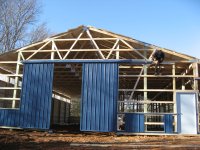
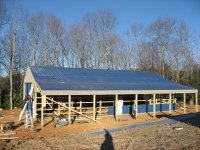
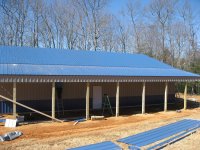
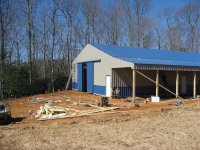
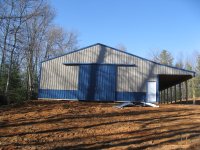
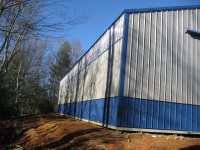
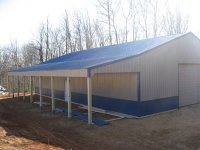
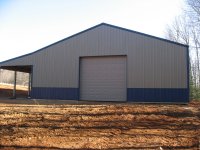
I had my pole barn put up in Western VA this past week by CHA Pole barns LLC out of Pennsylvania. I bought a PB kit from DIY Pole barns which worked out pretty well. I'm pleased with how everything went. I'll cover a few details in this thread along with posting the pictures of the progress.
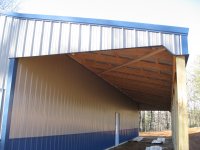
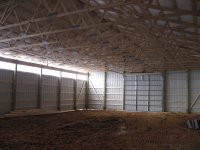
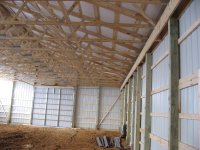
First of all, DIY was a very good company to deal with. Their web site was easy to navigate and had a very useful tool to "build it yourself" section where you specify the details of what you want and it gives you a running estimate of the cost as you add options. It also lists the estimate to build using one of their preferred builders. The options I selected for my 40x64x12 barn were two steel entry doors, one 12x12 barn door entry, one 10x10 roll up door, two windows "opening only" which were framed and covered over with siding, and I also upgraded to 26 ga steel roofing and siding. One item which worked out pretty well are the translucent panels on the high wall to allow natural daylight in on the high wall. I'll have a picture of this included. The lean To is 12 feet wide.
Delivery was as expected on a large semi truck with flat bed which included a versatile forklift to unload all the materials. My barn was to be built in my back pasture and ideally, the driver would drive up my tree lined gravel drive and turn around in the pasture. We walked the driveway and the driver determined he couldn't safely get his truck back there without getting stuck. The alternative was to unload all the items in the front pasture and move what we could with the forklift to the back. He did a great job getting everything to the back close to the build site, even the long 24 foot 6x6's which had to go up jockeying sideways to get around trees. The only items he couldn't get up there were the 40' trusses. I told him I would figure out how to do that. I was just glad he was able to move everything else up there!
I decided the only way to move items that long up the drive was to use my 20' equipment trailer along with the axle from my 5x8 trailer which was lashed to the end of the trusses with straps and slowly pull them up with my truck. My wife and daughter helped out moving a stack of 5 to 6 trusses at a time until we moved all 17 up. It was a full day to get this done. Sorry, no pictures of this, but you should get the idea...
