3PH SSQA build

   / 3PH SSQA build #1  

Steve_Miller

Veteran Member
Joined
Mar 17, 2004
Messages
1,352
Location
Nova Scotia, Canada
Tractor
2006 Kioti CK30HST
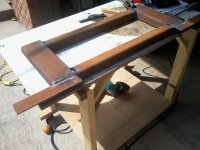
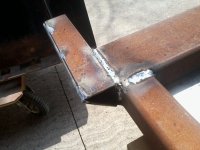
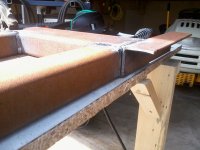
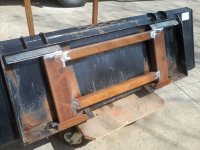
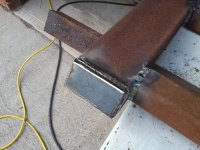
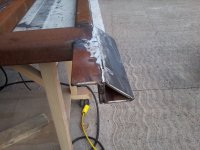
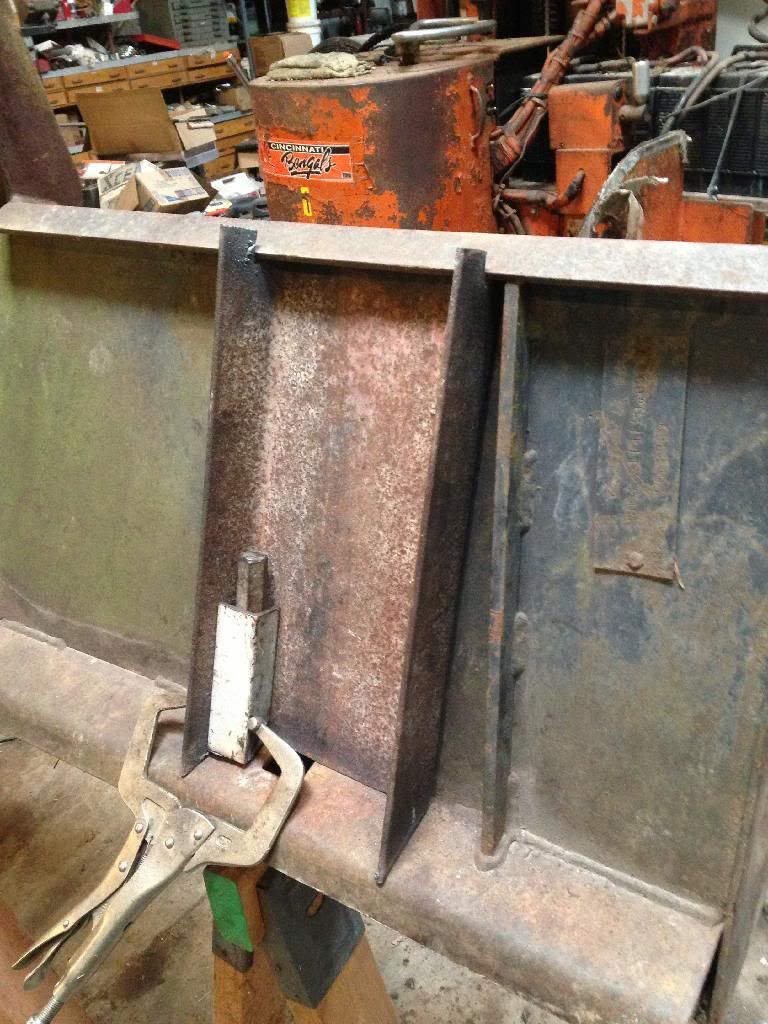
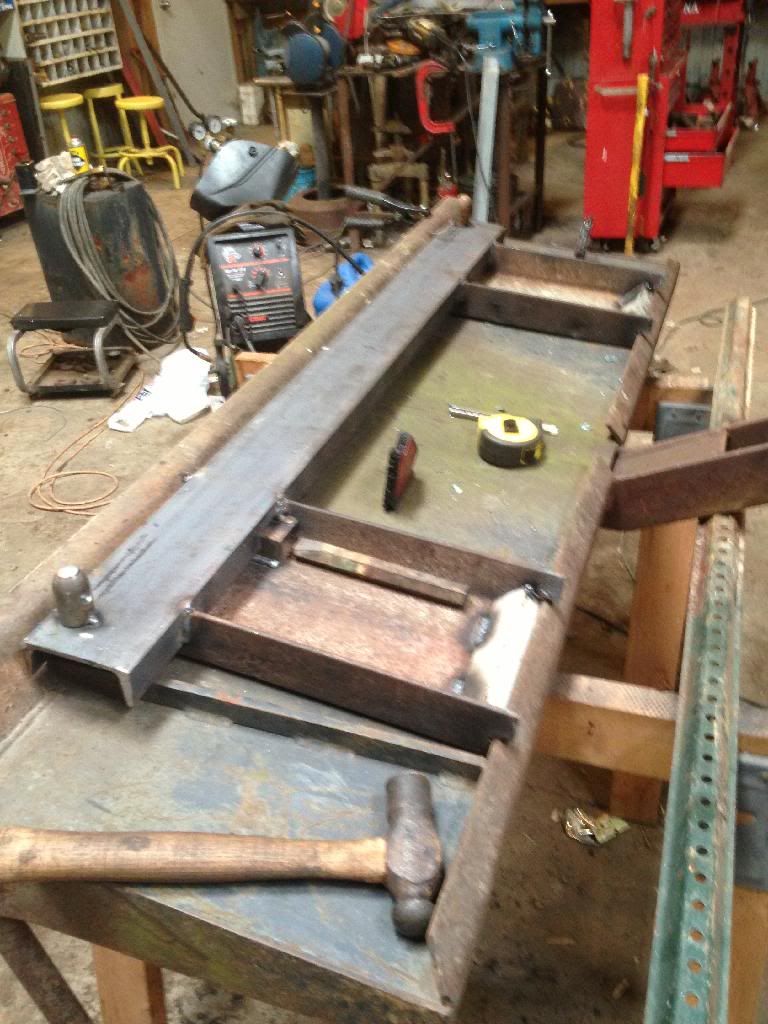
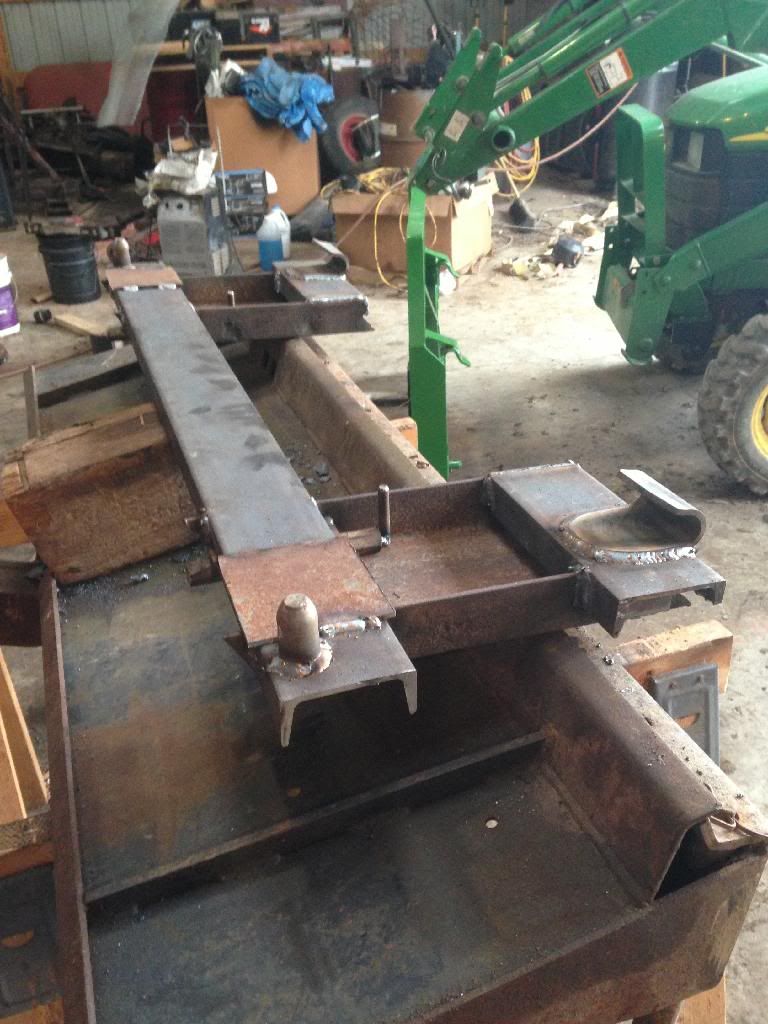
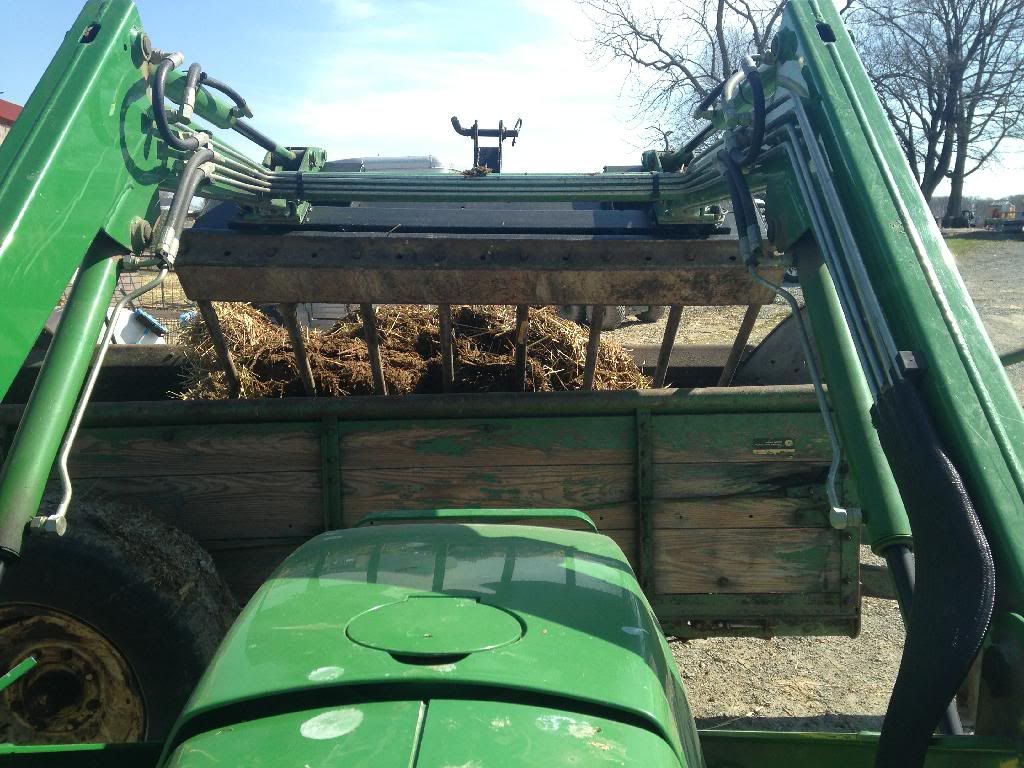
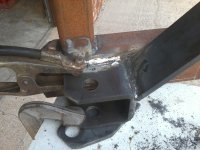
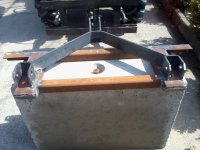
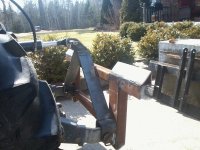
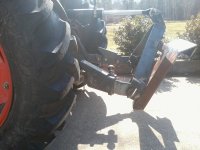
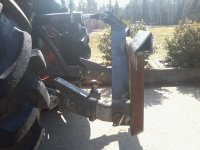
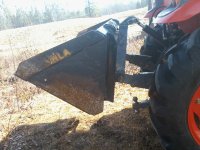
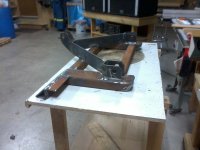
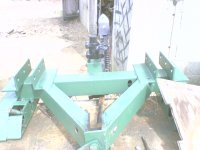
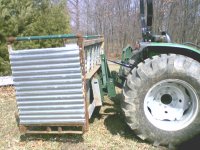
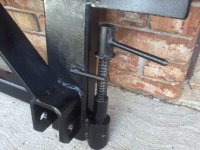
Well I put the post hole project on hold mainly because I haven't found an auger (cheap, I mean free) that I can use yet as a starting point. So I've started the quick attach for the 3PH. I am building from scratch and it may look similar to some other brand name hitch but I can assure you it is my own design. :mischievous: I used four by two tubing for the main uprights and two inch square tubing for the cross members. The rest of the parts and pieces are angle and flat bar. If anyone wants the dimensions I can post at a later date if you like. I built the main tubing part at work and used the wire feed welder, man what a treat compare to the Miller AC Thunderbolt. Some of my welds look professional and others look like a beginner. I have about 8-10 hours into it so far. I will post some more photos as I go along. Right now I am looking to perfect a simple pin setup other than the pivot type that usually come on the SSQA plates. I did a search several days ago and found a thread here somewhere where someone built a QA and used threaded rod and welded nuts on to screw the locking pins in place. Now I can find it for the life of me, I searched for an hour and couldn't find it, i was hoping someone could steer me to it. Any how more photos to come. You can criticize my welding if you like as I will have a chuckle over it, i know I do when I look at some of them, they usually look better after I grind them. Enjoy
 

Attachments

  • Photo541.jpg
    Photo541.jpg
    659 KB · Views: 230
  • Photo544.jpg
    Photo544.jpg
    792.9 KB · Views: 220
  • Photo542.jpg
    Photo542.jpg
    655.6 KB · Views: 213
  • Photo543.jpg
    Photo543.jpg
    792.3 KB · Views: 220
  • Photo545.jpg
    Photo545.jpg
    822.1 KB · Views: 323
  • Photo546.jpg
    Photo546.jpg
    839.2 KB · Views: 205
  • Photo547.jpg
    Photo547.jpg
    764.6 KB · Views: 216
   / 3PH SSQA build #2  
Lookin good. I have an extra (skid loader side) SSQA that I'm going to put a 3 pt. on to it. I know that NH sells the tapered "pins", I've replaced them before. I would guess that BC, JD, Case, all of them would sell this part. This would be easier than trying to fab something up. You'll still have to make the outer part or "sleeve" that the pin fits into. Then come up with a way to make sure the pin does not come out.
 
   / 3PH SSQA build #3  
could probably use DOM tube for the sleeve, decent tolerance stuff.
 
   / 3PH SSQA build #4  
Looking good.

Gravity works fine for my adapter. I used an old hex shaft and ground a taper on it. Nothing else holding it but gravity.

4EA11BE5-3698-47EE-9650-CB8D91B82425_zpsntidecmg.jpg


AF67A5FE-2F54-41EB-990D-165EC87C8327_zpsrcevxzo6.jpg


114F0749-CAAB-4FA9-9E63-B0B5EF7B3AED_zpsp5jktsls.jpg


A3FA0958-8946-4471-A0AB-A9ACE1228242_zpsuaqeag0x.jpg
 
   / 3PH SSQA build #5  
Looks good so far Steve. Could you use a pin going horizontally to lock the latching pin in place?
 
   / 3PH SSQA build
  • Thread Starter
#6  
I think the spring, however it is configured is to keep tension on the locking pin to keep the attachment snugly in place. Here are a few more shots.

Steve
 

Attachments

  • SSQA build.jpg
    SSQA build.jpg
    713.7 KB · Views: 206
  • Photo549.jpg
    Photo549.jpg
    437 KB · Views: 173
  • Photo550.jpg
    Photo550.jpg
    670.5 KB · Views: 220
  • Photo551.jpg
    Photo551.jpg
    747 KB · Views: 195
  • Photo552.jpg
    Photo552.jpg
    803.3 KB · Views: 208
  • Photo553.jpg
    Photo553.jpg
    807.5 KB · Views: 241
  • Photo554.jpg
    Photo554.jpg
    640.6 KB · Views: 196
  • Photo555.jpg
    Photo555.jpg
    702.2 KB · Views: 210
  • Photo556.jpg
    Photo556.jpg
    848.7 KB · Views: 252
  • Photo557.jpg
    Photo557.jpg
    743.8 KB · Views: 247
  • Photo559.jpg
    Photo559.jpg
    528.7 KB · Views: 231
   / 3PH SSQA build #7  
I had planned for a spring or at least a locking bolt, but found it really isn't needed for mine.

Looks great
 
   / 3PH SSQA build #9  
THIS IS BY FAR THE BEST ATTACHMENT I've BUILT HANDS DOWN . Back in 2008 I designed this and built it and still use it now ...I've weight tested it to 3800lbs with no problems ... As far as the locking pins here is a pic of how I did it ... basically a simple cam /lever with a spring to give tension and lock ...the pieces of chain are used to keep it "open" when hitchin up and never get out of the seat
 

Attachments

  • 0403001535a.jpg
    0403001535a.jpg
    170.1 KB · Views: 241
  • 0710091928.jpg
    0710091928.jpg
    210 KB · Views: 229
  • 0322091305invent.jpg
    0322091305invent.jpg
    258.6 KB · Views: 237
   / 3PH SSQA build
  • Thread Starter
#10  
Looks very simple. Just the way I like it. How did you attach the springs in the tube or is the other side open?

Steve
 
   / 3PH SSQA build #11  
The way I designed the locking pins/levers ... I did not like the way the factory design was , when I would try to attach an implement with the stock set up my locking levers would become easily damaged by a little over rotation of the curl function and the locking levers would hit/bend when attaching an implement .So when I designed the converter ,3pt ssqt locking levers, I descided to make this Flaw in the factory set up work for me ... so now when I attach something with the way I built it the locking levers may hit and no damage AND the levers also retract the locking pins at the same time . The factory set up on my front loader rotate parallel to the back of say my bucket as the adapter I made rotate perpendicular to it .
As far as how I made It Positive lock... This was achieved by determining the apex of the stroke of the locking pin/lever ...so as the pins are fully deployed
the lever is in line with it and the spring keeps it there in that position so it really can't unlock . It did take me a bit of syferin to get the geometry right but it really is a simple design......and It all was made with FREE scrap metal:dance1:....oH TO ANSWER YOUR ? AFTER I built it I wrapped the lever set up with an angle iron piece to protect it all,,, tacked welded in place... but left some space to change the sofa bed springs I used if they fail:dance1:
 
   / 3PH SSQA build
  • Thread Starter
#12  
Finally finished this last week. I guess I really don't need it too bad for the time it took me to build it. I guess the fabricating is more the necessity than the actual device.
 

Attachments

  • Photo995.jpg
    Photo995.jpg
    744.6 KB · Views: 116
  • Photo991.jpg
    Photo991.jpg
    802.1 KB · Views: 124
  • Photo992.jpg
    Photo992.jpg
    847.9 KB · Views: 111
  • Photo993.jpg
    Photo993.jpg
    729.4 KB · Views: 114
  • Photo994.jpg
    Photo994.jpg
    917.6 KB · Views: 97
   / 3PH SSQA build #13  
Finally finished this last week. I guess I really don't need it too bad for the time it took me to build it. I guess the fabricating is more the necessity than the actual device.

It looks good. I see you came up with a good solution for the latches. I think now that is it finished you will find plenty of uses for it.
 

Tractor & Equipment Auctions

JOHN DEERE 850K LGP (A58214)
JOHN DEERE 850K...
2019 Ford F-350 4x4 Crew Cab Pickup Truck (A59230)
2019 Ford F-350...
2019 Ford F-150XL (A60462)
2019 Ford F-150XL...
New Holland S68 Square Baler (A56438)
New Holland S68...
2013 Ford Taurus Sedan (A59231)
2013 Ford Taurus...
Preliminary Listing / Full Catalog Coming Soon! (A53317)
Preliminary...
 
Top