1510 complete service and inspection

   / 1510 complete service and inspection #31  
Really nice, thorough work, Asymair95.

I like the Fords of this vintage. Your attention to detail will pay off for years to come. I'm just as OCD as you are. Funny thing is, I can't figure out why everyone isn't that way about their equipment. Makes it so much easier to fix it right and keep it working like new.
 
   / 1510 complete service and inspection
  • Thread Starter
#32  
Progress...

IMG_1835.JPG

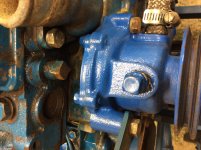
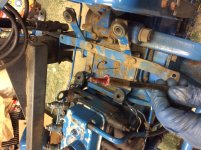
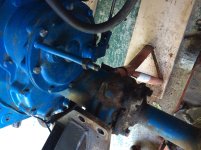
Was able to remove the rops far enough to rotate them back and clear the brake housing. The bolts were rusted tight and the impact alone wasn't cutting it. Had to use the map torch, some solid strikes with a ball peen, and more penetrating oil. They slide over the lower three point attachment pin, and are stuck pretty good. As long as I can get at the brake assembly and clean things up this should be fine.

IMG_1834.JPG

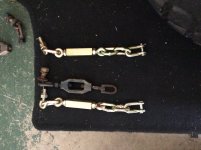
Also, received the new sway chains in the mail. $40 to my door!
 
   / 1510 complete service and inspection
  • Thread Starter
#33  
Some progress and setbacks. Seems this tractor wants to fight me on every single thing.

IMG_1836.JPG

Got the fuel tank drained and tank removed. When draining the tank I was hoping to see a reduced flow, which would indicate a dirty filter or clogged line. I'm still looking for a cause of the low rpm issue. It's not a linkage adjustment problem, because it is hitting an internal stop inside the injector pump somewhere.

IMG_1837.JPG

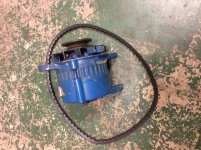
Alternator removed, belt is completely fried.

IMG_1840.JPG

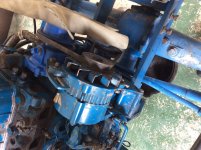
Air intake removed. There was a stripped out stud that some brain surgeon put back in. I'm hoping it wasn't loose enough to let dirt by the gasket and dust the engine. Will be doing a compression test today to see how things look.
 
   / 1510 complete service and inspection
  • Thread Starter
#34  
IMG_1838.JPG

IMG_1839.JPG

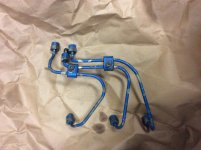
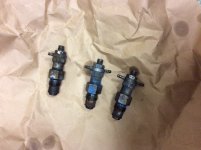
The lines and injectors removed. There was some slight corrosion around the fittings, nothing major. The injectors themselves were quite loose in the head. There was also some pretty nasty looking black muck that came out of one of the lines when I broke it loose where it attached to the injector pump.

IMG_1841.JPG

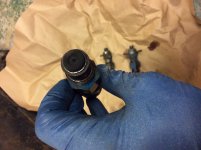
The tip of the injector, looks pretty clean to me. Two of the injectors are stamped with the number 2560 4F, but one injector is stamped 2550 4F. They all have "ND" stamped in them too.
 
   / 1510 complete service and inspection
  • Thread Starter
#35  
IMG_1842.JPG

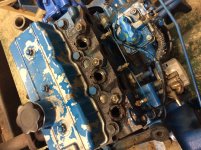
Shot of the head with all components removed. I have some sea foam, liquid wrench, and diesel 911 soaking in the head and on the valves. When I remove the exhaust manifold I will do the same again.

IMG_1843.JPG

Here is where things went South. I want to add a coolant temp gauge and use the pipe plug in the head here for the sending unit. The plug will not come out however, and I'm afraid to use too much heat or force to remove it for fear of messing up the head. Any suggestions?

IMG_1844.JPG

Pulled one end of the tach cable and squirted some oil down the end for lube as it was bone dry. Also greased the end where it goes into the tach.
 
   / 1510 complete service and inspection #36  
You might try a small propane torch, just warm the plug then use the heat to melt some wax into the threads. It might take a couple tries to get it, but this method works good when you can't get parts really hot.
 
   / 1510 complete service and inspection
  • Thread Starter
#37  
I'll give it a shot Lou, thanks.

Had a few hours today to putz around today.

IMG_1845.JPG

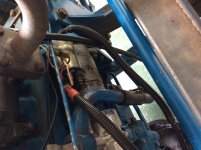
Got the starter installed and the hyd suction line put back on.

IMG_1846.JPG

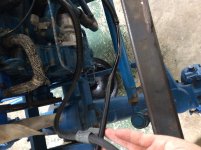
I installed two new cables on the starter, the main positive to the battery, and also a dedicated ground from the starter mounting bolt to the battery ground. This tractor was cranking really slow making it difficult to start. Between the new cables, and cleaning/greasing the starter she cranks great now.

IMG_1847.JPG

The alternator temp installed.

IMG_1848.JPG

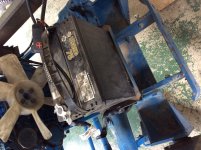
The battery tray and battery temp installed. I also put a new ground cable on the tray/battery.
 
   / 1510 complete service and inspection
  • Thread Starter
#38  
Drum roll please...

IMG_1849.JPG

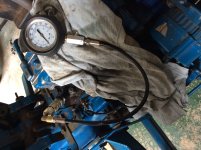
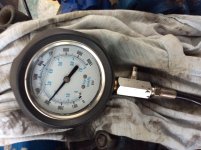
Installed the new compression tester.

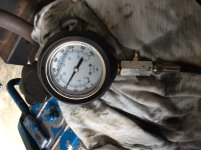
IMG_1850.JPG

This is the reading on the rear cylinder.

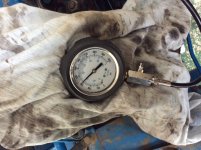
IMG_1851.JPG

This is the middle cylinder.

IMG_1852.JPG

This is the front cylinder.

I'm going to adjust the valves and take another reading, I'm hoping to eek out a few more psi. I'm not sure of the limits for compression, I didn't see any numbers in the service manual. From things I have read online it should be around 350psi? Does this sound right? Would these readings cause the rpm to not advance above 2000rpm?
 
   / 1510 complete service and inspection
  • Thread Starter
#39  
Some interesting developments...

IMG_1853.JPG

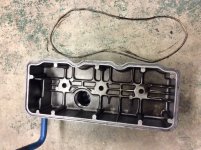
Removed the valve cover, will be replacing the gasket and sealing washers on the acorn nuts. Hopefully this stops the leaks.

IMG_1855.JPG

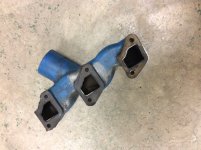
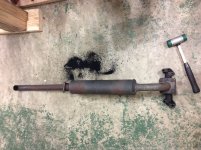
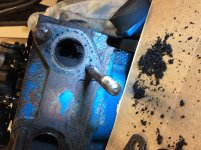
Exhaust and manifold removed for painting. Will use a high temp paint. Found lots of crud inside the muffler. Used a soft mallet to coax most of it out.

IMG_1857.JPG

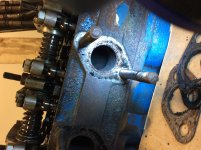
The rear most exhaust port was 70% choked off by a sticky black soot. Was thinking maybe the oil ring on the piston was shot allowing oil to bypass. Cleaned everything out the best I could, and squirted some sea foam, and pb blaster in there. Also squirted some more down the cylinders and intake valves.

IMG_1858.JPG

The other two exhaust ports were clean.
 
   / 1510 complete service and inspection
  • Thread Starter
#40  
Here is where things got interesting.

IMG_1859.JPG

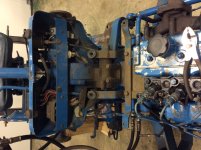
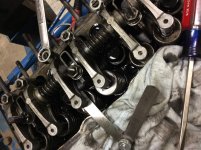
This is the cause of my rpm issue!! While checking the valve clearance I couldn't believe what I was seeing. The valves are supposed to be set to .008", but almost every valve was above .040", with a few above .060"! The rocker arms are made out of aluminum and have some wear, from dirty oil I'm assuming. They were so far out, particularly on the rear cylinder, that the valves were barely opening. This is probably what was causing the clogging in the exhaust port.

IMG_1860.JPG

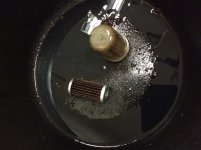
Changed the fuel filter and both O-rings. Also cleaned out the cup real good as it had lots of gunk in the bottom.

I'm fairly confident I have discovered my main issue at this point. I'm still going to have the injectors inspected/rebuilt though. Going to use Oregon fuel injection in Eugene, OR.
 
 
Top