zing
Platinum Member
There are no tractors involved in this thread, so I will not be offended if you choose to leave right away... I totally understand. ")
Still here? Ok, well our farm property is not our full time home yet, that is a retirement dream. For now it is our weekend retreat for horse riding in the summer and skiing at the local hill in the winter. For that reason in the winter it is not occupied during the week. I leave the thermostat set to 10-12 degrees and I turn the water off and open the taps so the pipes will drain before I leave on Sunday. I have never had a frozen pipe in the 9 years I have been doing this, but as luck (or stupidity) would have it I neglected to open the taps one Sunday last winter and that week we had a few days straight of -20 to -25 degrees coupled with high winds. The wind was bad enough that the cold penetrated the soffit under the second floor dormer and froze the pipes behind the tub for the second floor bathroom, even thought the rest of the house was 10 degrees. By the time we pulled in on Friday night it had warmed up enough that the pipes had thawed and cleared, but there was no clearing the split elbow. Having the water off meant that the water wasn't running for days, so damage was minimal. Nevertheless, by the time I turned on the pump in the basement, walked upstairs to my wife yelling "I hear water in the walls!" and then my daughter commenting that there was water running through the kitchen light fixture, and then ran back downstairs to shut it off, the damage was done to the kitchen ceiling right below that second floor bathroom. The only visible damage was some saggy drywall seams and wrinkled paint, but in order to locate the leak the plumber and I had to tear a good piece out and follow the pipes to the elbow that was split.
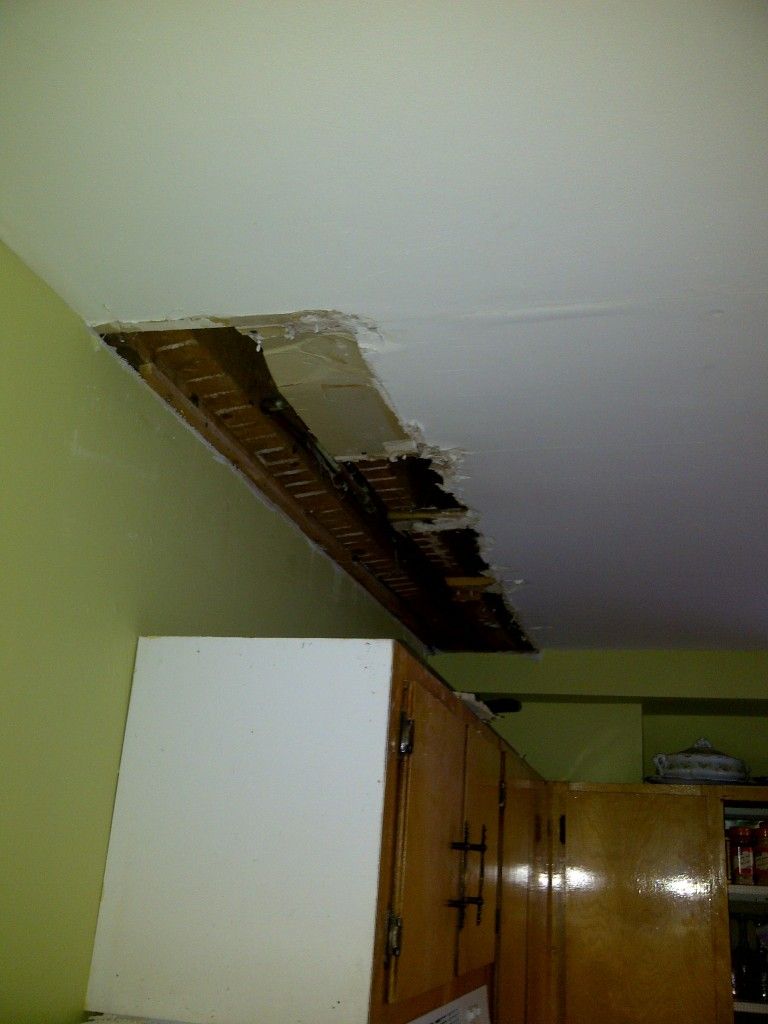
My insurance guy just wanted to put in some patches and redo the saggy drywall seams but I insisted that I wanted that whole ceiling to come down due to mold issues, so we settled for this. He got a couple of quotes to replace the drywall on the half the ceiling directly under the pipes and repaint, the lowest one came to $2150. My deductible was $1000, so he wrote me a cheque for $1150 and told me to go have fun. That set the budget for my repairs.
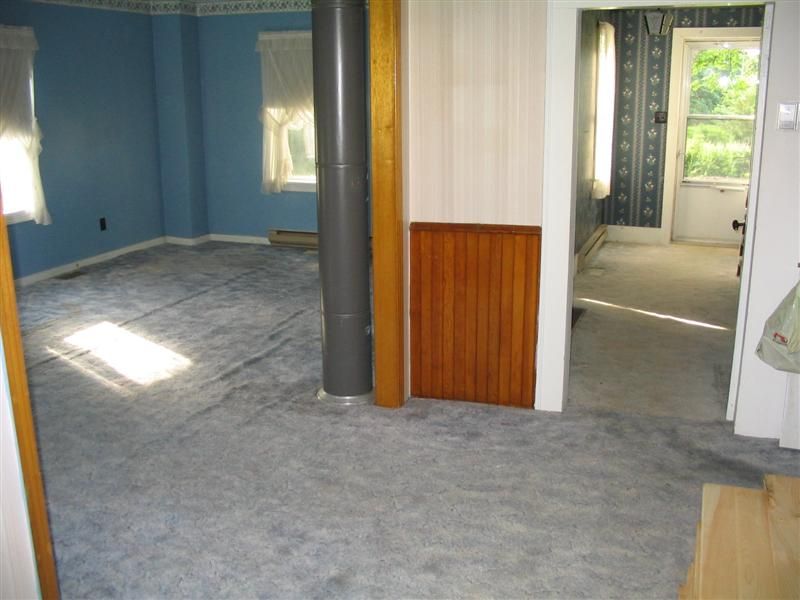
The plumber fixed the leaky pipe and I pulled down the wet drywall but the actual repairs had to wait until spring when ski season was over. Can't miss time on the hill! This place is a 180 year old farm house that has been added onto by any number of previous residents and at one point after WWII was abandoned long enough to allow a family of porcupines to walk through a hole in the wall and set up residence in the living room. For that reason you never know what you are going to find when you look behind the walls, except for mouse droppings. You are guaranteed to find those.
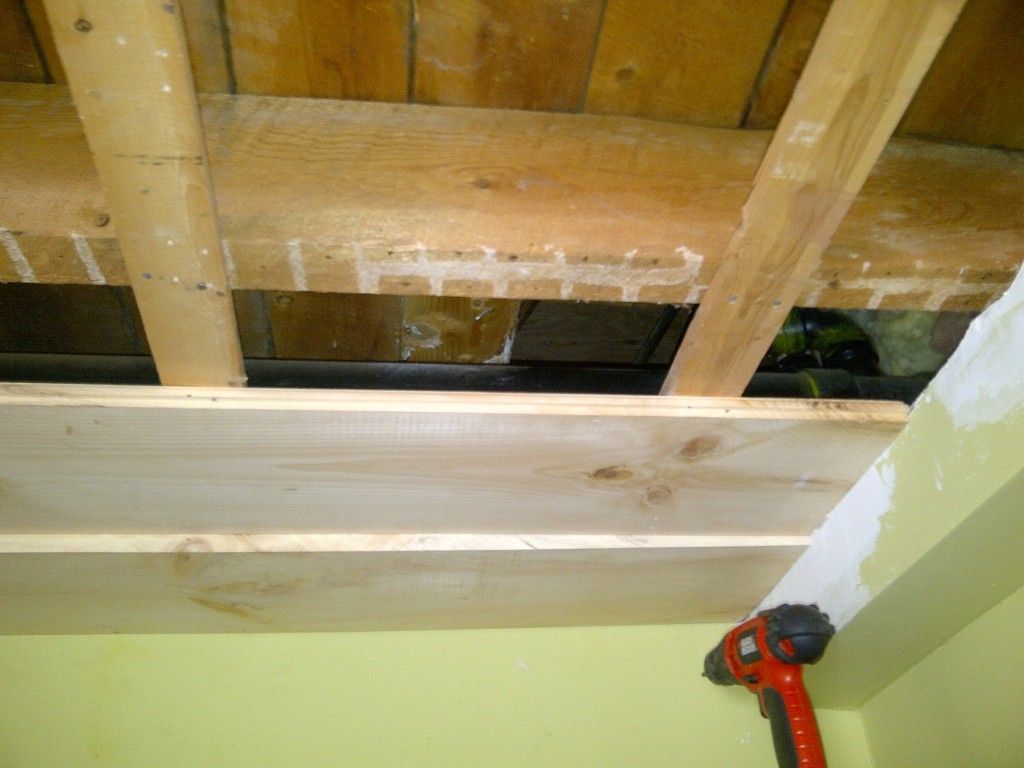
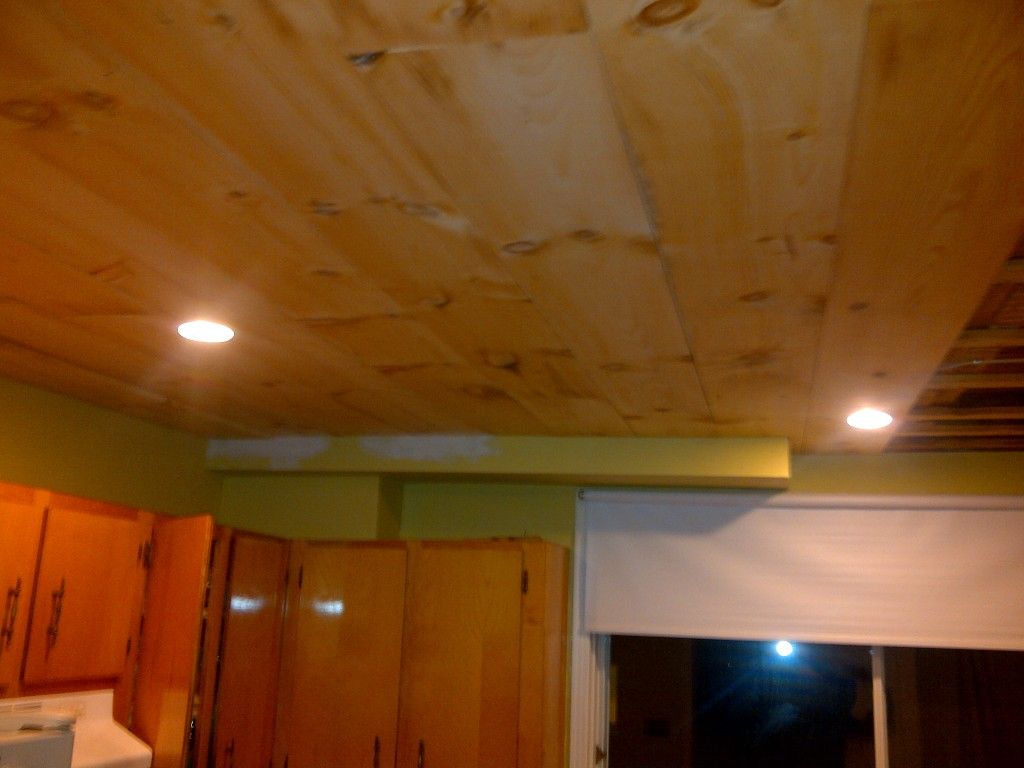
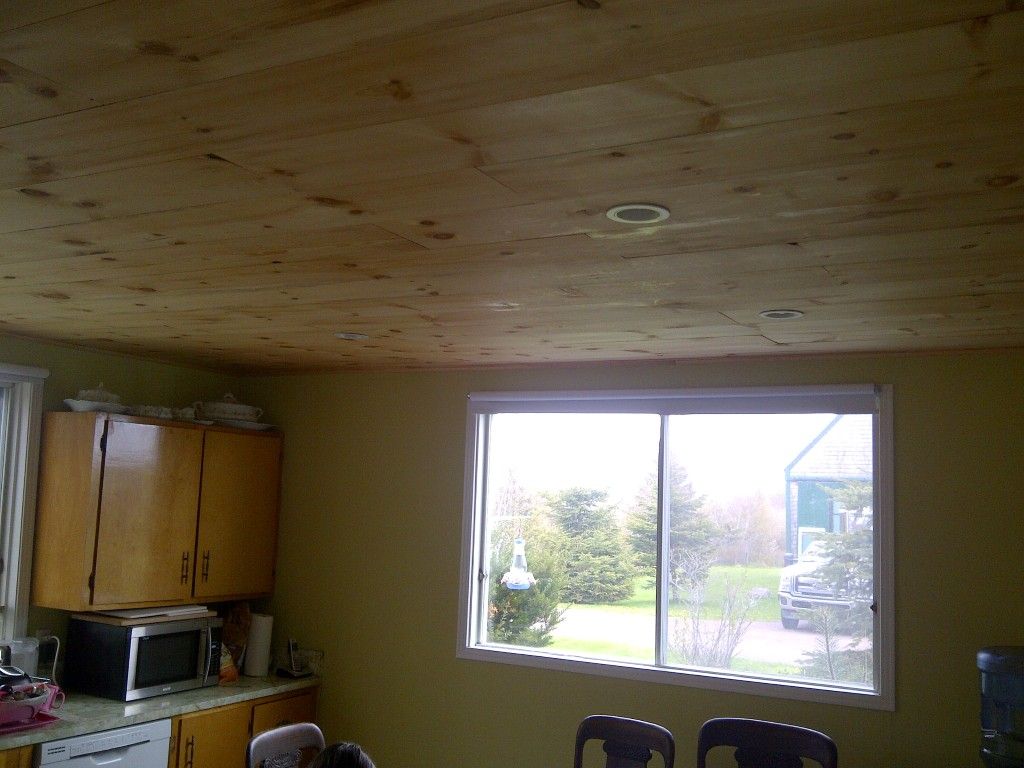
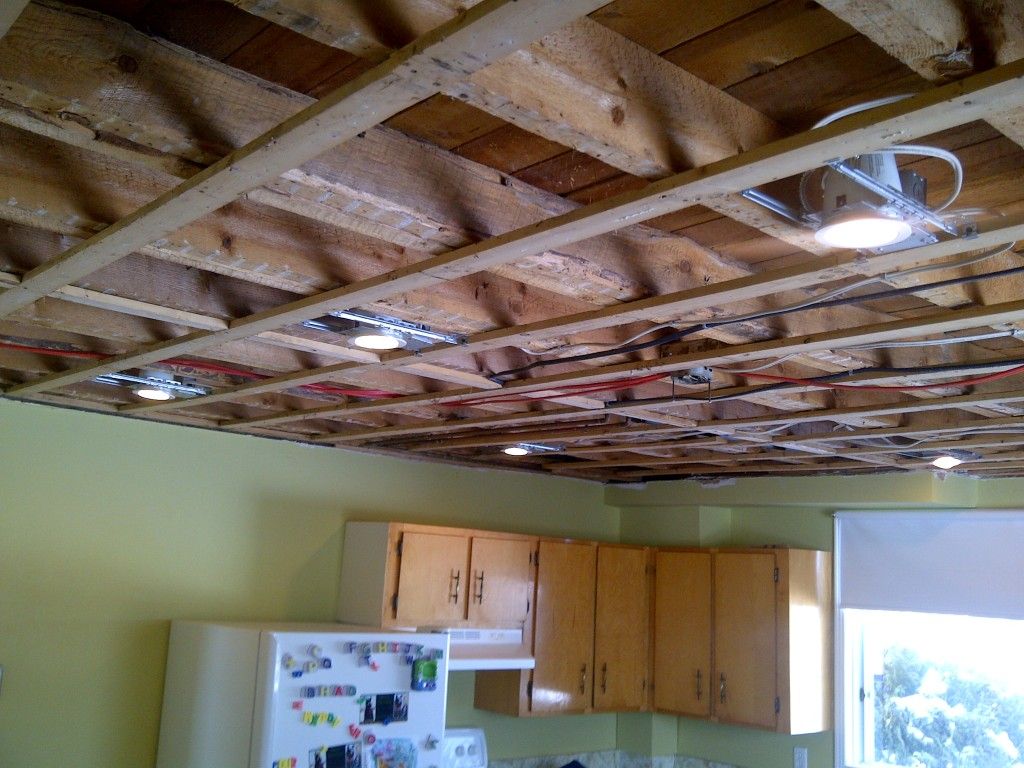
I took down the rest of the old drywall and replaced the single light fixture with 6 potlights. I am using CFL bulbs so the amperage draw is actually less than the 100 watt bulb that was in there before, so I didn't change the fuse or the wiring to supply it from the panel. I also know that there is nothing else on that wire other than the outlet that the microwave is plugged into because I traced that wire last year while I was running wire from the panel for a new dishwasher that I installed. I didn't do anything fancy, just arranged them in two rows of three, but I did make sure one of the corner lights was over the stove and I offset one of the middle ones so it was over the sink, to make those two workspaces a bit brighter. I also did some fixup of the drywall at the top of the walls where it was damaged by the ceiling demo.
That ended up taking the whole first weekend, because I started by tarping and taping all of the cupboards and doors and putting a box fan in a window to try and suck the dust outside and minimize the cleanup I would have to do afterward. Prep work and cleanup can take longer thatn the actual job!
Still here? Ok, well our farm property is not our full time home yet, that is a retirement dream. For now it is our weekend retreat for horse riding in the summer and skiing at the local hill in the winter. For that reason in the winter it is not occupied during the week. I leave the thermostat set to 10-12 degrees and I turn the water off and open the taps so the pipes will drain before I leave on Sunday. I have never had a frozen pipe in the 9 years I have been doing this, but as luck (or stupidity) would have it I neglected to open the taps one Sunday last winter and that week we had a few days straight of -20 to -25 degrees coupled with high winds. The wind was bad enough that the cold penetrated the soffit under the second floor dormer and froze the pipes behind the tub for the second floor bathroom, even thought the rest of the house was 10 degrees. By the time we pulled in on Friday night it had warmed up enough that the pipes had thawed and cleared, but there was no clearing the split elbow. Having the water off meant that the water wasn't running for days, so damage was minimal. Nevertheless, by the time I turned on the pump in the basement, walked upstairs to my wife yelling "I hear water in the walls!" and then my daughter commenting that there was water running through the kitchen light fixture, and then ran back downstairs to shut it off, the damage was done to the kitchen ceiling right below that second floor bathroom. The only visible damage was some saggy drywall seams and wrinkled paint, but in order to locate the leak the plumber and I had to tear a good piece out and follow the pipes to the elbow that was split.
My insurance guy just wanted to put in some patches and redo the saggy drywall seams but I insisted that I wanted that whole ceiling to come down due to mold issues, so we settled for this. He got a couple of quotes to replace the drywall on the half the ceiling directly under the pipes and repaint, the lowest one came to $2150. My deductible was $1000, so he wrote me a cheque for $1150 and told me to go have fun. That set the budget for my repairs.
The plumber fixed the leaky pipe and I pulled down the wet drywall but the actual repairs had to wait until spring when ski season was over. Can't miss time on the hill! This place is a 180 year old farm house that has been added onto by any number of previous residents and at one point after WWII was abandoned long enough to allow a family of porcupines to walk through a hole in the wall and set up residence in the living room. For that reason you never know what you are going to find when you look behind the walls, except for mouse droppings. You are guaranteed to find those.
I took down the rest of the old drywall and replaced the single light fixture with 6 potlights. I am using CFL bulbs so the amperage draw is actually less than the 100 watt bulb that was in there before, so I didn't change the fuse or the wiring to supply it from the panel. I also know that there is nothing else on that wire other than the outlet that the microwave is plugged into because I traced that wire last year while I was running wire from the panel for a new dishwasher that I installed. I didn't do anything fancy, just arranged them in two rows of three, but I did make sure one of the corner lights was over the stove and I offset one of the middle ones so it was over the sink, to make those two workspaces a bit brighter. I also did some fixup of the drywall at the top of the walls where it was damaged by the ceiling demo.
That ended up taking the whole first weekend, because I started by tarping and taping all of the cupboards and doors and putting a box fan in a window to try and suck the dust outside and minimize the cleanup I would have to do afterward. Prep work and cleanup can take longer thatn the actual job!