JD 2240: Rebuilding my 3PH

   / JD 2240: Rebuilding my 3PH #1  

dcyrilc

Elite Member
Joined
Nov 8, 2009
Messages
3,969
Location
Woodinville, Washington
Tractor
John Deere 2240 MFWD
My 3PH has had problems since I bought my tractor last fall. Sometimes it works like it should and at others, the only way to raise or lower it is by changing the setting on the ROD control. The other issue it has is that it drops immeadiately when the tractor is turned off indicating that it probably has a bad seal in the piston. I have the rebuild kit and gasket and have ordered a new seal for the piston, so it's time to start a thread on my endevors. I should start sometime within the next week.

If anyone has any questions or advice as I go along, please don't hesitate to speak up.
 
   / JD 2240: Rebuilding my 3PH
  • Thread Starter
#2  
Started sooner than I expected to. Today I was looking at the lift links again and disassembled them to check some things out. Some of what I'm going to discuss are things which I have posted in other threads, but feel they would be good to put here for a starting point.

LIFT LINKS

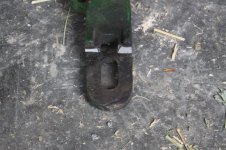
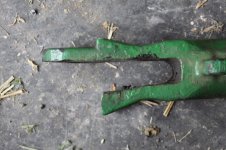
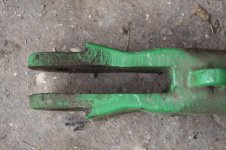
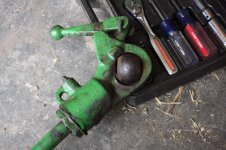
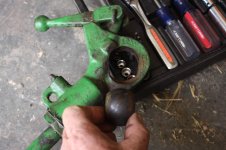
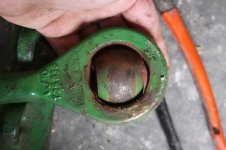
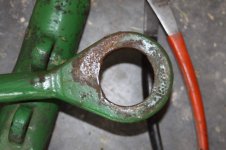
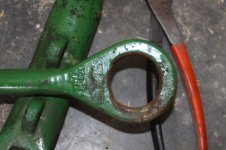
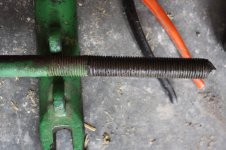
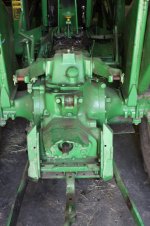
The body for the lower lift link was damaged before I got the tractor and instead of being straight, was spread open. The spread made it so that it was too wide to use the proper pin and someone previous to me had installed a 1/2" bolt to compensate. About a week ago, I removed it and attempted to tap it back to straight with a 3# hand sledge. I broke the end off it on the first hit. I ordered a new one and have just finished painting it, but still need to get the proper tap as it is drilled but not threaded for the zerk.

The first two pictures here are of the broken one and the third is of the good one from the right side. If you compair the second and third pix, you can see the spread in the second pic. It was much more noticable before I broke it.
 

Attachments

  • 3PH Rebuild_001.jpg
    3PH Rebuild_001.jpg
    349.9 KB · Views: 244
  • 3PH Rebuild_002.jpg
    3PH Rebuild_002.jpg
    240.1 KB · Views: 230
  • 3PH Rebuild_003.jpg
    3PH Rebuild_003.jpg
    245.3 KB · Views: 228
   / JD 2240: Rebuilding my 3PH
  • Thread Starter
#3  
The next issue, also with the left lift link, is that the upper ball will no longer stay in its socket. In the first pic, the ball will lift right out of its socket. From looking at it previously, I had thought that there should have been a bead of weld to retain the ball within the socket.
3PH Rebuild_014.jpg

However, looking at the upper right side, I discovered that the ball there is removed by rotating it and then removing it.
3PH Rebuild_004.jpg 3PH Rebuild_005.jpg 3PH Rebuild_006.jpg

I then looked more carefully at the left lift link and discovered that it should work basically the same way.
3PH Rebuild_013.jpg

The next two pix show both sides of the socket for compairison.
3PH Rebuild_011.jpg 3PH Rebuild_012.jpg

The last pic shows that the shaft was bent at one time and straightened. It still has a slight bend and the threads are damaged where the grease stops and the paint begins.
3PH Rebuild_007.jpg

I have concluded that this part also needs to be replaced.
 
   / JD 2240: Rebuilding my 3PH
  • Thread Starter
#4  
3PH COVER REMOVAL

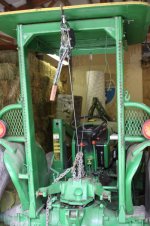
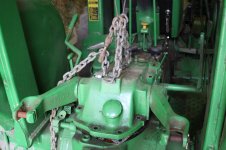
The next step was to remove the 3PH cover. This requires stripping off the seat and using compressed air to remove all loose dirt from the area.
3PH Rebuild_015.jpg

After removing the bolts, the cover would not budge so I had to get resourseful as to how to break the seal loose and lift the cover.
3PH Rebuild_016.jpg 3PH Rebuild_017.jpg 3PH Rebuild_018.jpg

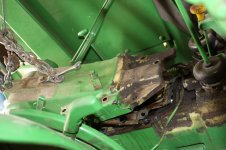
Once I had it broke loose, although awkward and a little higher than preferable, it was not too difficult to lift it off and place it on end on the floor.
3PH Rebuild_020.jpg

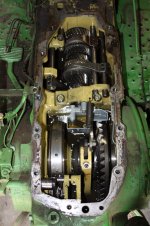
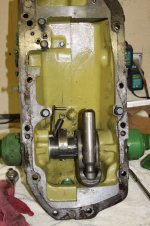
Since I have never been inside a tractor transmission before, I had to take a good look at how everything fit in there.
3PH Rebuild_019.jpg
 
   / JD 2240: Rebuilding my 3PH
  • Thread Starter
#5  
3PH PISTON REMOVAL AND DISASSEMBLY

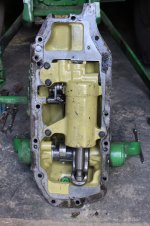
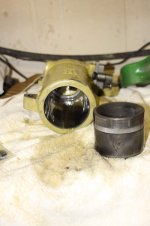
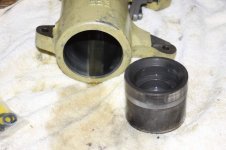
Tonight I removed the piston housing and piston from the 3PH housing.
3PH Rebuild_021.jpg 3PH Rebuild_023.jpg 3PH Rebuild_022.jpg

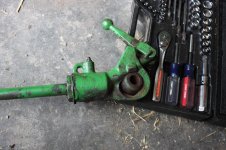
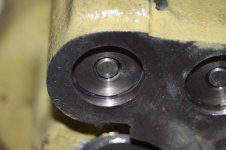
I then began disassembly of the valve assembly. Where the valve assembly is held into the piston housing the tech manual says to remove the snap rings. These snap rings are a "C" shaped metal ring and I had no luck when trying to remove it. The only thing I was successful at, was bending my pick every time I tried.
3PH Rebuild_029.jpg 3PH Rebuild_026.jpg

After giving up for the night and thinking about it on the way home, I am thinking that the pressure from the valve spring is keeping me from being able to remove the snap ring. The valves are actuated from the top side in the second picture above and removed from the bottom side in that pic. The first picture is the face where the snap rings are located.

My current thinking is to use 2 small sockets to fit over the valve (one at each end) and with one of them over the end of the valve on the face which needs to be removed, then to use a large C-clamp spanning the two sockets to overcome the pressure on the spring so that the snap ring can be removed. Then slowly loosen the C-clamp until the tension is off the valve spring. The mechanism which actuates the valves has been removed at this point and will not be in the way.

Anyone have any thoughts on this?
 
Last edited:
   / JD 2240: Rebuilding my 3PH #6  
Im thinking it may work the way you explained it.
 
   / JD 2240: Rebuilding my 3PH #8  
Cyril,

you are right on with those retainer caps....push in gently, remove clips and relax clamp.....Bingo....

If you don't have a cleaning tank/bucket, you may want to get a couple cans of carb spray or something similar to do final cleaning of that assembly before assy.....

make sure everything (including tools and bench)is super clean and moving parts lightly greased ....

be careful with the 2 piece teflon seal on the piston as you'll have to stretch it to fit.....(Polish piston to clean up and remove burrs if any, and finger sand the barrel with very fine emery paper).....then you'll have to shrink the piston seal before installing in the barrel.....you'll know what I'm talking about after you install the piston seal.....there are several ways to shrink it..

1.....piston ring compressor

2......wrap tightly with electrical tape for couple hours

3......wrap with thin sheet metal (with no burrs) then tighten a radiator hose clamp over it....

You'll do fine if you remember "If it don't come apart right, it ain't going back together right"...:thumbsup:
 
   / JD 2240: Rebuilding my 3PH
  • Thread Starter
#9  
Cyril,

you are right on with those retainer caps....push in gently, remove clips and relax clamp.....Bingo....

If you don't have a cleaning tank/bucket, you may want to get a couple cans of carb spray or something similar to do final cleaning of that assembly before assy.....

make sure everything (including tools and bench)is super clean and moving parts lightly greased ....

be careful with the 2 piece teflon seal on the piston as you'll have to stretch it to fit.....(Polish piston to clean up and remove burrs if any, and finger sand the barrel with very fine emery paper).....then you'll have to shrink the piston seal before installing in the barrel.....you'll know what I'm talking about after you install the piston seal.....there are several ways to shrink it..

1.....piston ring compressor

2......wrap tightly with electrical tape for couple hours

3......wrap with thin sheet metal (with no burrs) then tighten a radiator hose clamp over it....

You'll do fine if you remember "If it don't come apart right, it ain't going back together right"...:thumbsup:

Thanks. That was some of the feedback I was hoping for. I'll go with the piston ring compressor as I've used those before. As I get things further apart, I'll continue posting pix so that I can get others feedback as to condition of the parts. I've read on other threads where others have seen wear that I couldn't spot even after having it pointed out. Don't want to do this twice.

How did the piston seal seem to you? Seems fairly worn to me, but then I don't really have any experiance to back that up either as this is the first time I've ever torn something like this apart. I've rebuilt lots of things over the years, but I've always had someone with experiance to make a dianosis of what the fault was. Tearing something down and reassembling it doesn't bother me, but missing something which should have been replaced from not recognising the wear/damage does bother me. If in doubt, I'd rather replace anything questionable. The final intent here is to have a good, solid working 3PH when I'm done.
 
   / JD 2240: Rebuilding my 3PH #10  
Piston seal looks OK but looks are deceiving, Change it no matter what, any seals you see change them, cut the piston seal off without scoring the sides of the groove, (some guys try prying between the seal and the groove and it scars the side of the groove), you're gonna change it anyways....also grease the rubber energizer ring (you'll see this underneath )before the new teflon outer ring goes on....stretch it gently just enough to get it on......then shrink...
 

Tractor & Equipment Auctions

Box blade (A50860)
Box blade (A50860)
2025 K2010 UNUSED Chicken Coop (A50860)
2025 K2010 UNUSED...
Adams Load Out Conveyor - Stainless Steel Assembly - Baldor Electric Motor (A51039)
Adams Load Out...
Auto Crane 3203PRX Electric-Hydraulic Truck Crane (A50860)
Auto Crane 3203PRX...
2015 Isuzu Sewer Jetter Truck (A49461)
2015 Isuzu Sewer...
2025 K2215 UNUSED Portable Restroom (A50860)
2025 K2215 UNUSED...
 
Top