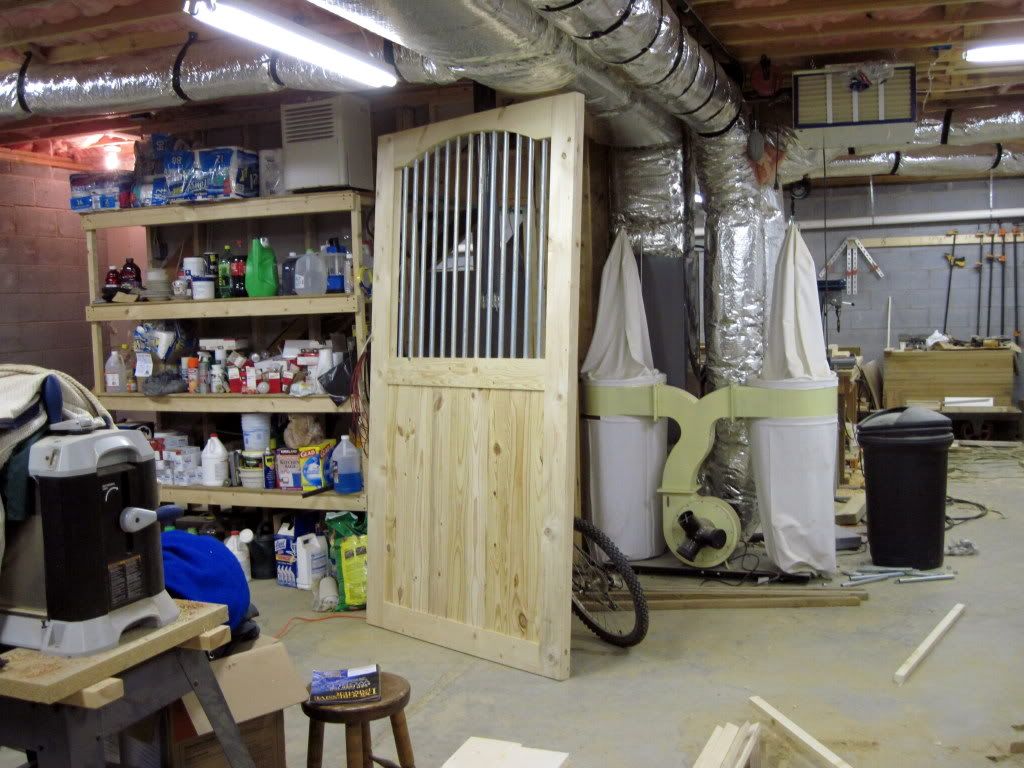
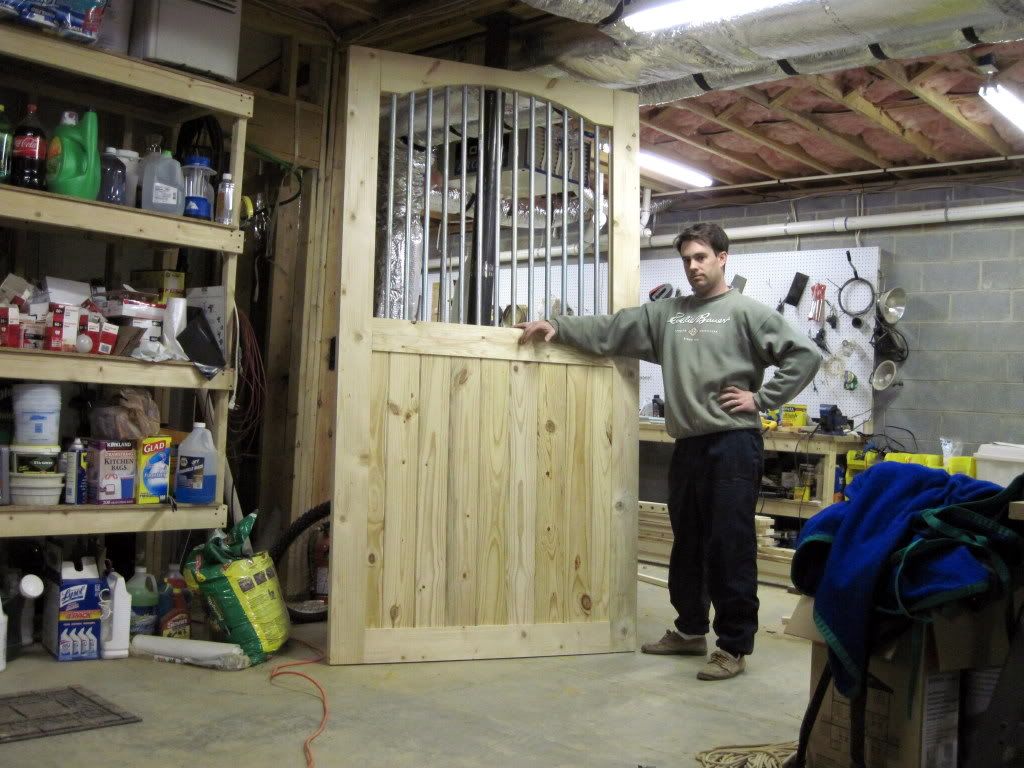
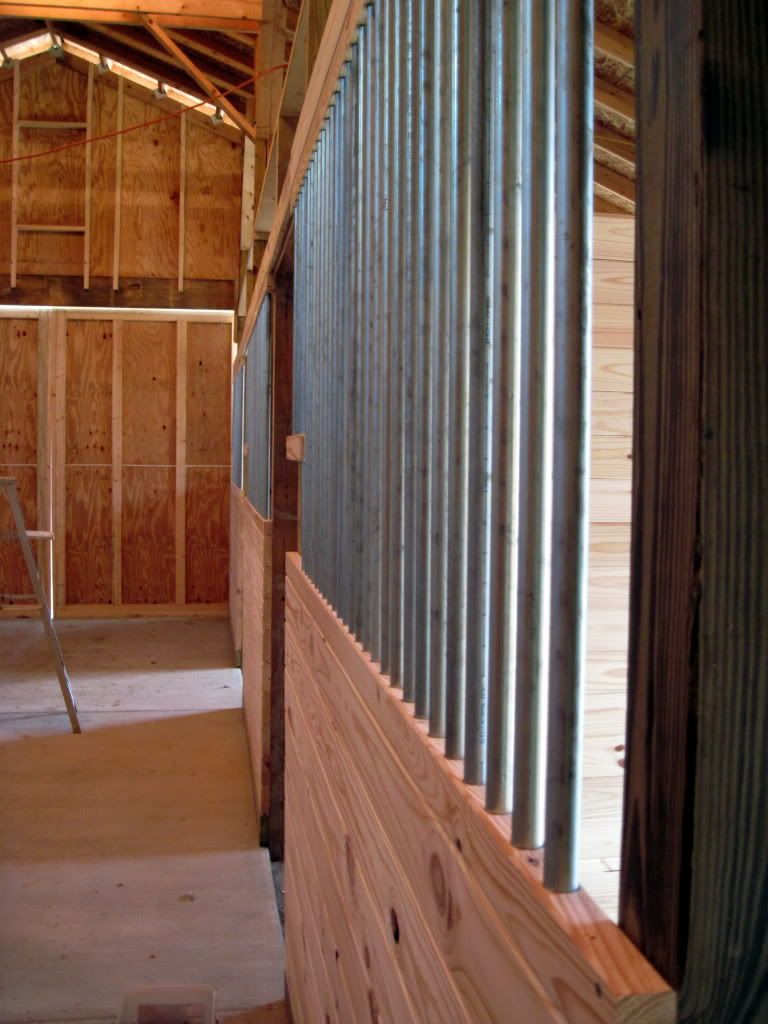
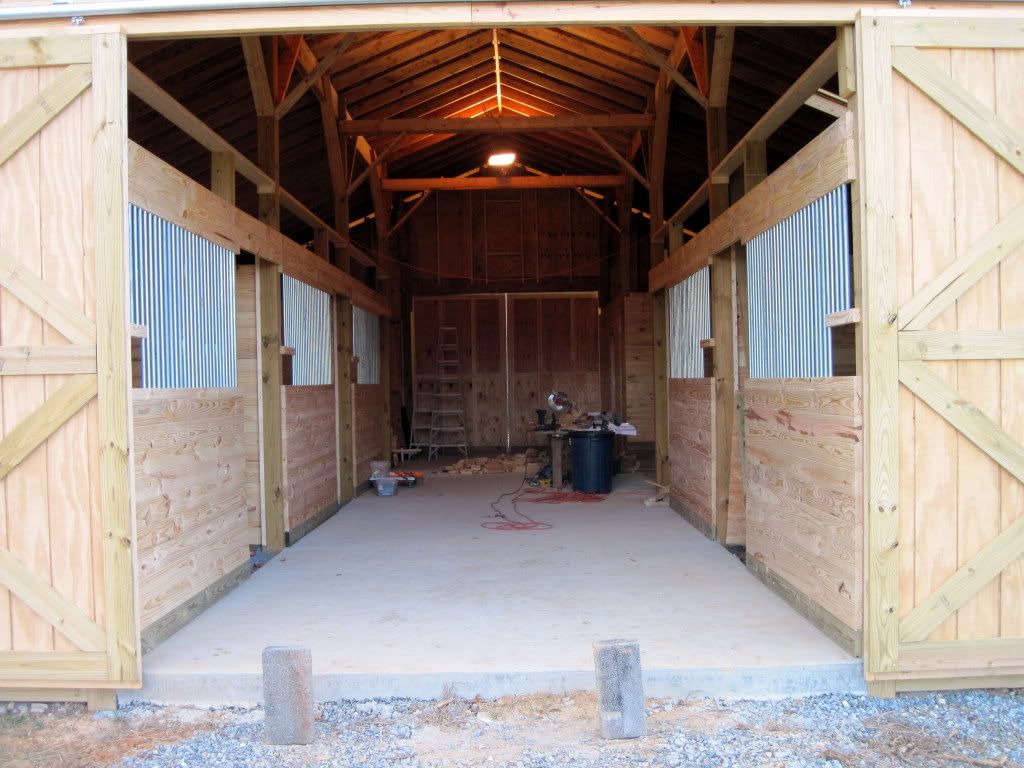
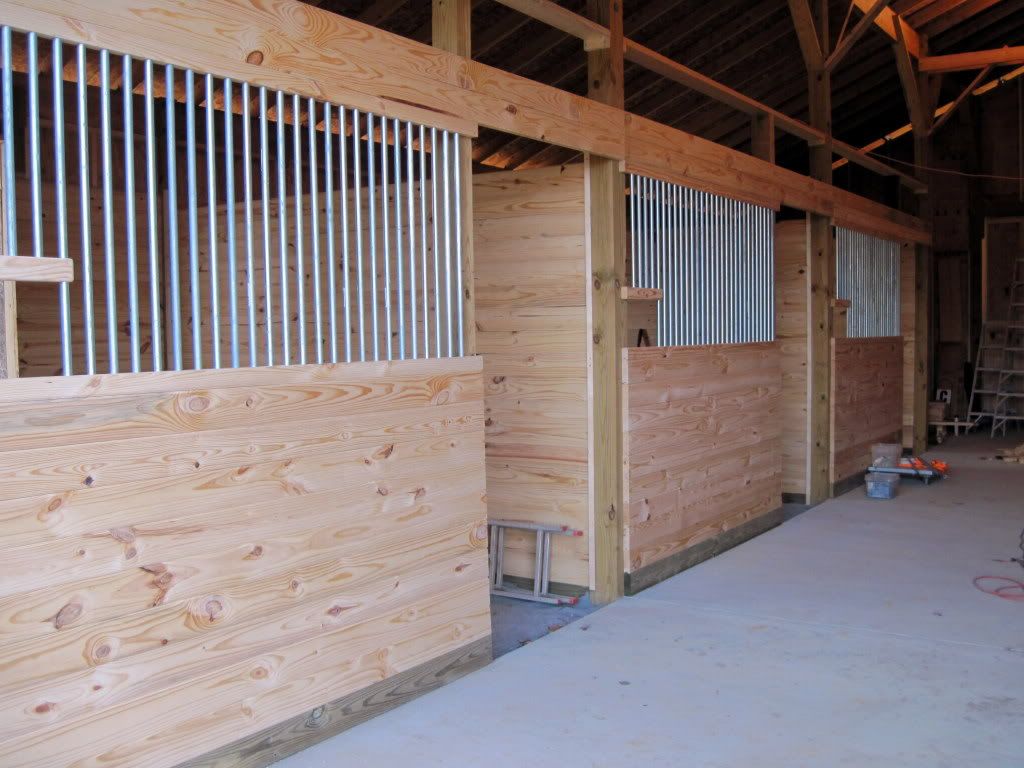
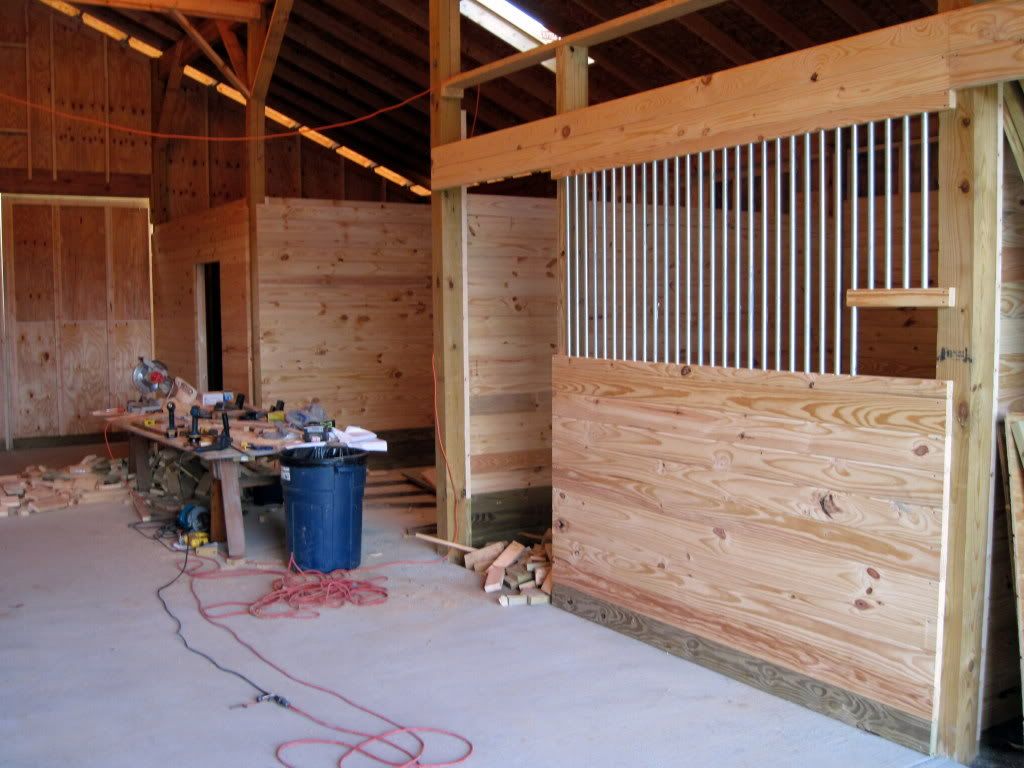
Step 14: Stall Fronts and stall doors
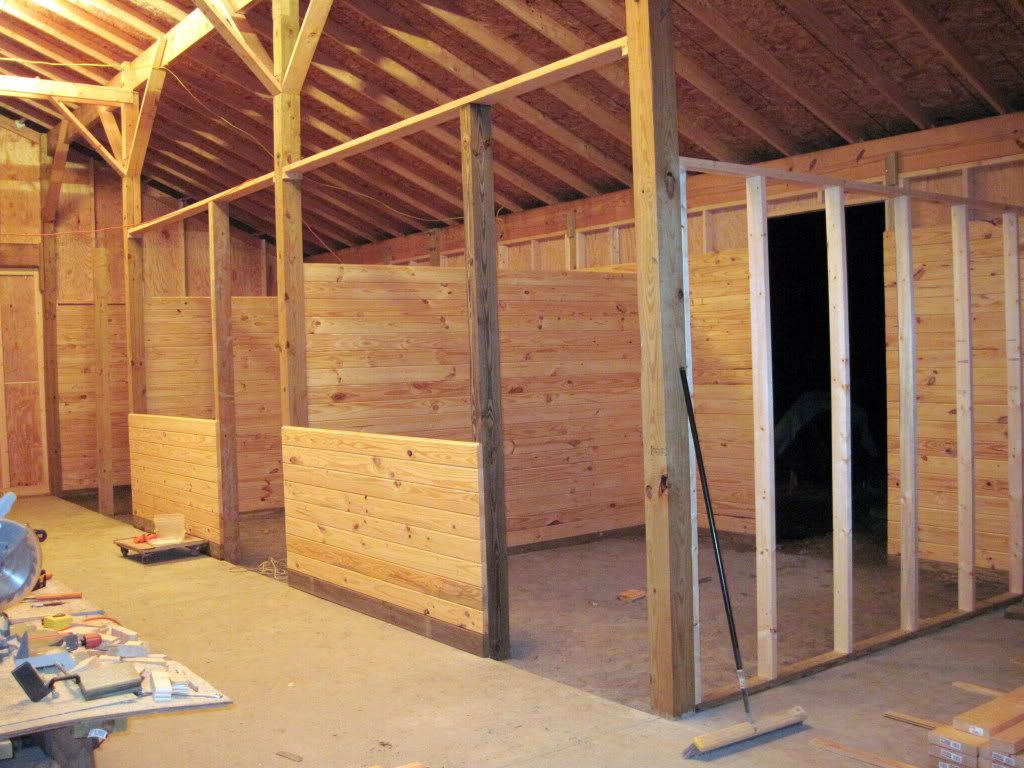
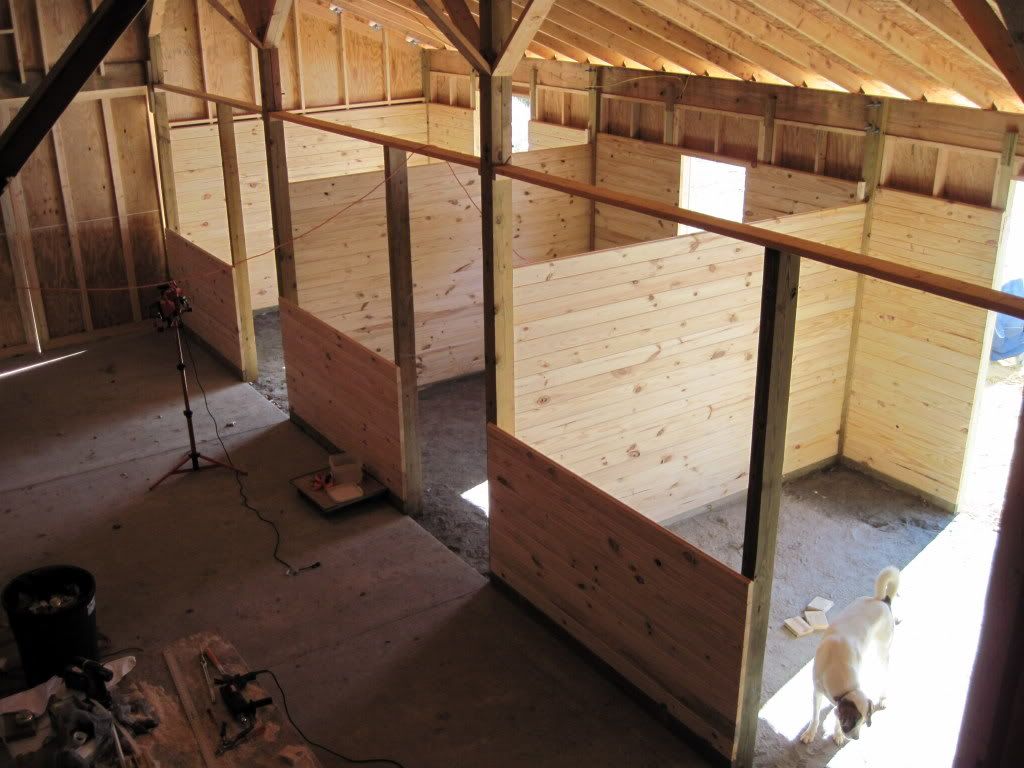
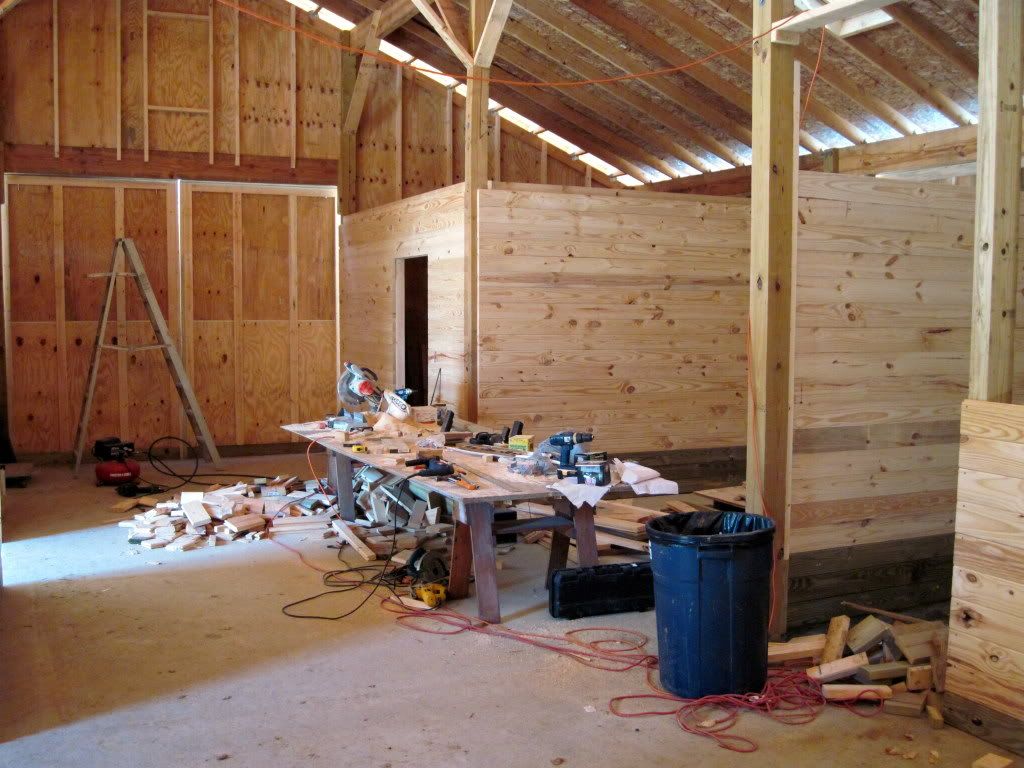
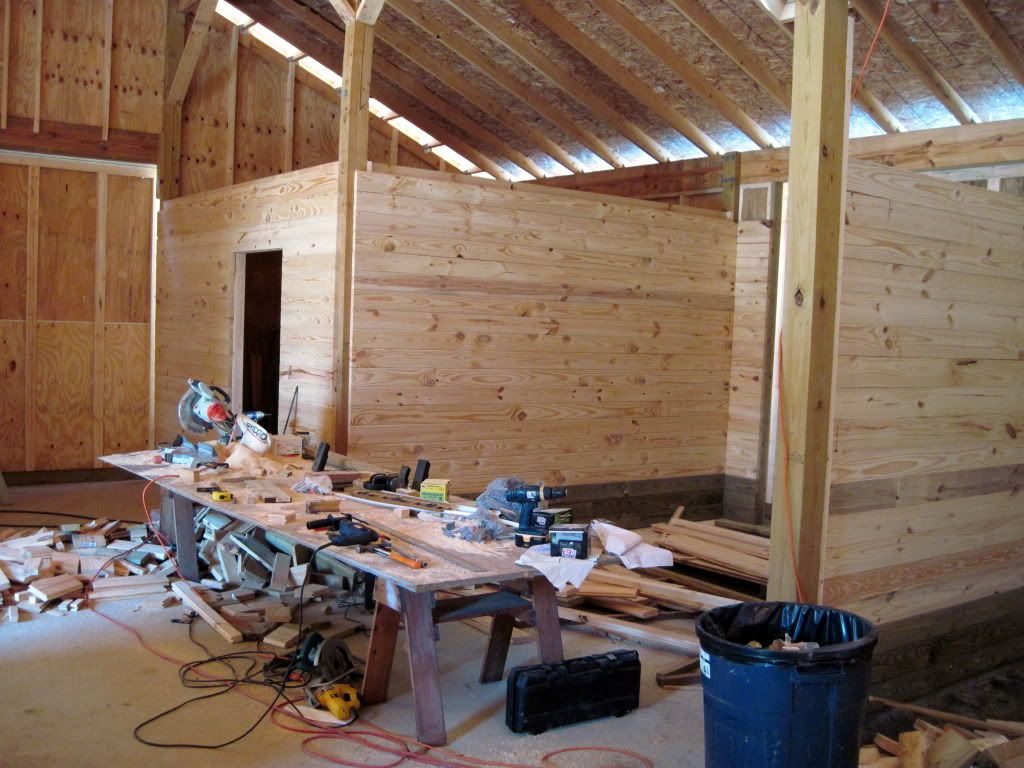
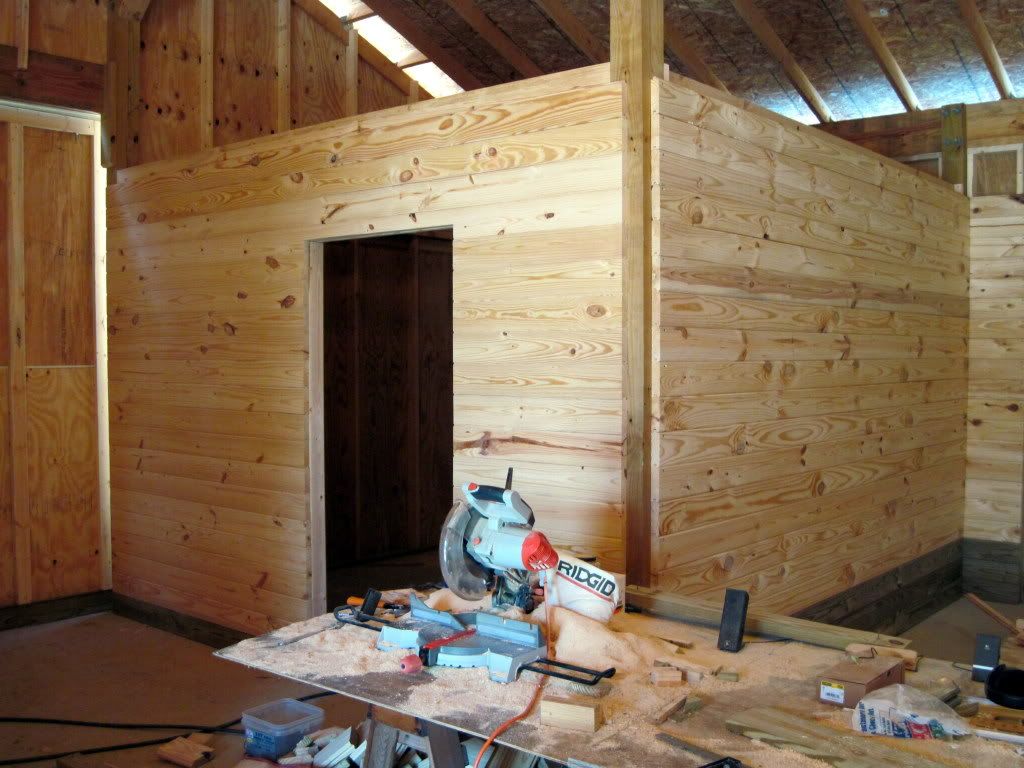
I finally got most of the T&G lumber done, so the next step is the stall fronts. I could have bought ready-made stall fronts, including doors for around $500 apiece, but I think the typical doors are kind of ugly and generic looking. Plus, the standard doors height is only 7 feet, and I wanted 8-foot door openings to reduce the chances of a horse rearing up and bashing their head when entering or exiting the stall. So instead, I opted to make my own stall fronts for around $200 apiece ($130 of which is for the sliding door hardware). I'm not sure I'd come to the same decision if I had to do it again - it's a pain in the butt drilling all those holes and doing all the mortise and tenon joints for the doors. Plus, I don't have a good source for 10/4 lumber, so I had to glue up my own from 2x's and 1x's. Nevertheless, in the end I think things came out pretty well, and I saved myself $1500 (probably considerably more than that if I'd special-ordered 8' fronts). I'm only done two of the five doors so far; I'll probably wait to do the remaining three. The wife wants working stalls ASAP, so I'll hang the first two doors and move on to plumbing, electrical, and drainage.
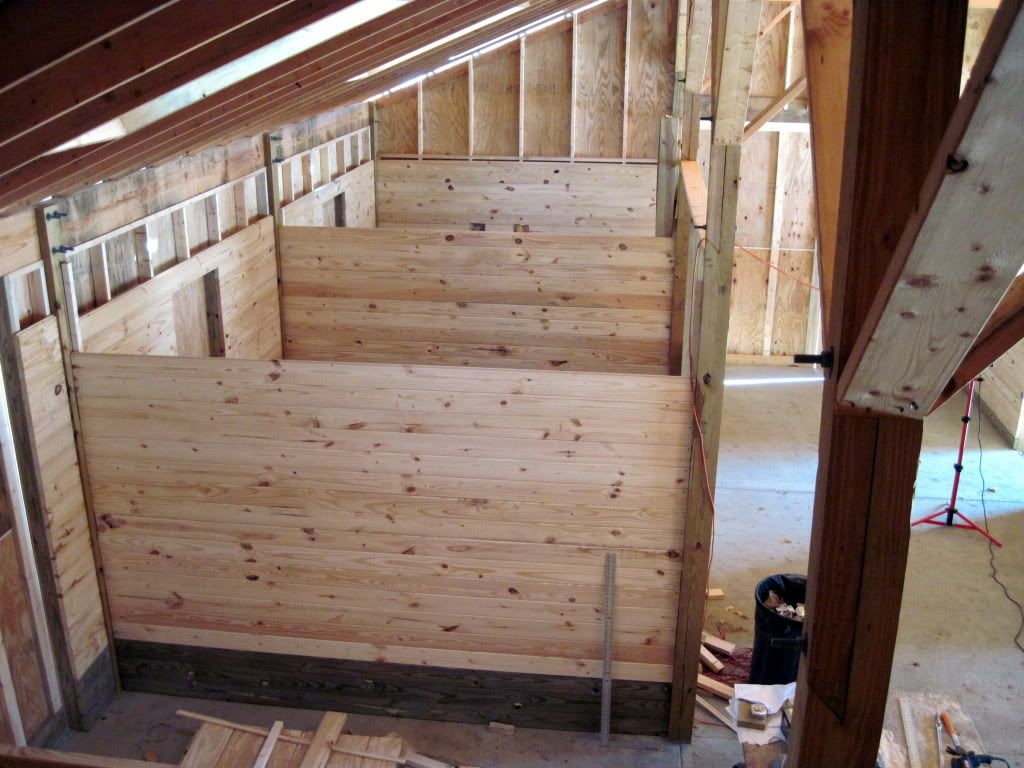
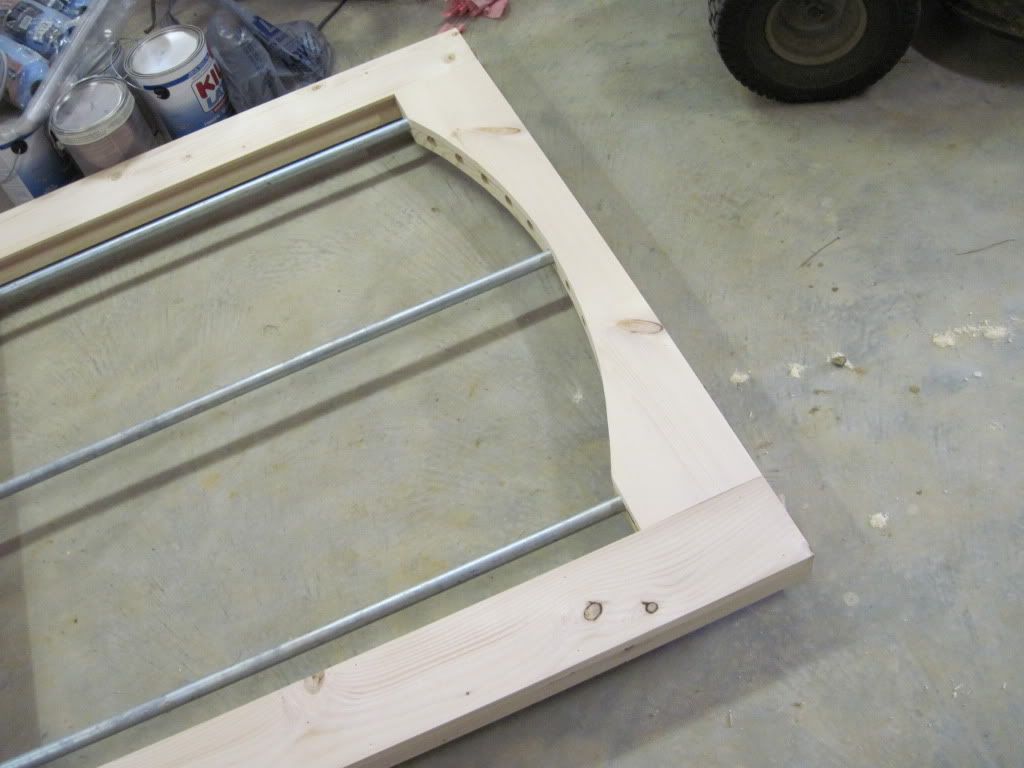
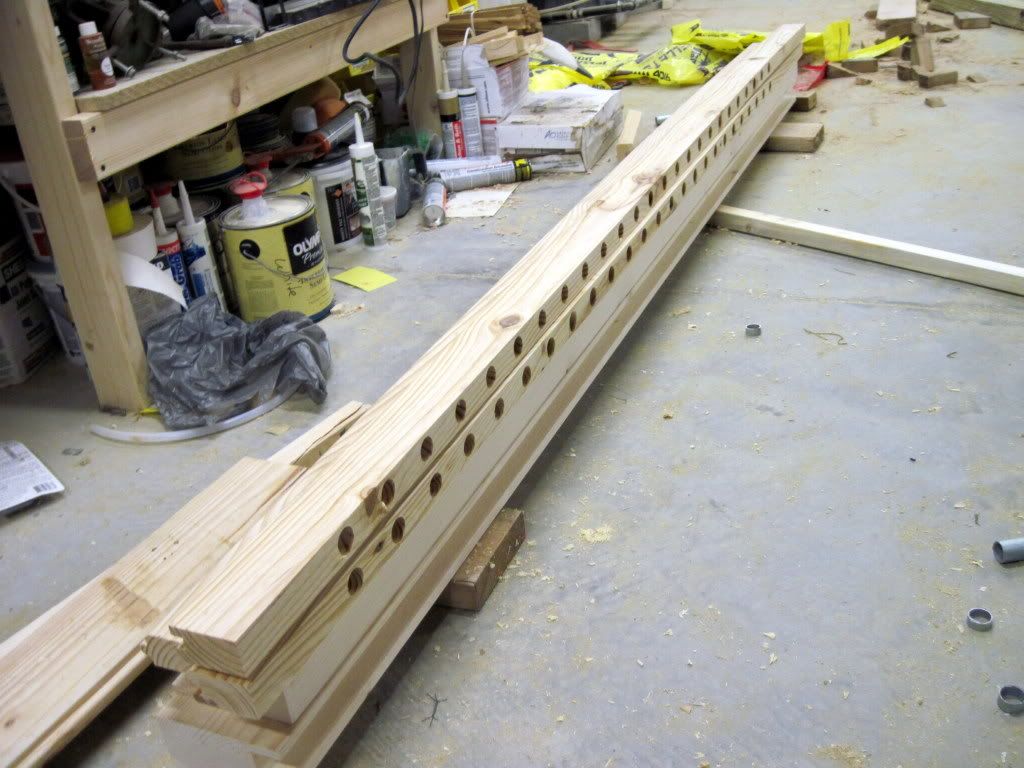
For each stall front I took a piece of the T&G lumber and ripped it in half. Then I drilled holes at 3" spacing along the cut edges. I used 3/4" EMT conduit for the "jail" bars, so I needed a 31/32" drill bit which I had to special order from Amazon. It's a tiny bit loose, so I might have been better off with a 61/64" bit, but I figured it was better to err on the plus side.
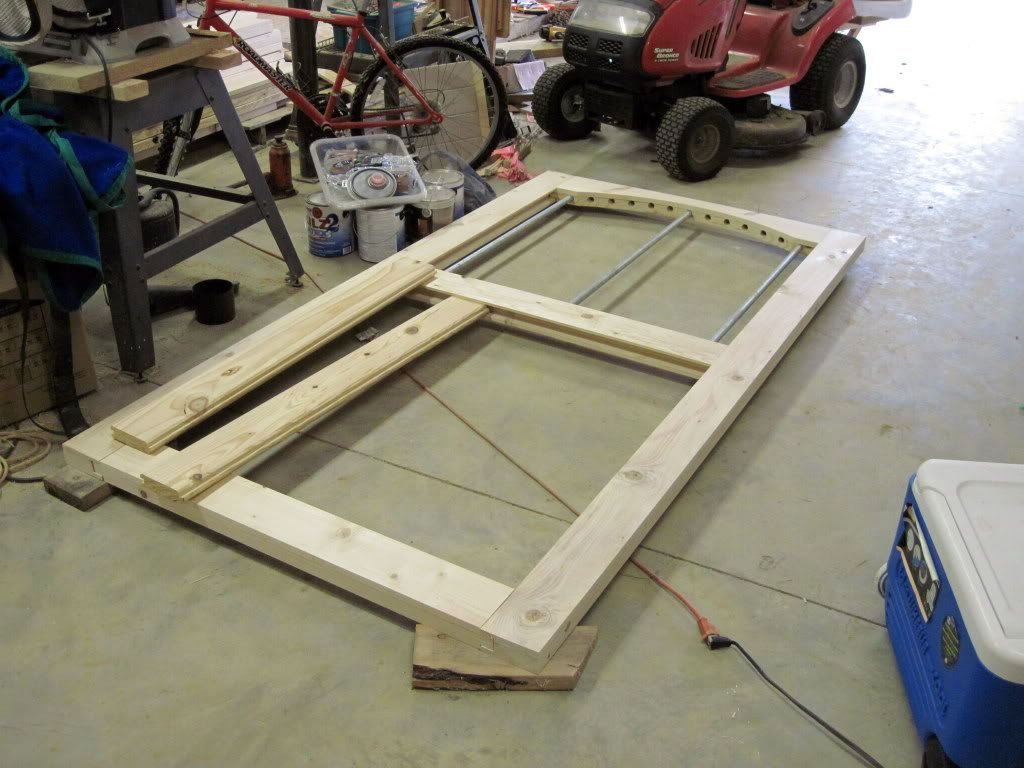
For the doors, I glued up 2 1/4 lumber for the rails and stiles (2x8 + 1x8 for the top; 2x6 + 1x6 for the rest). After a quick pass through the jointer and tablesaw to square up the edges, I cut a 1.5"-wide x 1.25"-deep dado in all of the boards (except the 8" top rails). Then I cut corresponding 1.5"x1.25" tenons in the ends of the rails (think cope-and-stick jointery like a raised-panel kitchen cabinet door). Next I drilled holes for the bars in the middle and top rails and then cut a carriage-style arch into the top rail on my bandsaw. These holes had to be 5" deep to accomodate the arch, so I had to start them all on my drill press then move on to a hand drill to get them to the full depth. (read: I need a bigger drill press). After that, I cut T&G lumber to length to make the bottom panel of the door, leaving about 1/4" of expansion gap in the dados. Then it was just a matter of assembling the whole kit and kaboodle. Once everything was screwed together I cut and glued in some "filler strips" to fill in the dados on the sides of the stiles adjacent to the bars. (You can see the exposed dado in the first picture below).
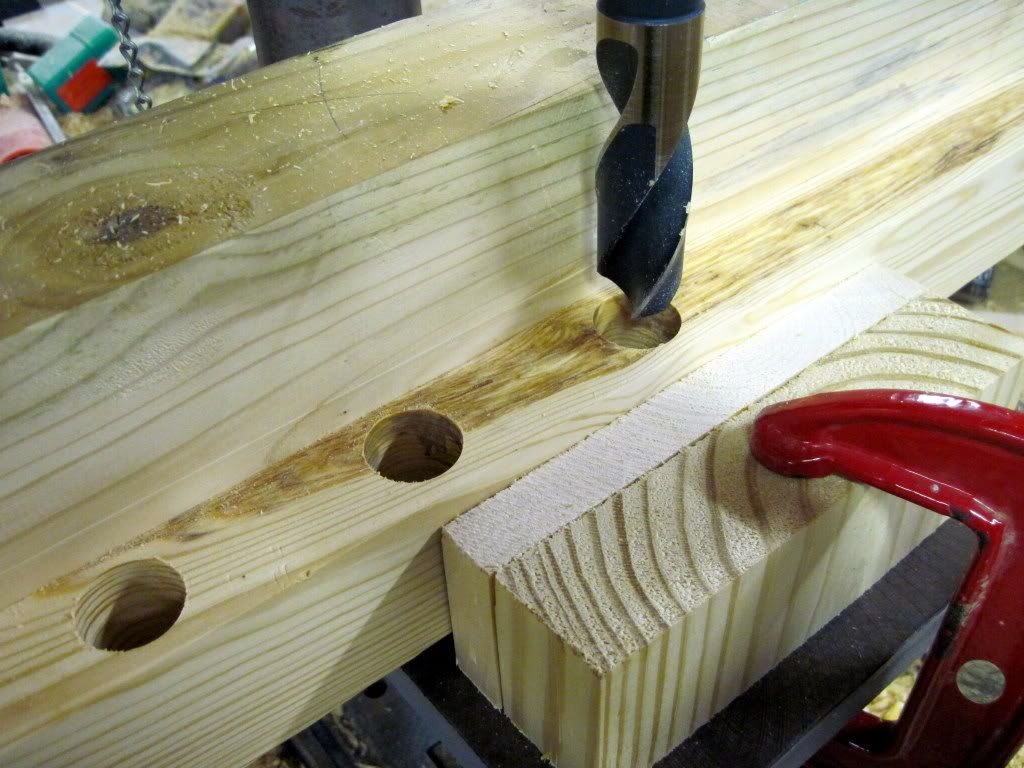
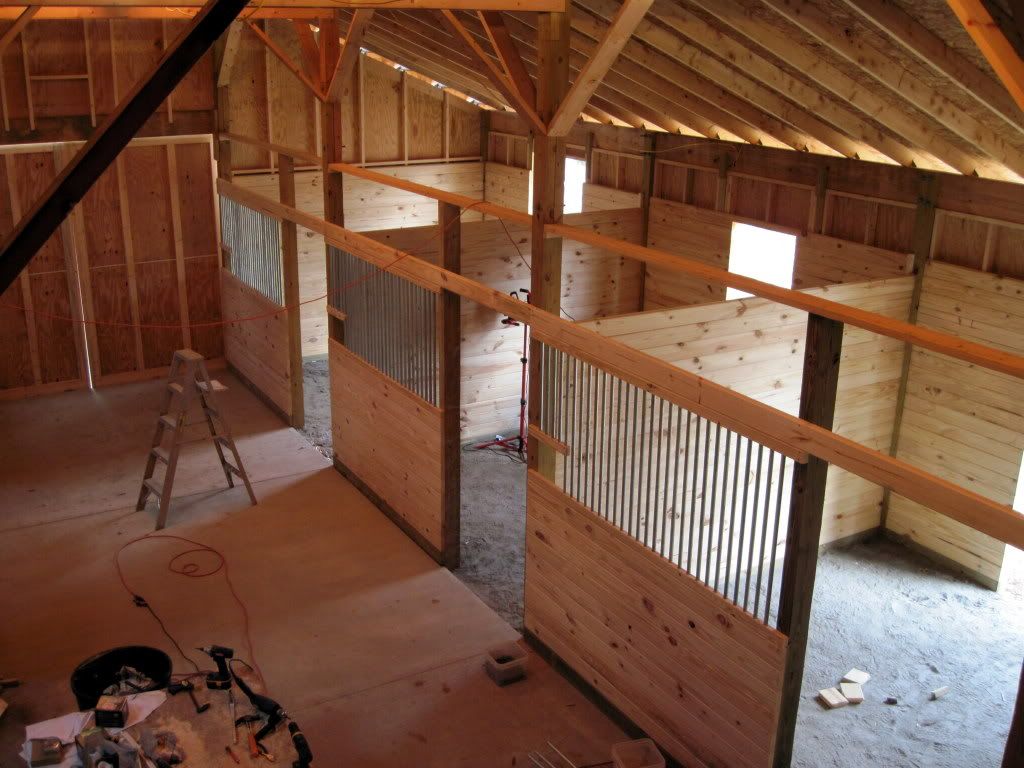
My wife also wanted feed openings in the corners of the stall fronts away from the doors so that grain can be dumped into the buckets from the aisleway. Professional stall fronts would have had a metal crossbar welded in place, but I lack both the skill and equipment to do that. Therefore, I opted to make a wooden crossbar to match the T&G rails at the top and bottom of the bars. One end gets screwed to the post at the end of the stall, and the other gets screwed to a bar that goes through it. In the distance in between, I drilled stopped holes at the same 3" spacing as all the rest. I ended up with a 10"-high x ~13"-wide opening. I think the pictures will make a lot more sense than my narrative: